Knife Skills Class for Home Cooks: Pick and Prepare
A hands-on beginner knife skills class is the fastest, safest way to build real confidence at the cutting board. Whether you book an in-person session or join a focused online workshop, you will learn proper grip, core cuts, and safety habits in a single afternoon.
- Best for most people: A short in-person class with supervised practice
- Good alternative: A structured online workshop when distance or schedule gets in the way
- Immediate next step: Browse a Biteunite cooking class near you, check your local community education center, or enroll in a short online course
Two reasons hands-on training wins: you get real-time correction on grip and posture that a video simply cannot give you, and you practice safety habits under supervision before they become bad muscle memory.
Pro Tip: Before your first class, watch one short video on the pinch grip so you arrive with a mental picture. You will absorb the instructor’s corrections much faster.
Key Takeaways
A hands-on knife skills class with supervised practice and a qualified instructor is the most direct path to faster, safer cutting technique for home cooks.
| Point | Details |
|---|---|
| Choose hands-on over demo | Prioritize classes where you cut for at least 30 minutes; demo-only sessions build no muscle memory. |
| Three knives cover most tasks | A chef’s knife, serrated knife, and paring knife handle the majority of home-cooking prep. |
| Safety rules are non-negotiable | Dry hands, a secured board, claw hand, and never catching a falling knife prevent most kitchen injuries. |
| Hone before class, skip electric sharpeners | Hone with a steel before attending; electric sharpeners can damage blade angle and remove too much metal. |
| Biteunite offers hands-on sessions | Biteunite runs expert-led group classes in New York and San Francisco with real practice time built in. |
Table of Contents
- What does a knife skills class actually teach you?
- What class formats and lengths should you expect?
- How do you choose the right knife skills class?
- What should you bring to a knife skills class?
- What safety fundamentals does every class cover?
- What does a typical beginner class look like, minute by minute?
- Why hands-on classes are worth the investment
- Biteunite makes it easy to book a hands-on knife skills experience
- Sources
What does a knife skills class actually teach you?
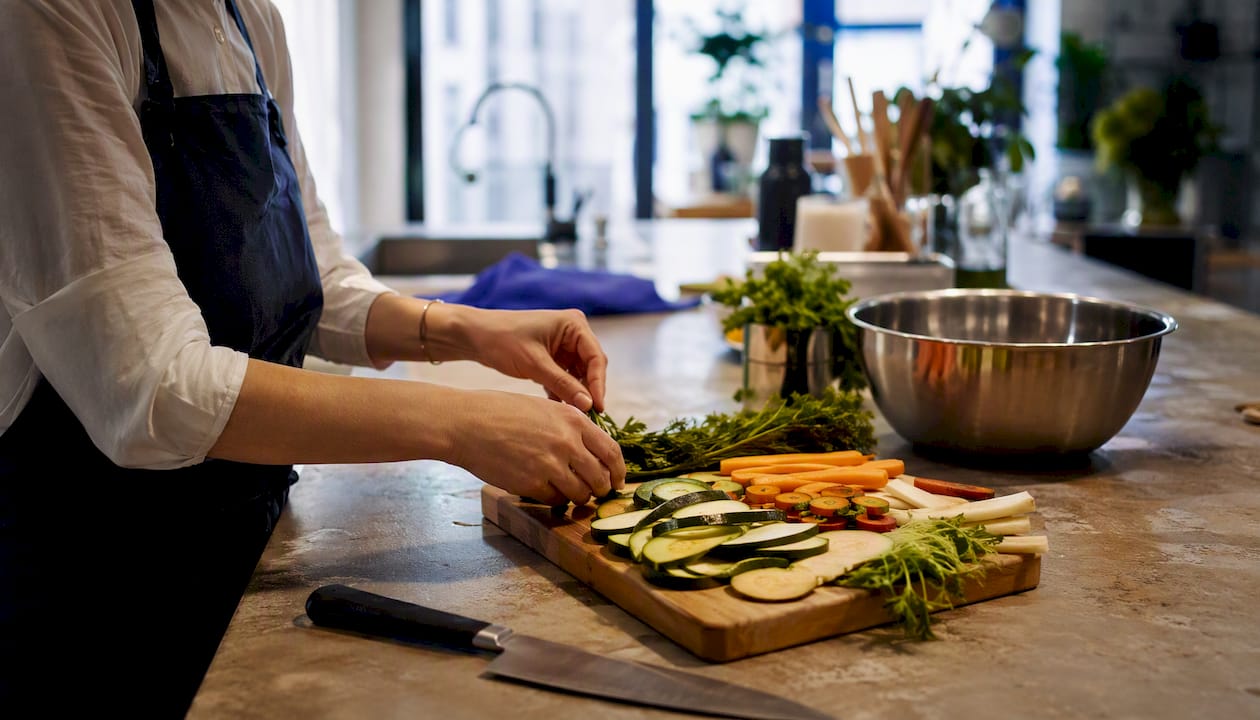
A good culinary knife training session covers far more than “hold the knife and chop.” You will leave knowing how to select the right blade, hold it safely, and execute the cuts that show up in almost every recipe.
Core safety and handling
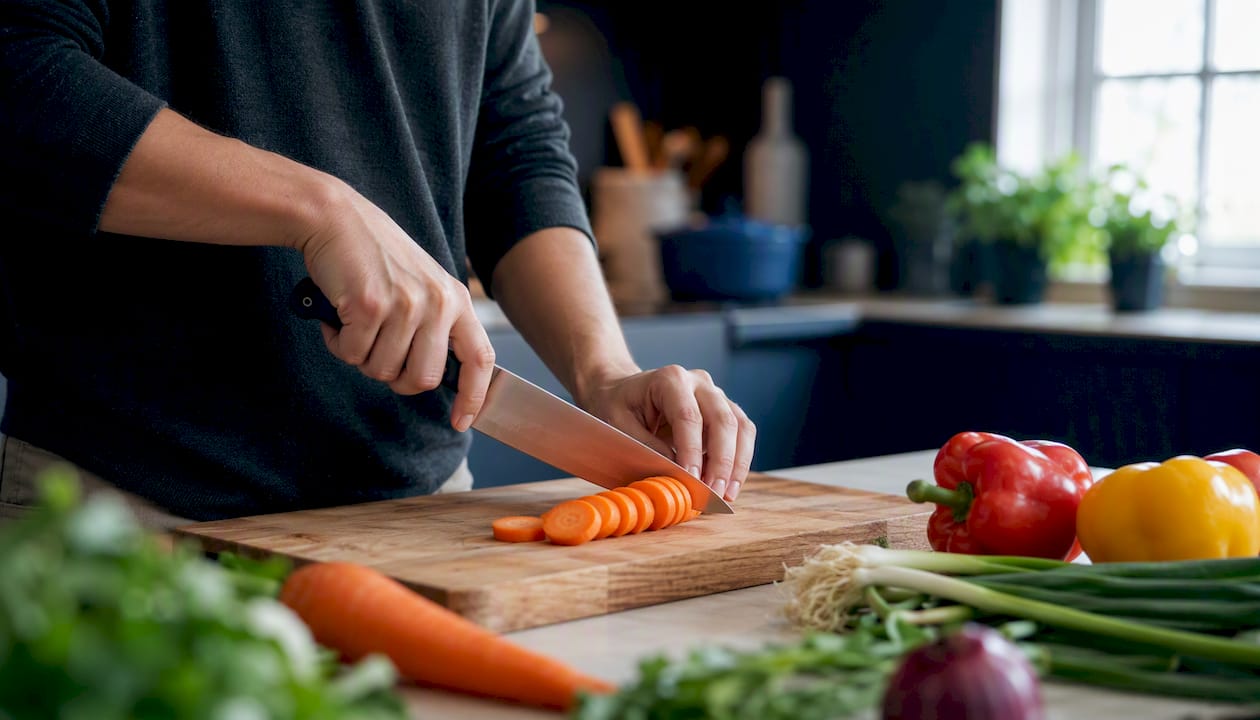
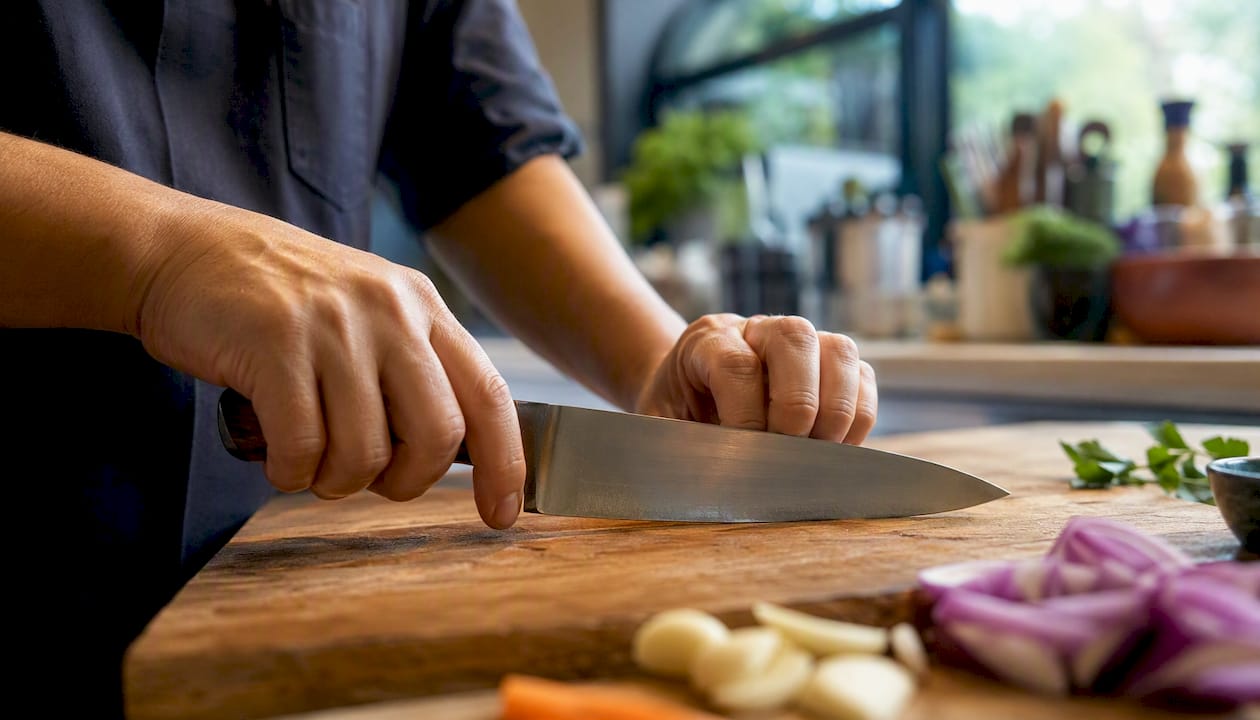
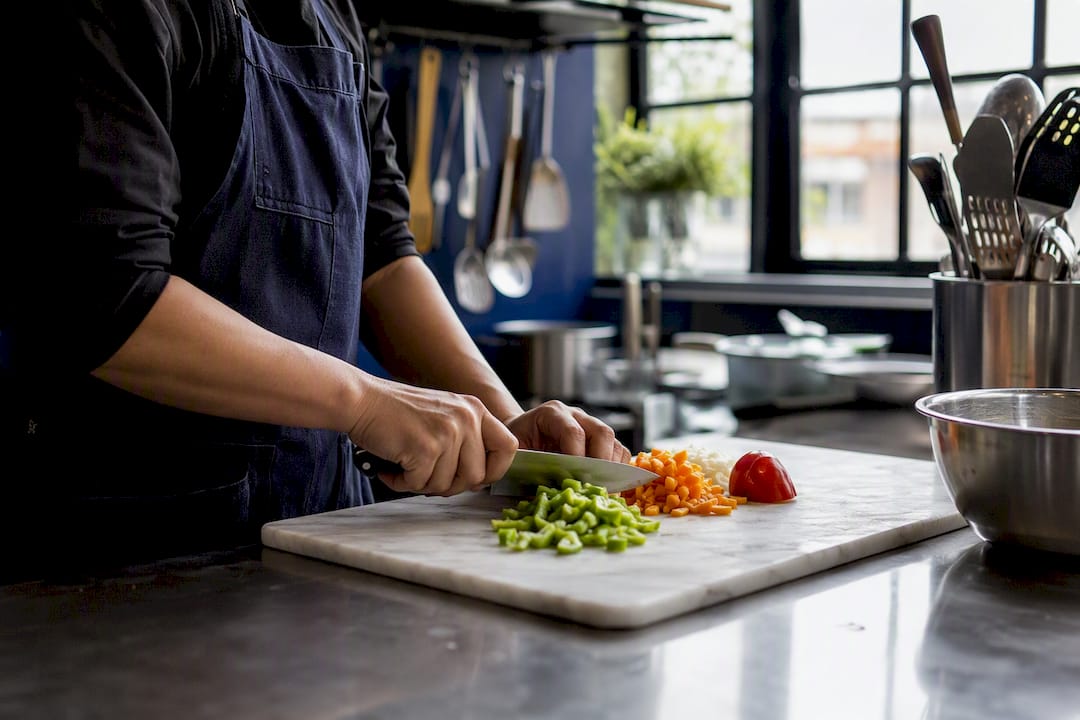
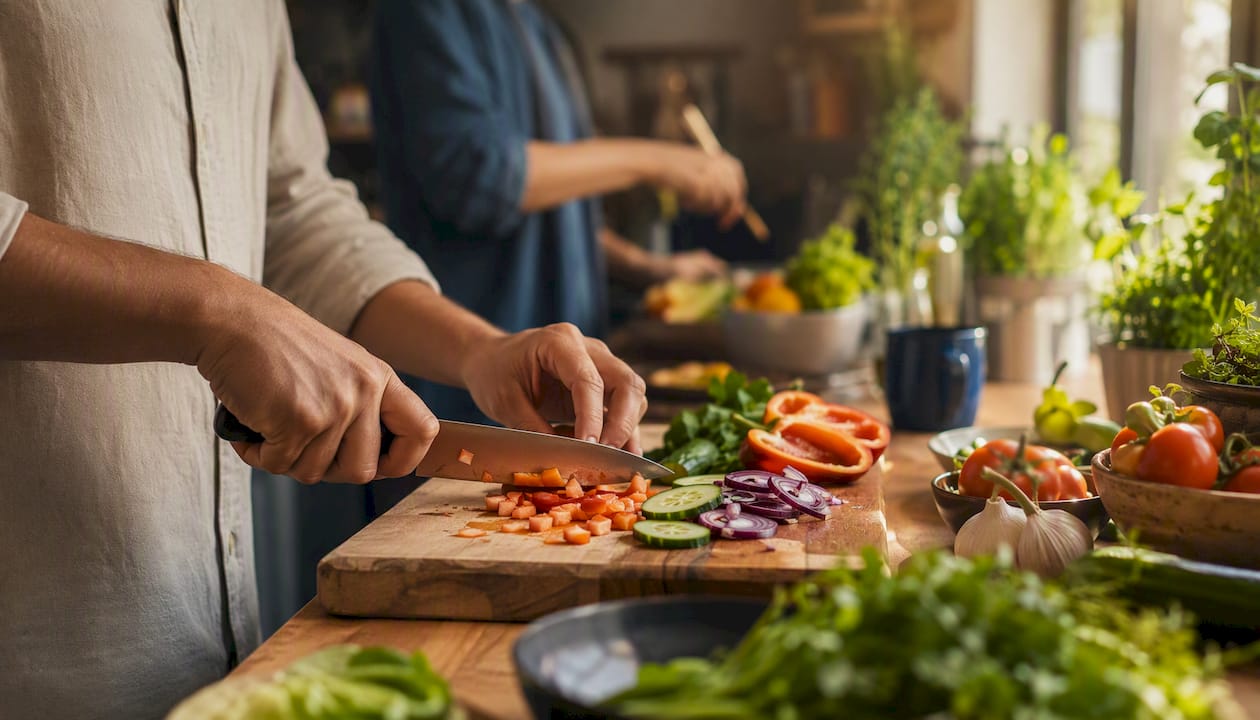
The foundation of every class is grip and stance. Instructors teach the pinch grip (thumb and index finger pinching the blade just above the bolster) and the claw hand (fingertips curled under, knuckles guiding the blade). According to NC State University’s extension program, combining these two grips with a smooth down-and-through rocking motion improves both precision and safety. Instructors consistently recommend mastering controlled, accurate cuts before chasing speed.
Essential cuts you will practice
Escoffier’s professional curriculum lists these as the foundational techniques every cook should know:
- Slice and bias slice for vegetables and proteins
- Dice (large, medium, small) and brunoise (fine dice)
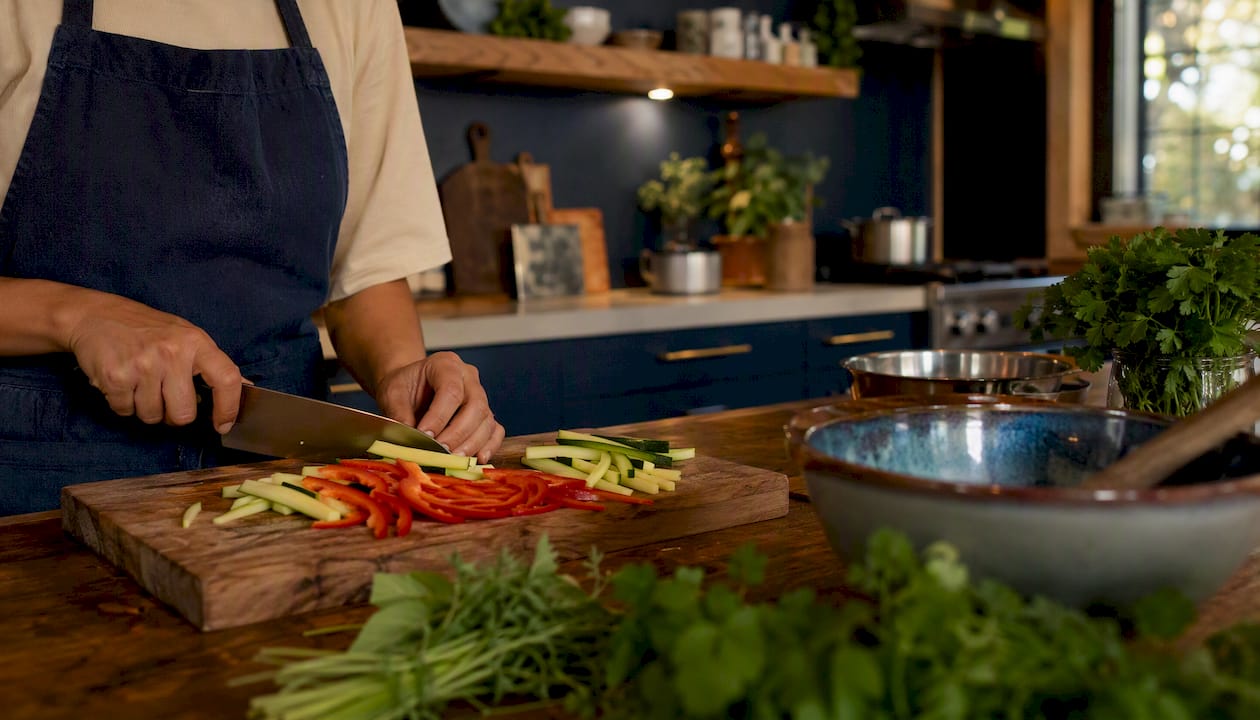
- Julienne and batonnet (matchstick and stick cuts)
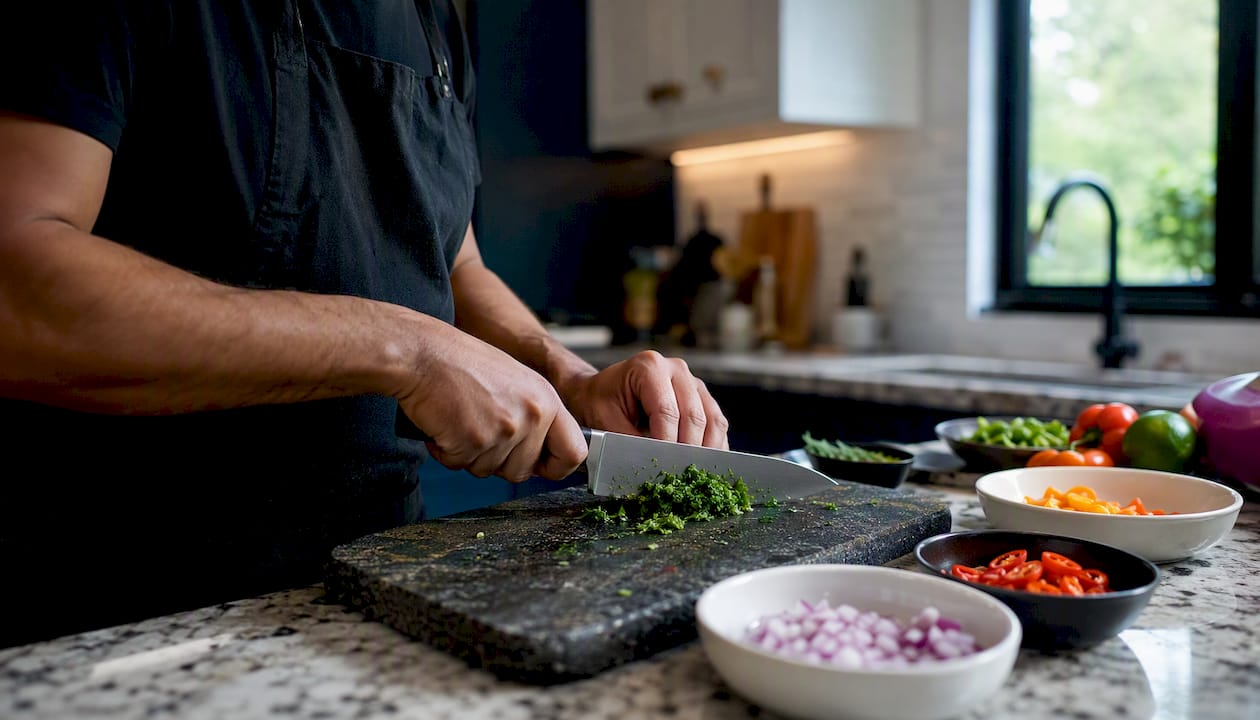
- Mince for garlic, herbs, and aromatics
- Chiffonade for leafy greens and fresh herbs
- Wedge cuts for citrus and root vegetables
- Tournée for the classic seven-sided barrel shape
Knife selection basics
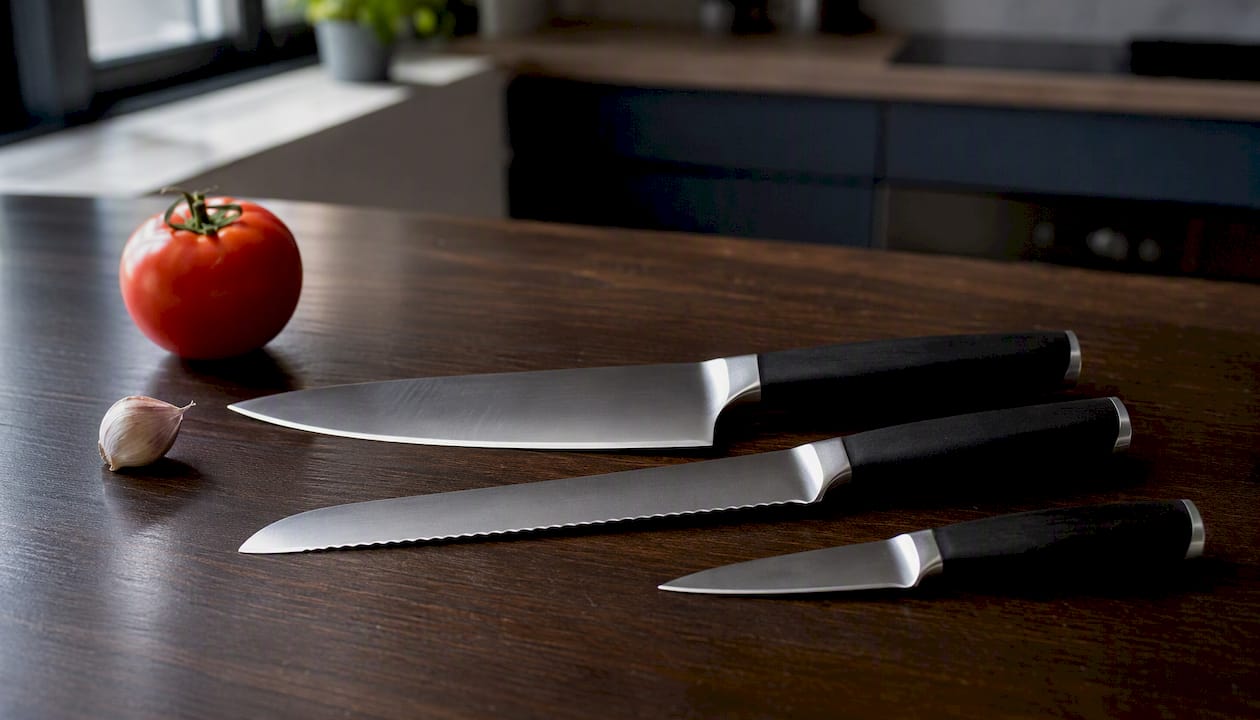
Forks Over Knives’ visual guide recommends keeping your home collection to three knives: a chef’s knife for most tasks, a serrated knife for bread and tomatoes, and a paring knife for detail work. Most beginner classes focus almost entirely on the chef’s knife, which handles the majority of prep.
Pro Tip: Ask your instructor whether the class covers knife selection. If it does not, spend five minutes after class asking which chef’s knife weight and length suits your hand size.
What instructors demo vs. what you practice
| Phase | What happens | Typical time |
|---|---|---|
| Instructor demo | Grip, stance, and each cut shown at full speed | about a quarter of the session |
| Supervised practice | Students repeat each cut at their own station | the largest portion of the session |
| Speed and accuracy drills | Timed repetitions to build muscle memory | 10–20 minutes |
| Q&A and feedback | Instructor corrects individual technique | 10–15 minutes |
What class formats and lengths should you expect?
Culinary knife training comes in several formats, and the right one depends on your schedule, learning style, and budget.
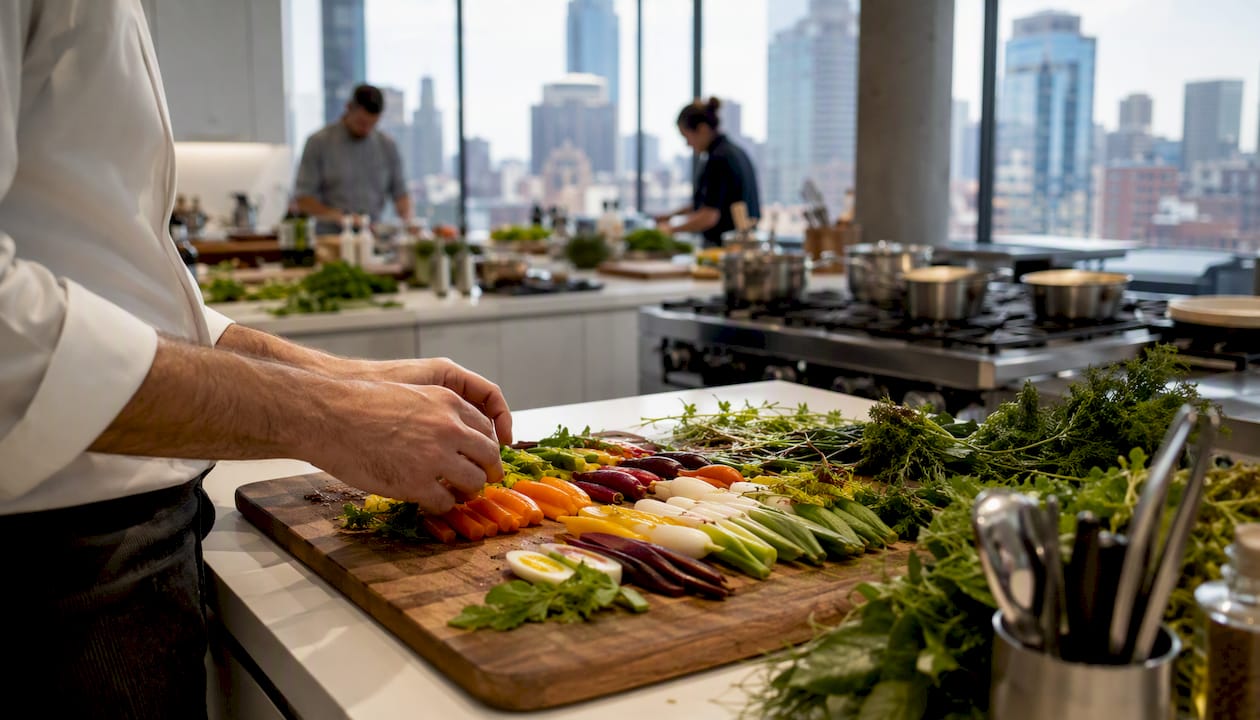
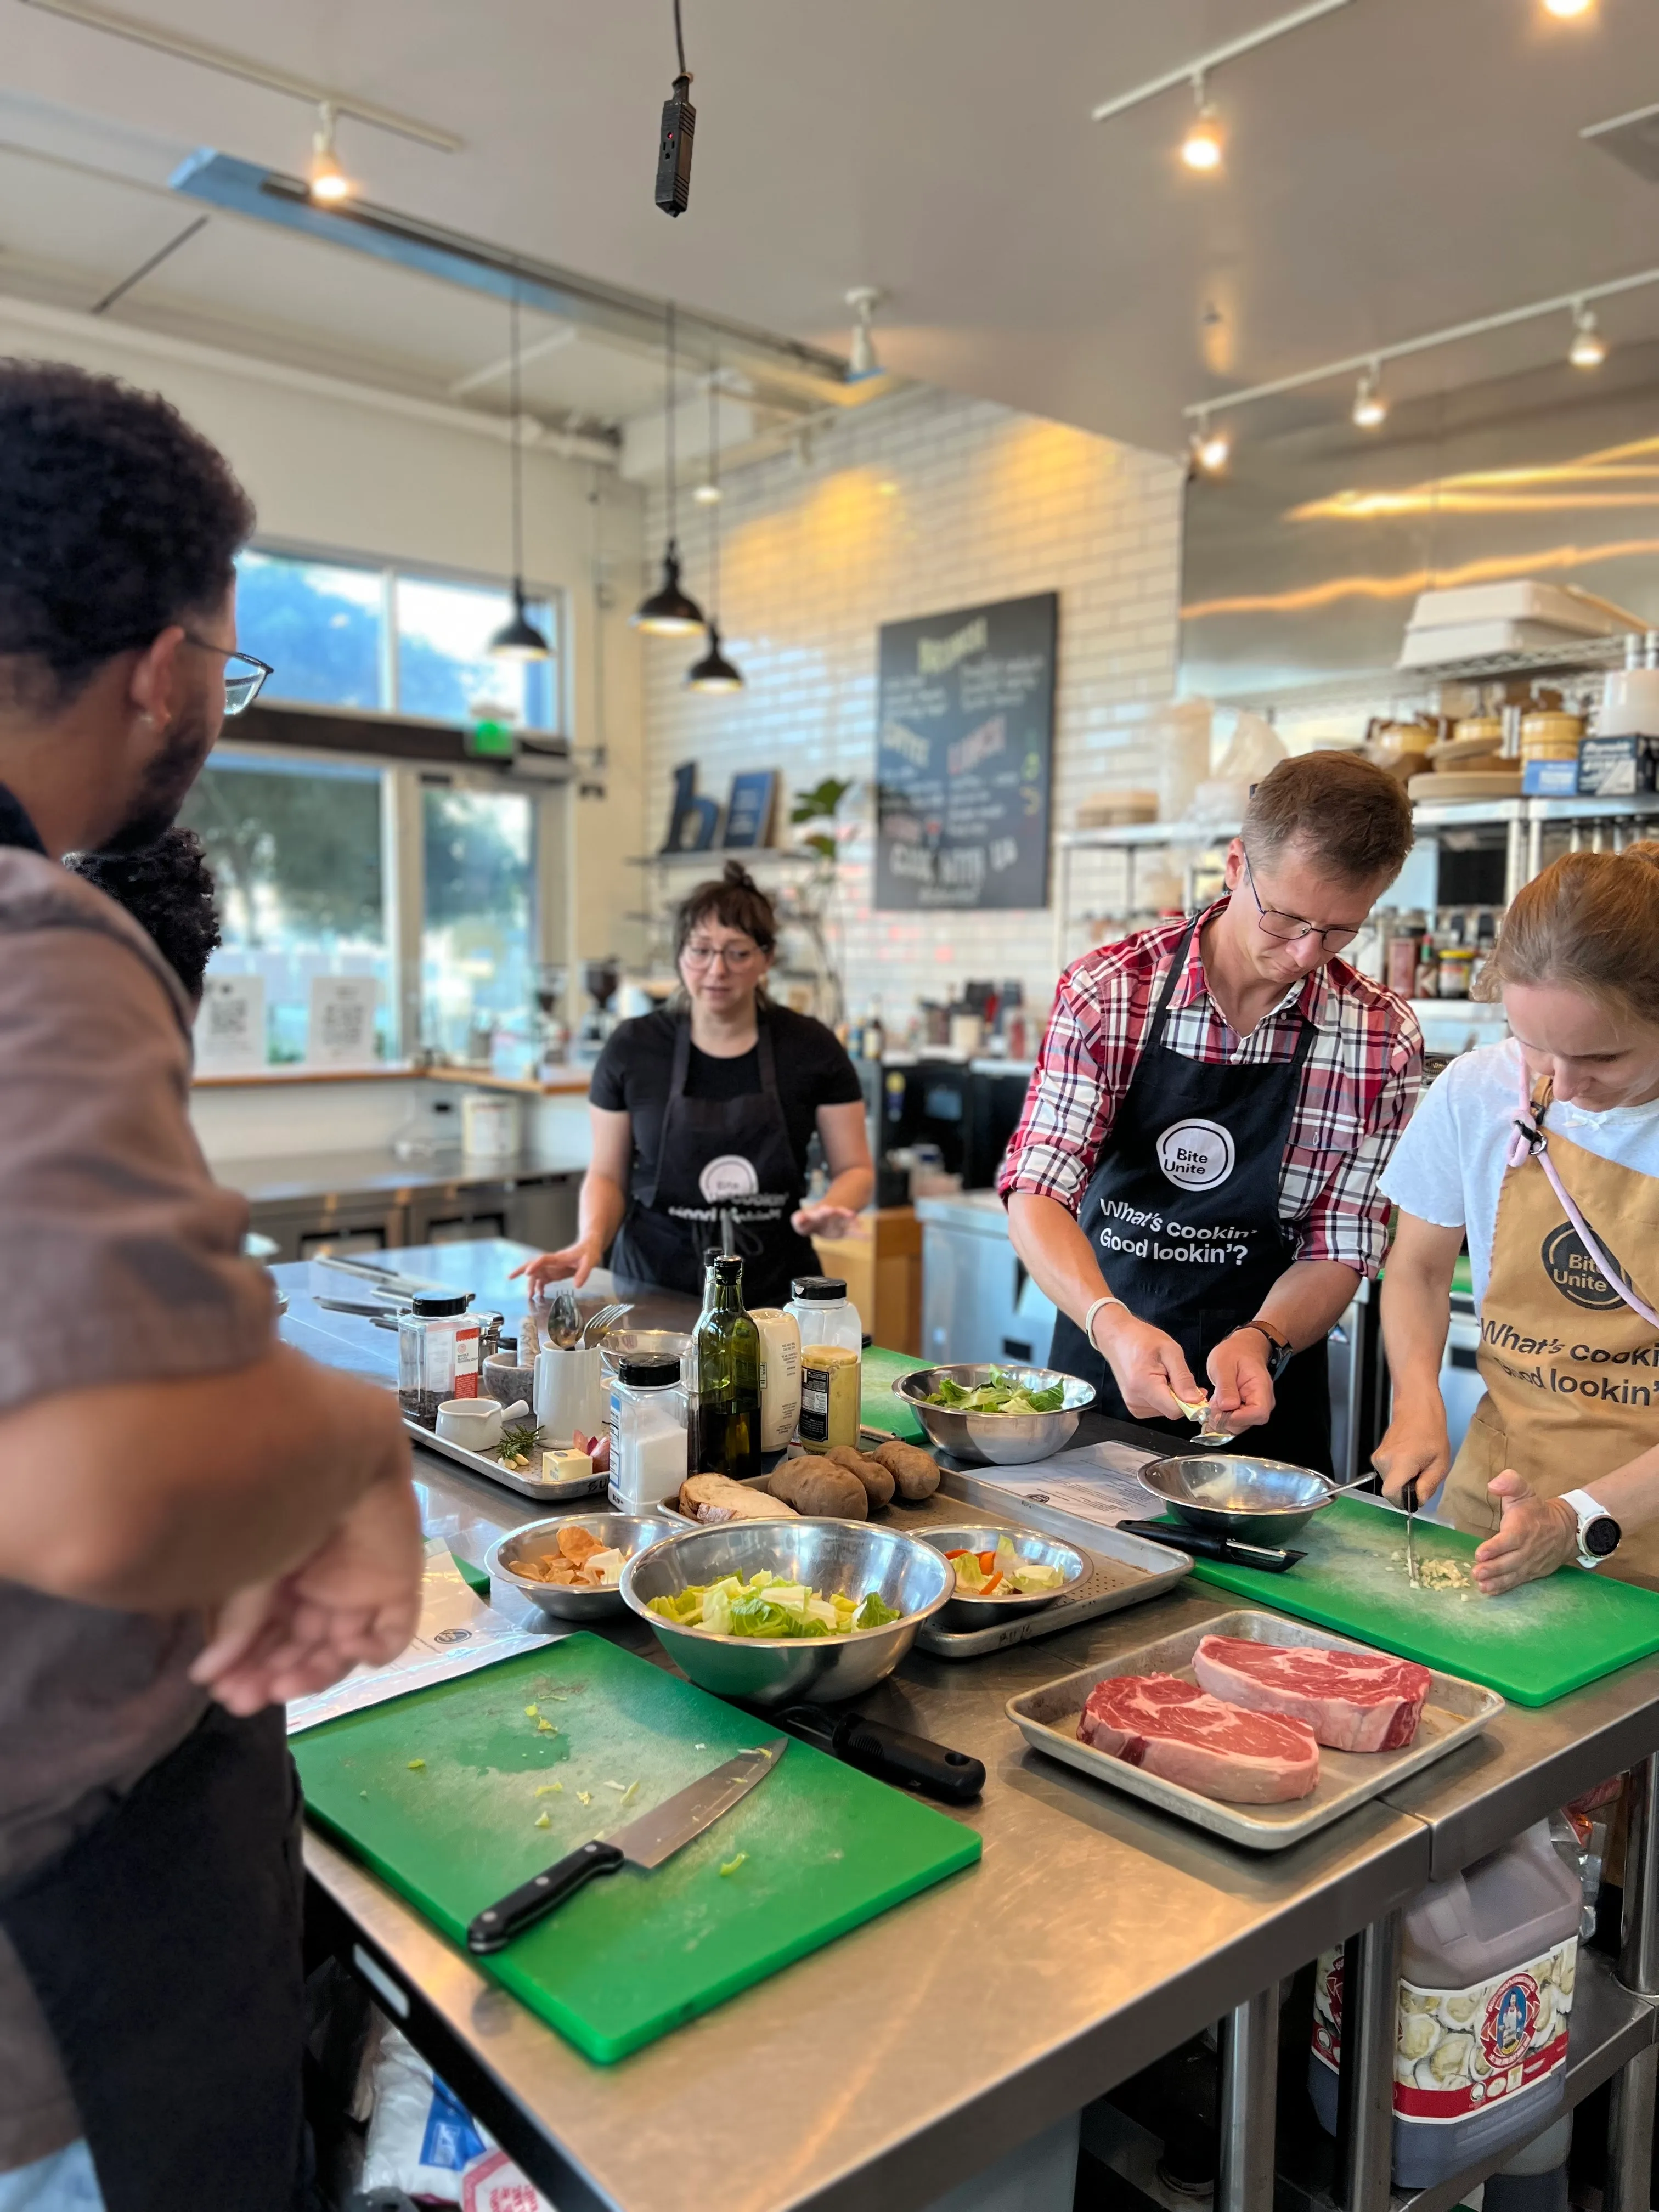
- In-person hands-on sessions (60–180 minutes): You get a dedicated station, real ingredients, and an instructor watching your technique. This is where real improvement happens fastest. Expect a student-to-instructor ratio of roughly 6:1 to 12:1 in quality classes.
- Demo or hybrid workshops: The instructor demonstrates while you watch, with limited or no personal practice time. Good for seeing technique, but you will not build muscle memory from watching alone.
- Online self-paced courses and live virtual workshops: Flexible and often low-cost. One popular free online knife skills class runs about 1 hour 50 minutes and covers foundational cuts. The trade-off is that no one can correct your grip through a screen.
- Community education single-session workshops: Local programs like Bloomington Community Education offer low-cost adult sessions focused on safety, sharpening, and vegetable and protein prep. These are a great entry point if budget is a concern.
- Private or small-group sessions: Higher cost, but you get the most instructor attention and can tailor the curriculum to your specific goals.
Typical costs vary widely from free community programs to moderate fees for workshops and higher fees for private sessions. Budget-friendly beginner options exist in most major cities if you know where to look.
How do you choose the right knife skills class?
Not every class labeled “hands-on” delivers real practice time. Here is a practical checklist before you book.
- Ask how many minutes students spend cutting. A 90-minute class where 70 minutes is demo is not hands-on training.
- Check the instructor’s credentials. Look for culinary school training, professional kitchen experience, or a teaching background in food education.
- Confirm the class size. Fewer than 12 students per instructor gives you meaningful feedback. Larger groups often mean you wait more than you cut.
- Match the level label to your actual experience. A class marked “beginner” should assume zero prior technique, not just “not a professional chef.”
- Read the cancellation policy. Reputable providers offer at least 48-hour cancellation or a credit toward a future session.
Red flags to avoid
- Sessions described as “hands-on” that list no practice time in the description
- No mention of safety fundamentals in the syllabus
- Instructors with no listed culinary background or teaching credentials
- Classes with 20+ students and a single instructor
Pro Tip: Email the organizer before booking and ask: “How many minutes will I spend cutting?” The answer tells you everything about the class’s real format.
What should you bring to a knife skills class?
Most commercial and community classes supply everything you need. Still, knowing what to bring (and what to leave home) makes the day smoother.
- Bring if allowed: Your best chef’s knife, a paring knife, comfortable closed-toe shoes, and a clean apron
- Leave at home: Blunt knives (they are more dangerous than sharp ones), loose jewelry, and open-toe shoes
- What instructors typically provide: Sharp chef’s knives, cutting boards, demo knives, and all ingredients
On maintenance: The New York Times Cooking guide cautions that electric sharpeners can remove too much metal and alter the blade angle. Hone your knife with a honing steel before class, and if your blade needs real sharpening, use a whetstone or take it to a professional. Store knives in a block, on a magnetic strip, or with blade guards, never loose in a drawer or a soapy sink, where hidden edges create real injury risk.
Pro Tip: Run your fingertip lightly along the blade’s edge before class. If it feels smooth rather than slightly “Gabby,” it needs honing. A sharp knife requires far less force and is significantly safer.
What safety fundamentals does every class cover?
Knife injuries in the kitchen are common, and most are preventable with a few consistent habits. The American Heart Association’s Knife Skills 101 guide outlines the core rules every beginner should memorize:
- Keep your hands dry before picking up a knife
- Place a damp towel under your cutting board to stop it from sliding
- Use the claw-hand technique to protect your fingertips at all times
- Never try to catch a falling knife. Step back and let it drop.
- Never place knives loose in a sink or unprotected drawer
Good instructors reinforce these habits through station layout (boards secured before class starts), supervised first cuts, and verbal reminders throughout practice. The claw hand, in particular, takes deliberate repetition before it feels natural, which is exactly why supervised class time matters more than solo practice for beginners.
What does a typical beginner class look like, minute by minute?
Here is a realistic sample agenda for two common session lengths.
90-minute beginner session
- Safety intro and station setup (10 min): Grip demo, claw hand, board placement, dry hands rule
- Instructor demonstration (15 min): Pinch grip, slice, dice, and mince shown at full speed
- Supervised practice, round 1 (25 min): Students cut vegetables using slice and dice
- Technique check and corrections (10 min): Instructor visits each station, adjusts grip and posture
- Speed and accuracy drills (20 min): Timed julienne and mince repetitions
- Wrap-up and Q&A (10 min): Common mistakes reviewed, maintenance tips, next steps
180-minute masterclass
The extended format adds technique blocks for filleting fish, jointing poultry, and brunoise drills, plus a second full round of supervised practice and individual feedback time. Advanced multi-hour sessions follow a similar structure but assume you already have the basics locked in.
Sample drills students repeat to build muscle memory:
- Julienne a carrot to consistent 2mm strips, three times in a row
- Dice an onion without stopping to reposition the knife
- Mince a garlic clove in under 30 seconds using a rocking motion
- Chiffonade a stack of basil leaves into thin, even ribbons
Instructors watch for consistent slice width and efficient motion rather than raw speed. Accuracy-first drills are what reduce sloppy habits before they get locked in.
Why hands-on classes are worth the investment
Here is an honest take: most home cooks who feel slow or nervous at the cutting board are not lacking talent. They are lacking supervised repetition. Watching a YouTube video gives you the visual sequence. A class gives you someone who can see that your elbow is too high, your board is drifting, or your claw hand is collapsing, and who can fix it before it becomes permanent.
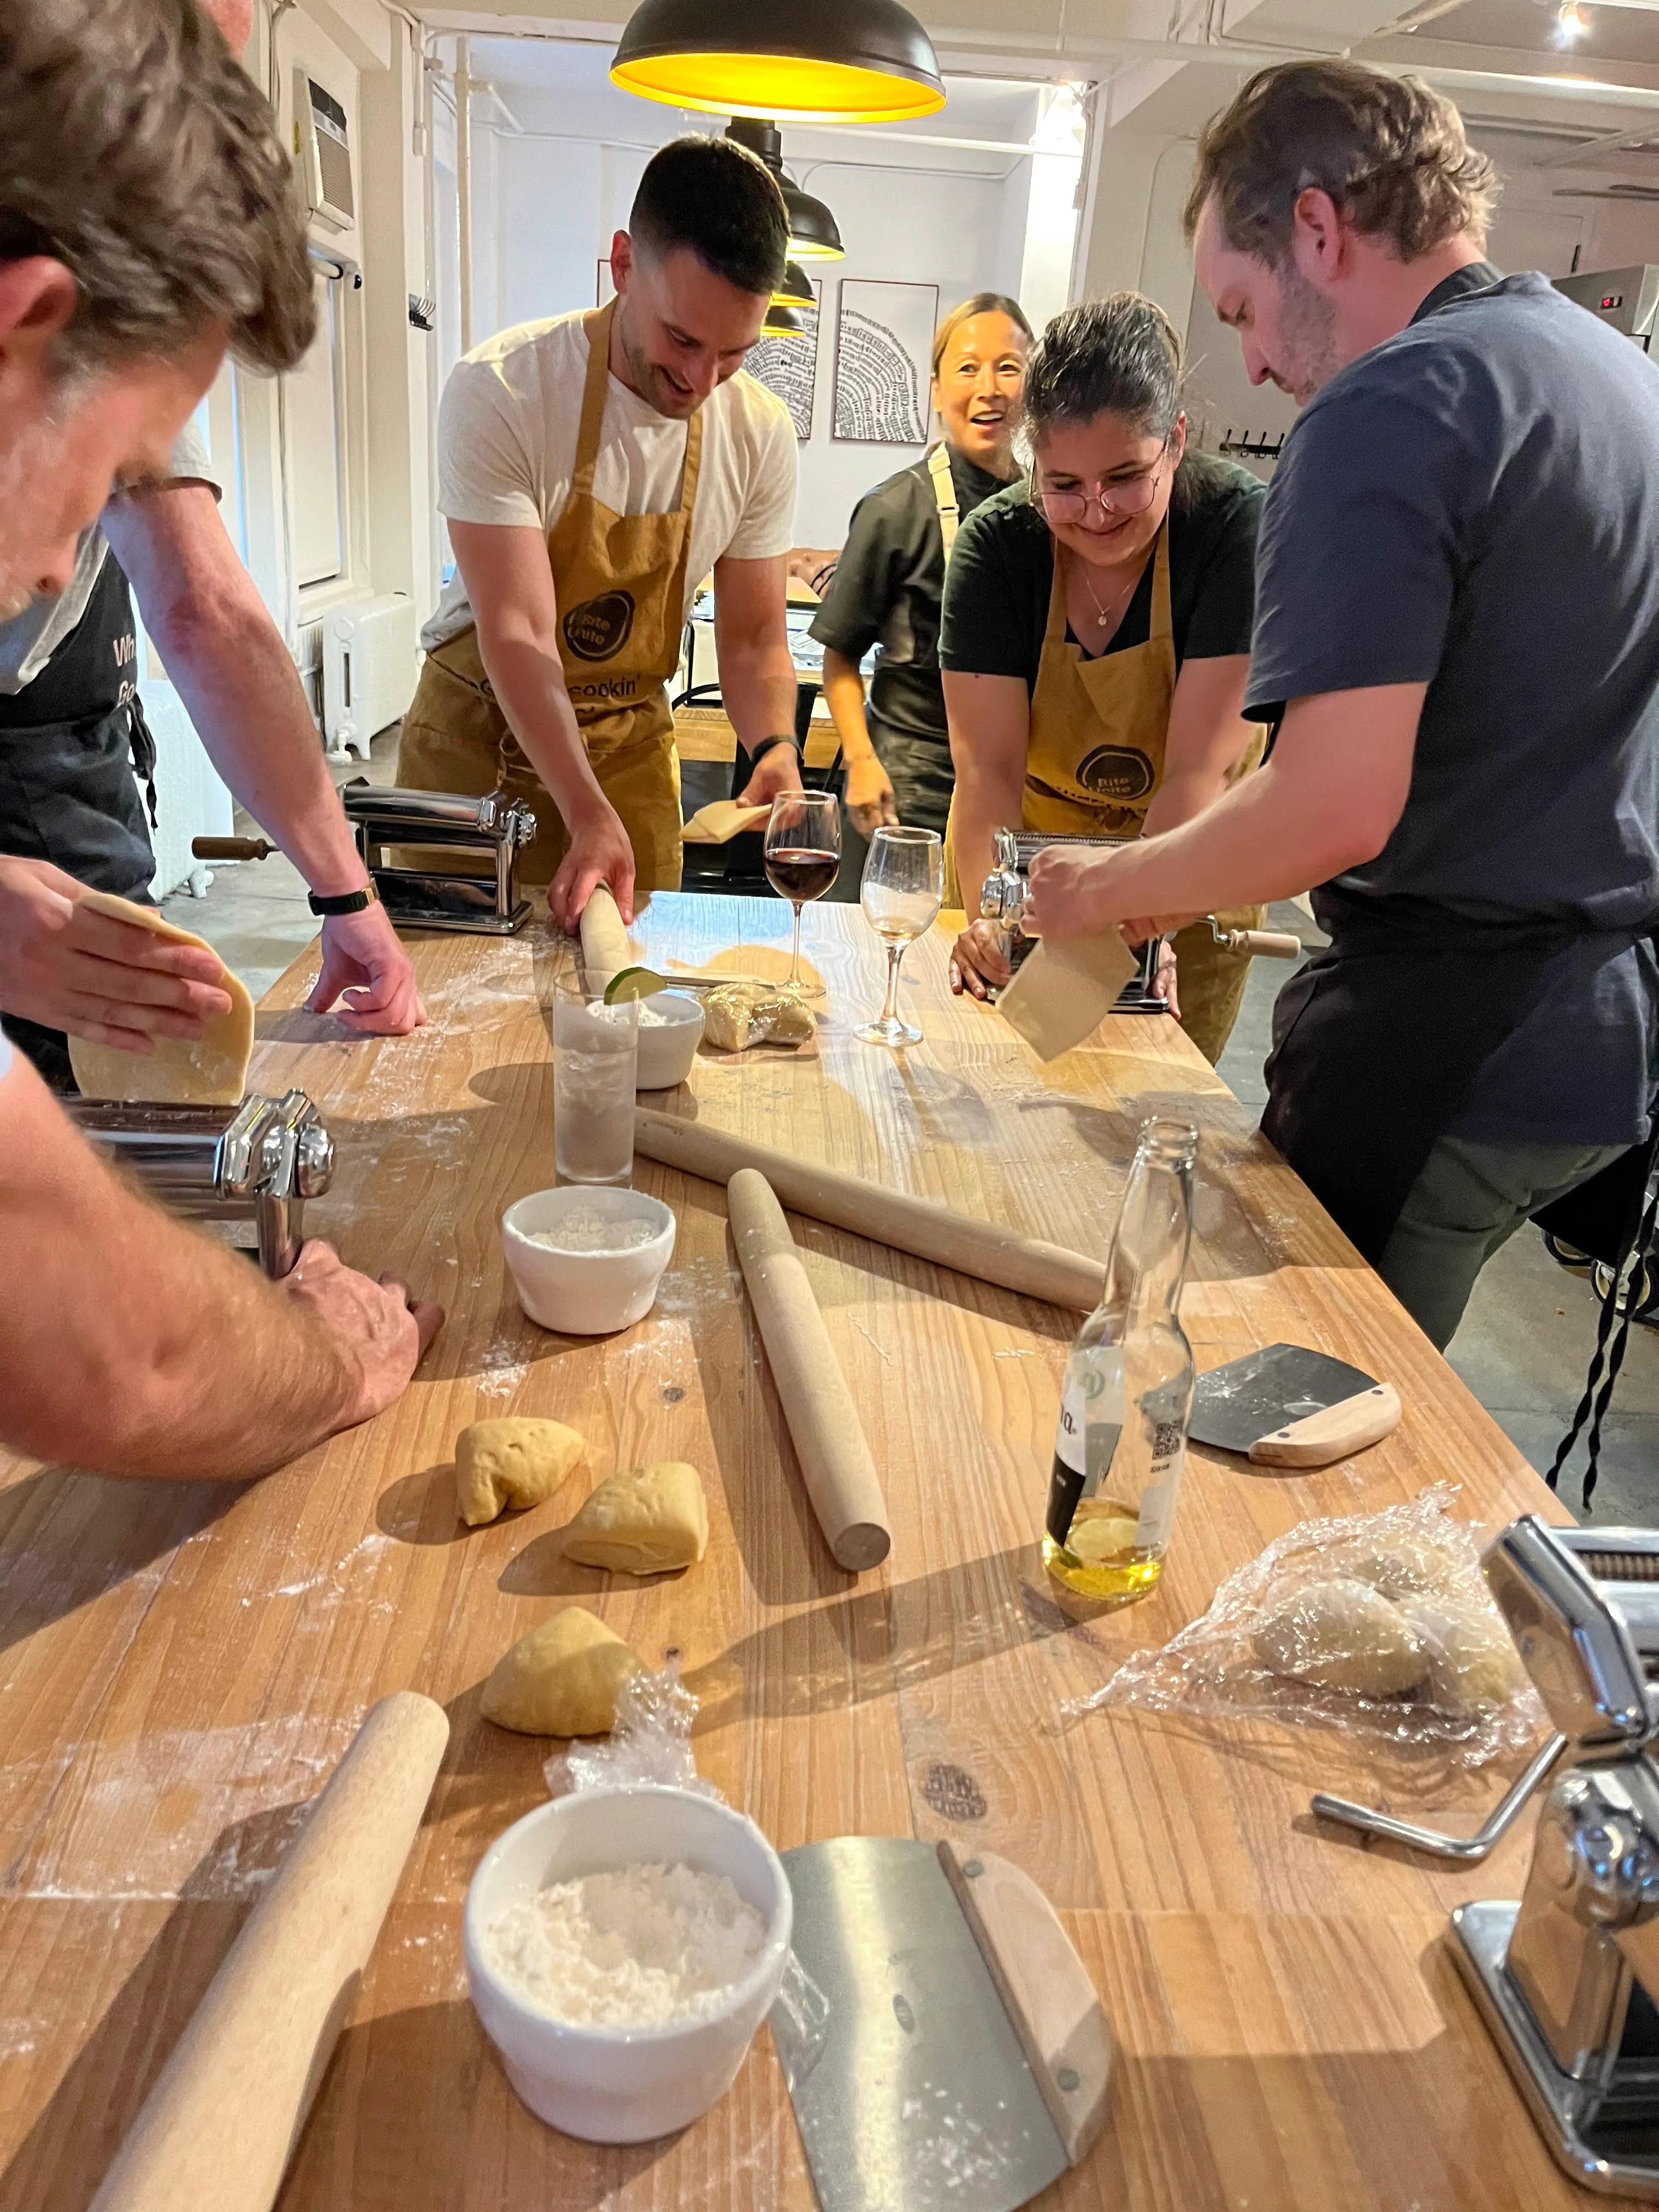
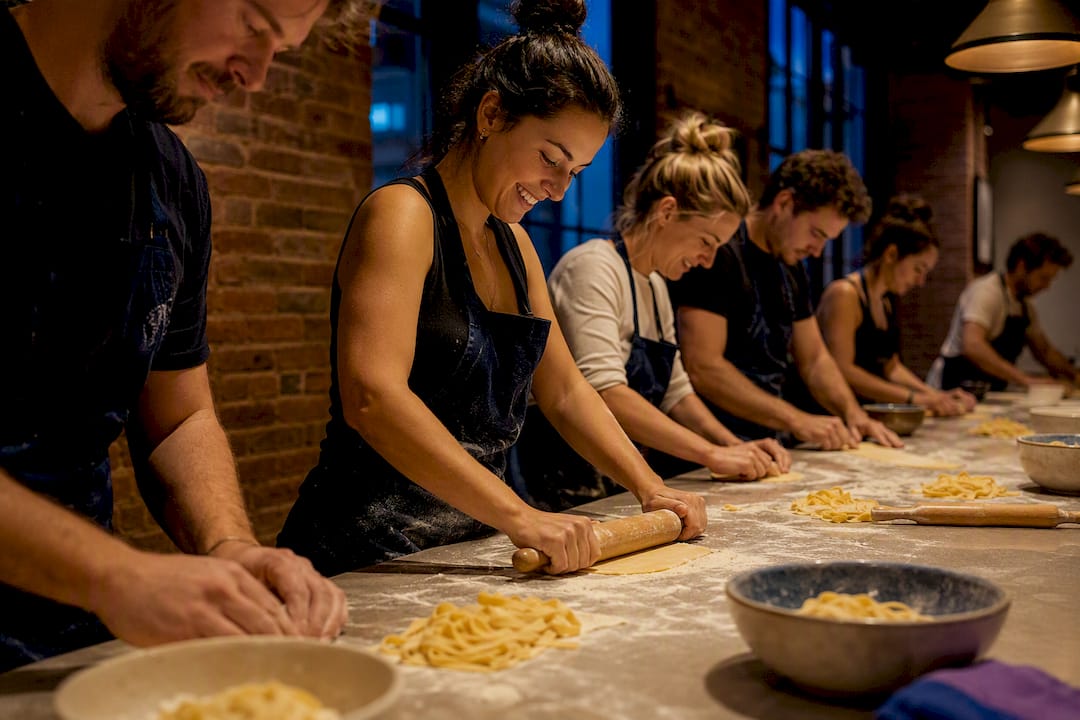
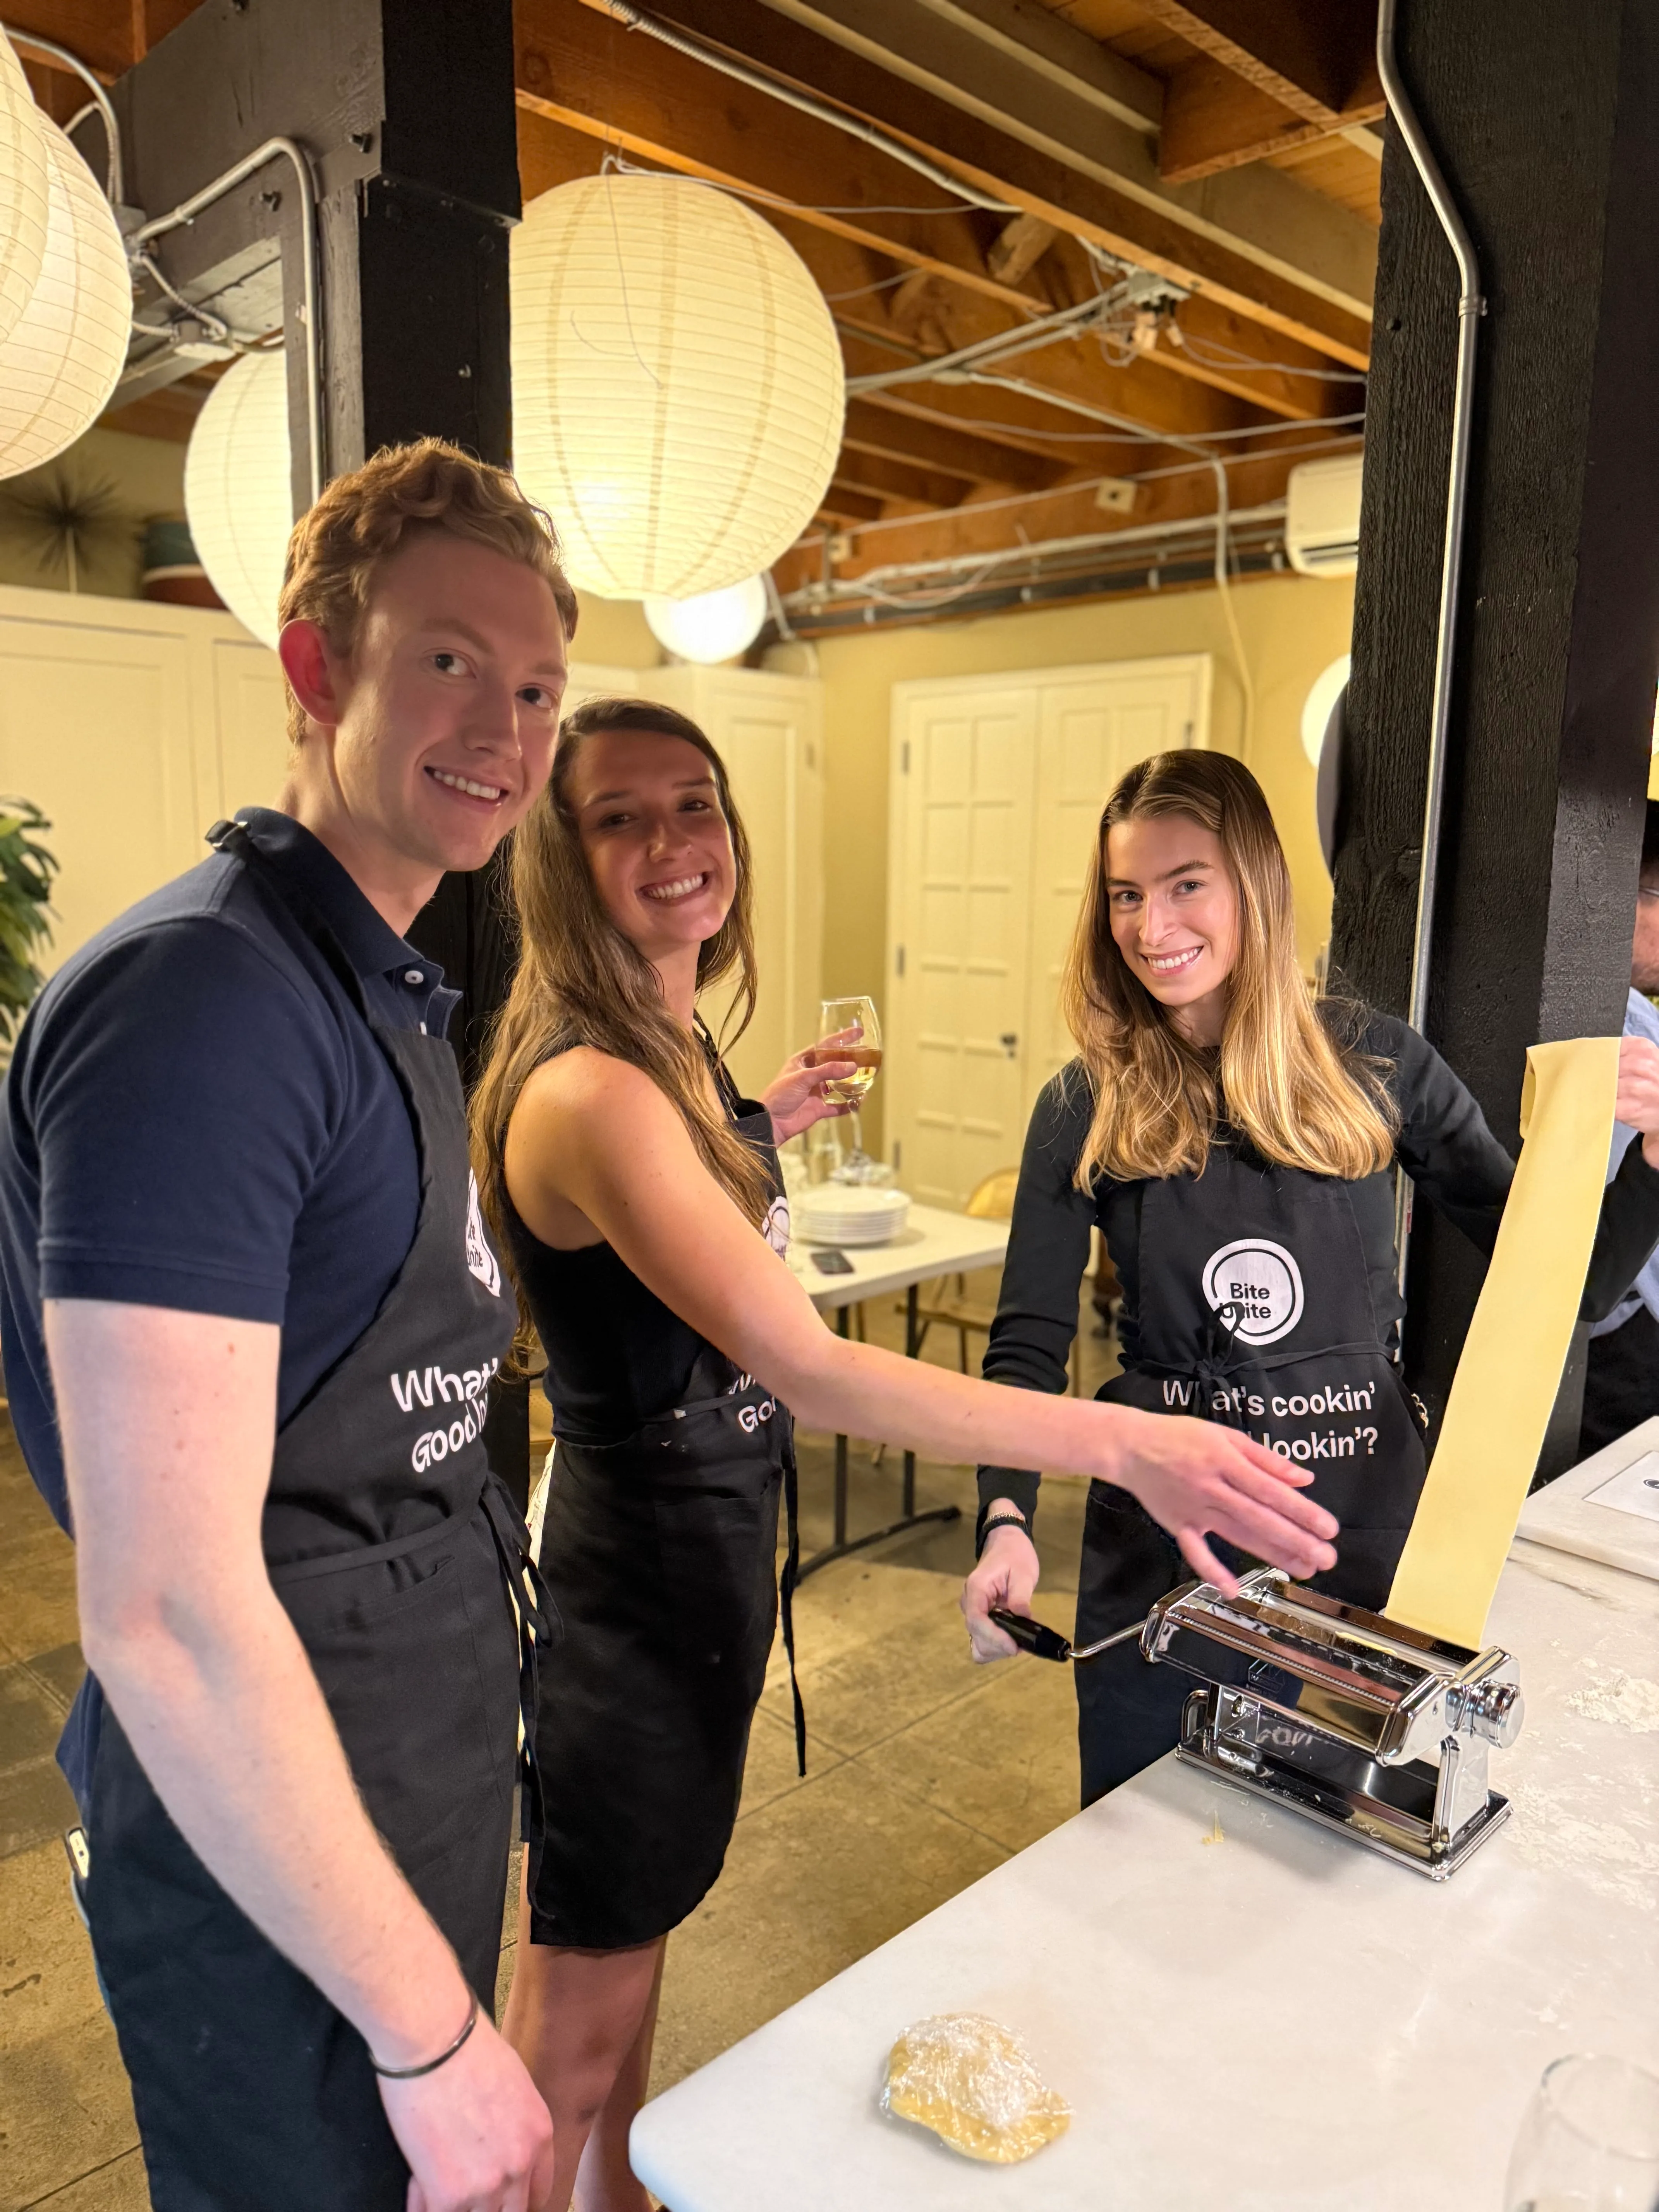
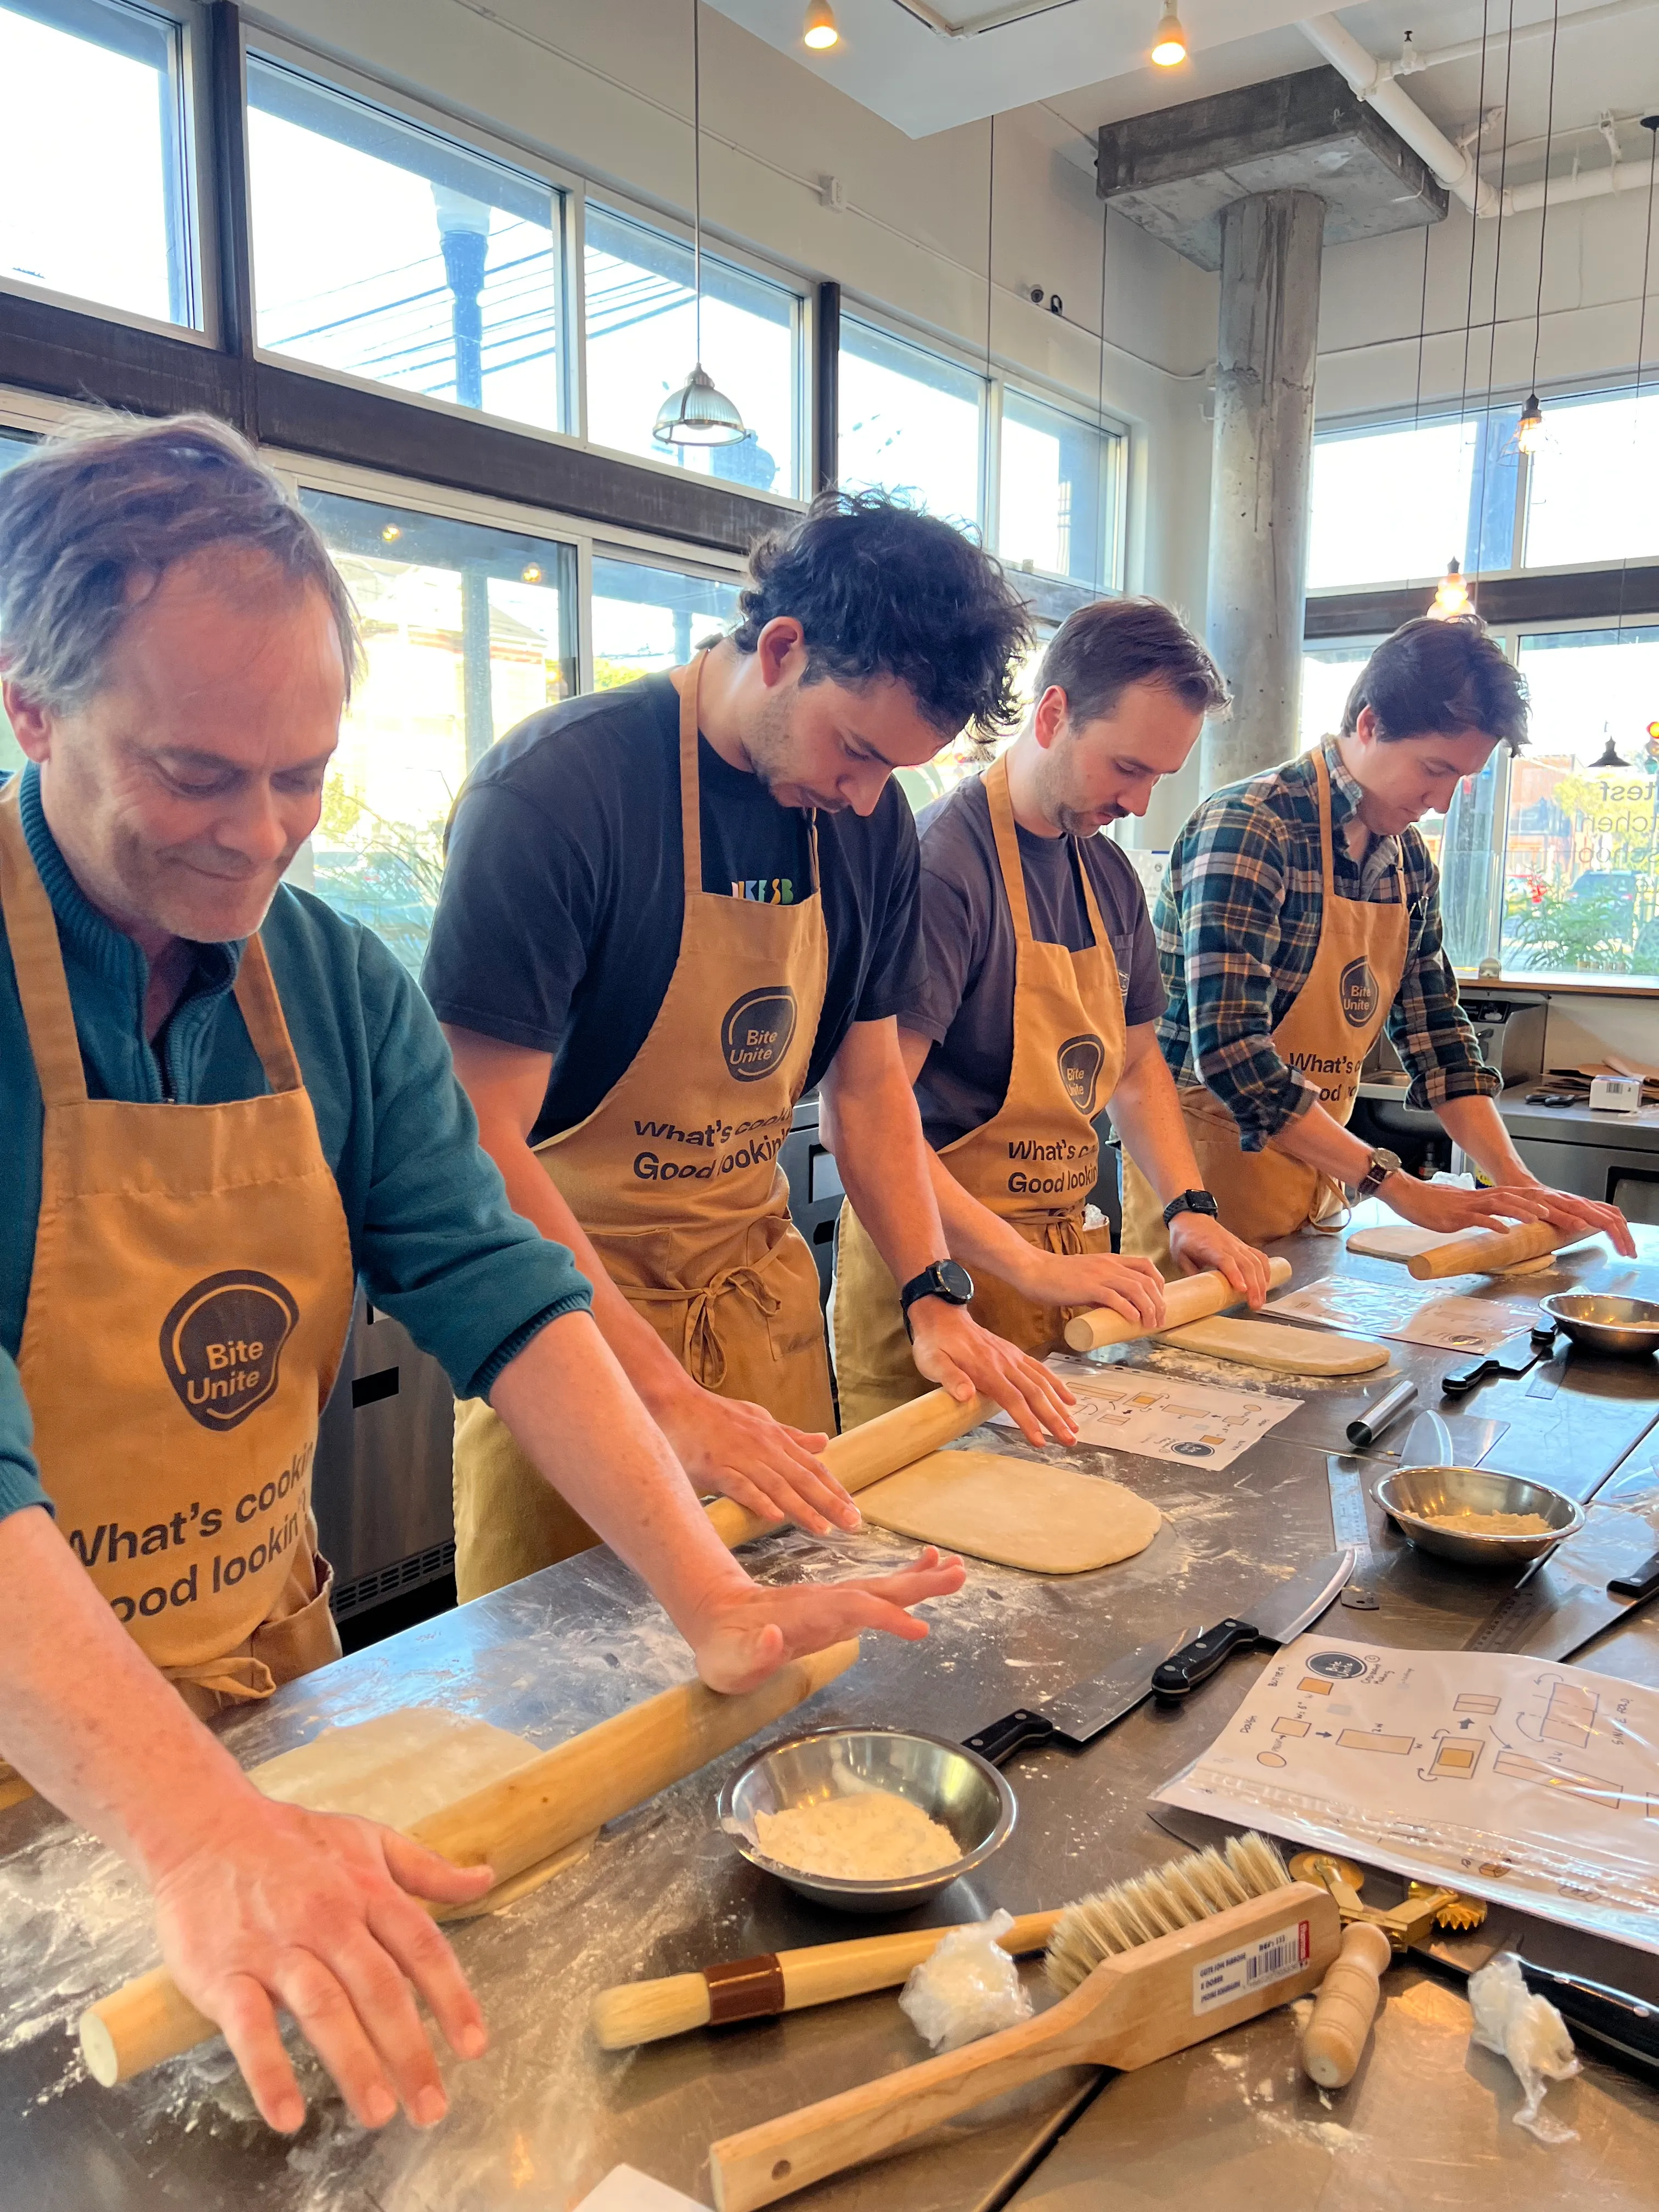
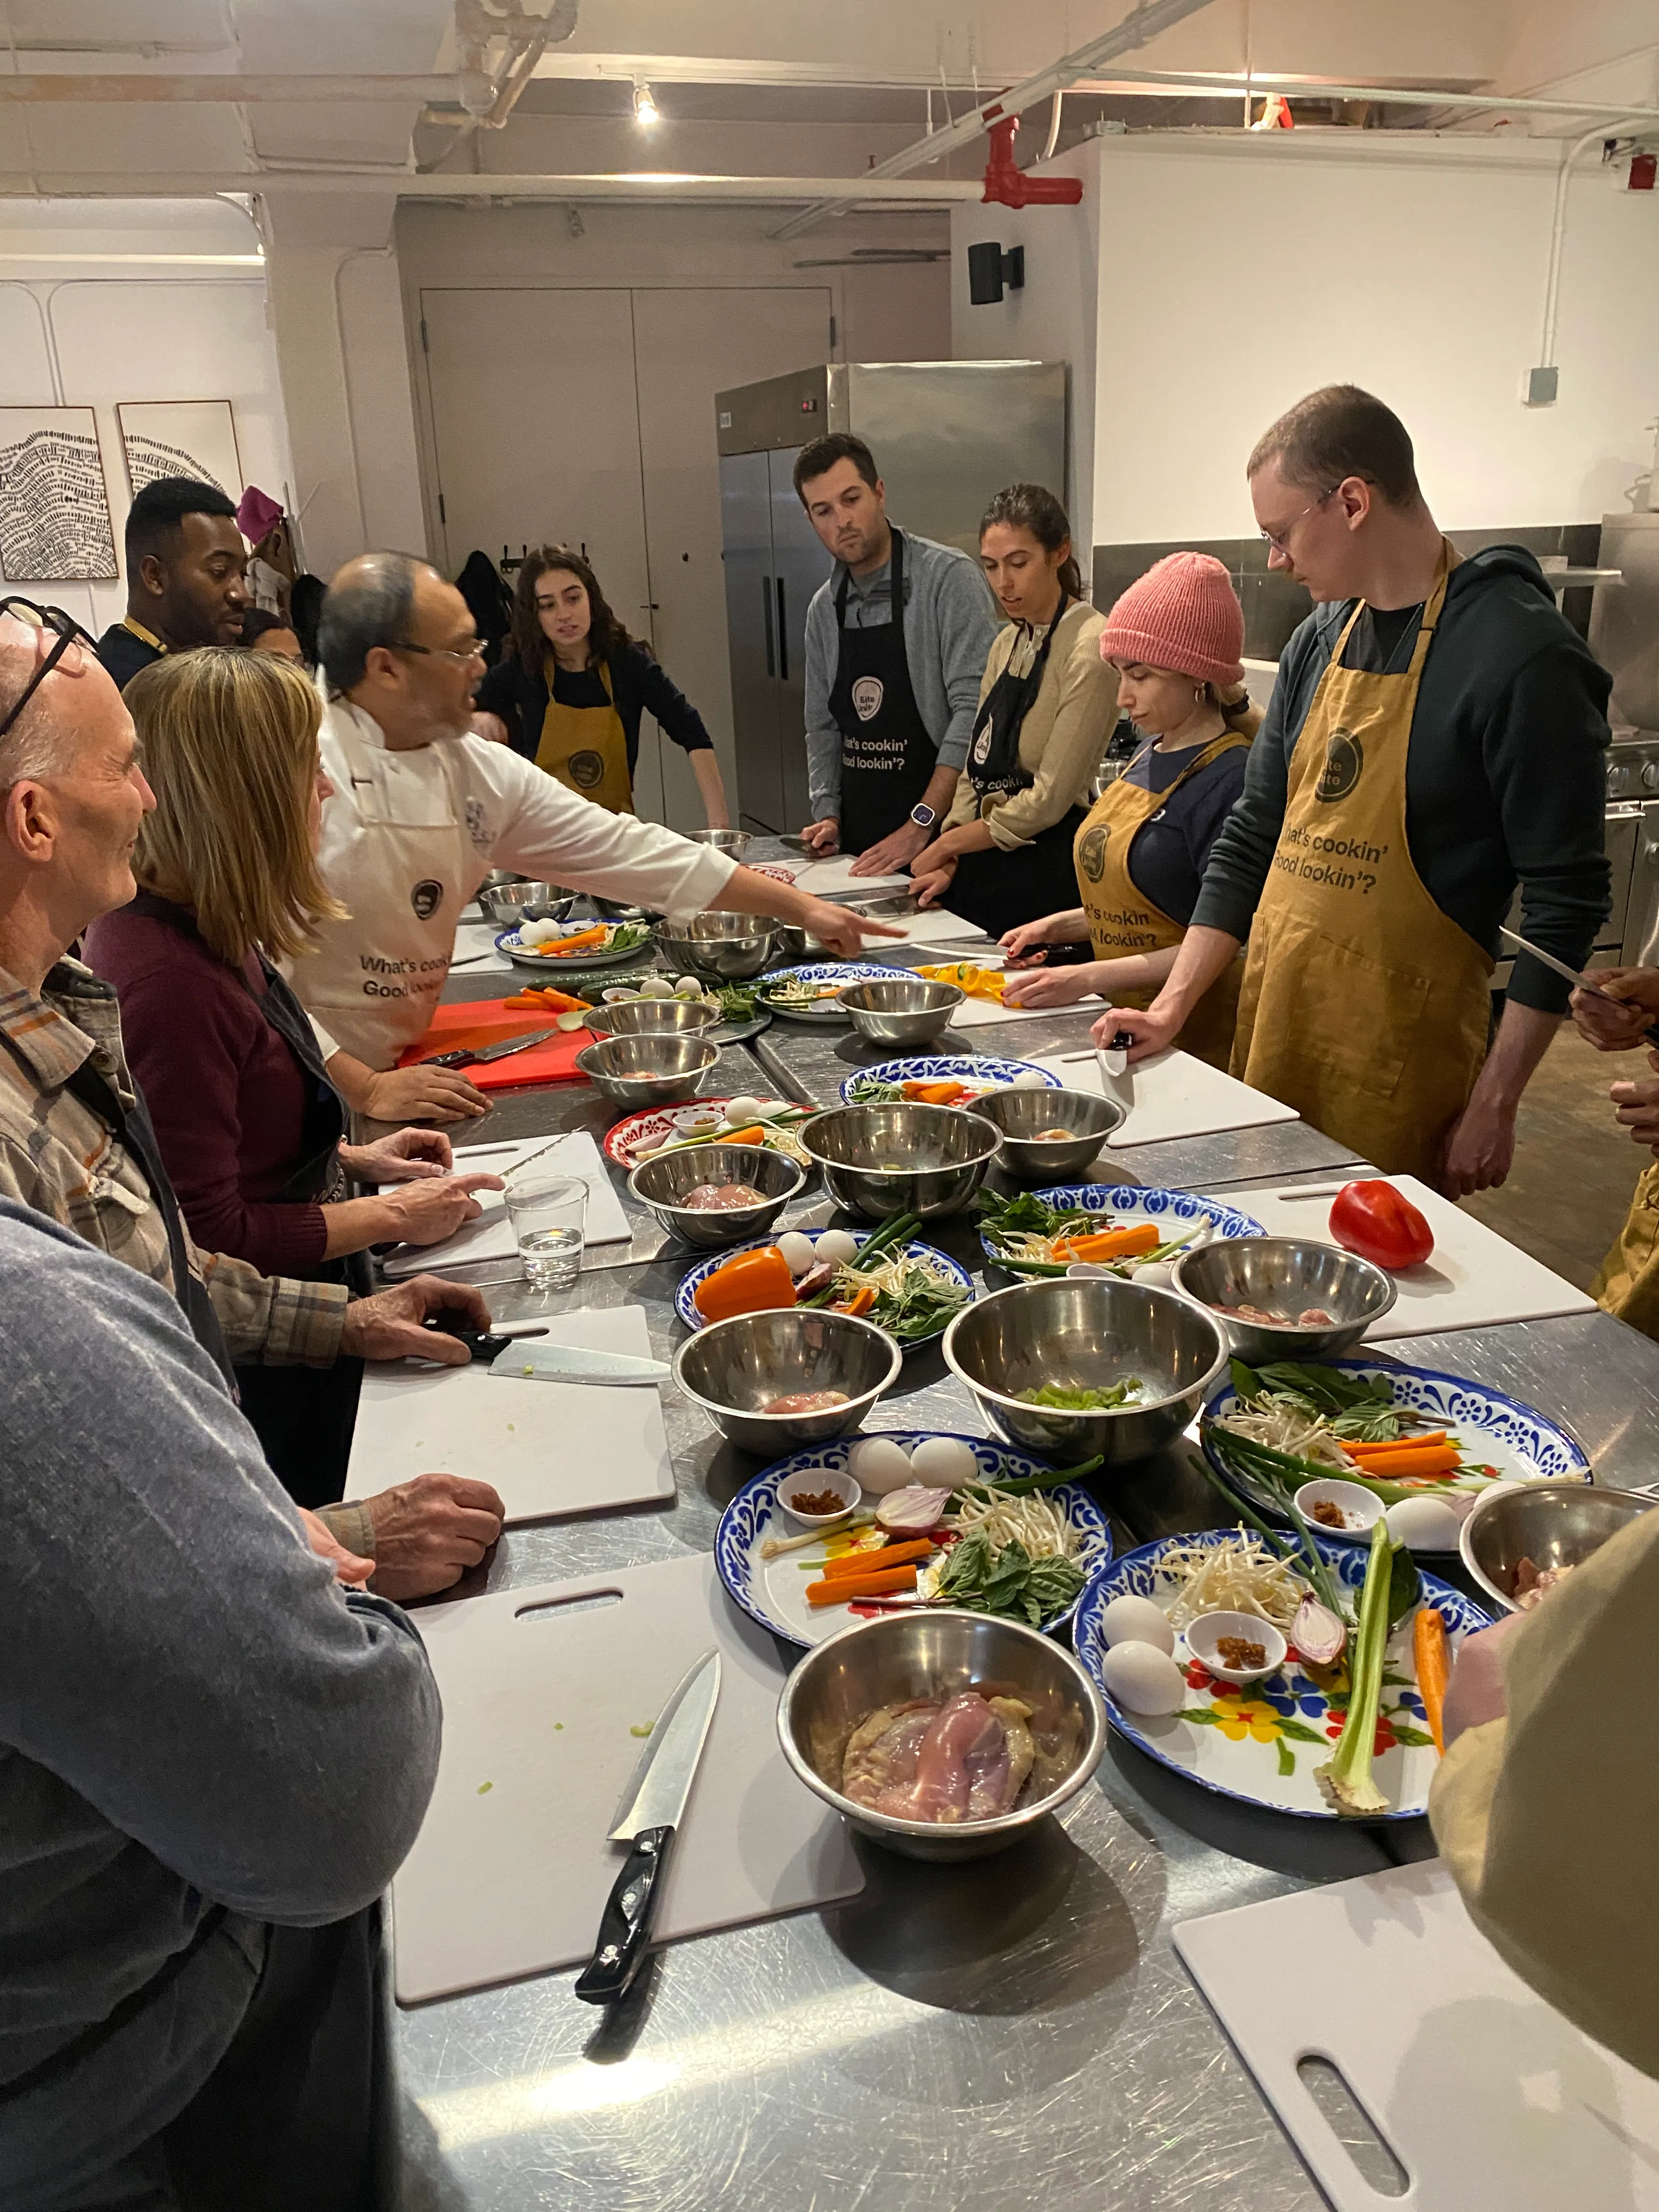
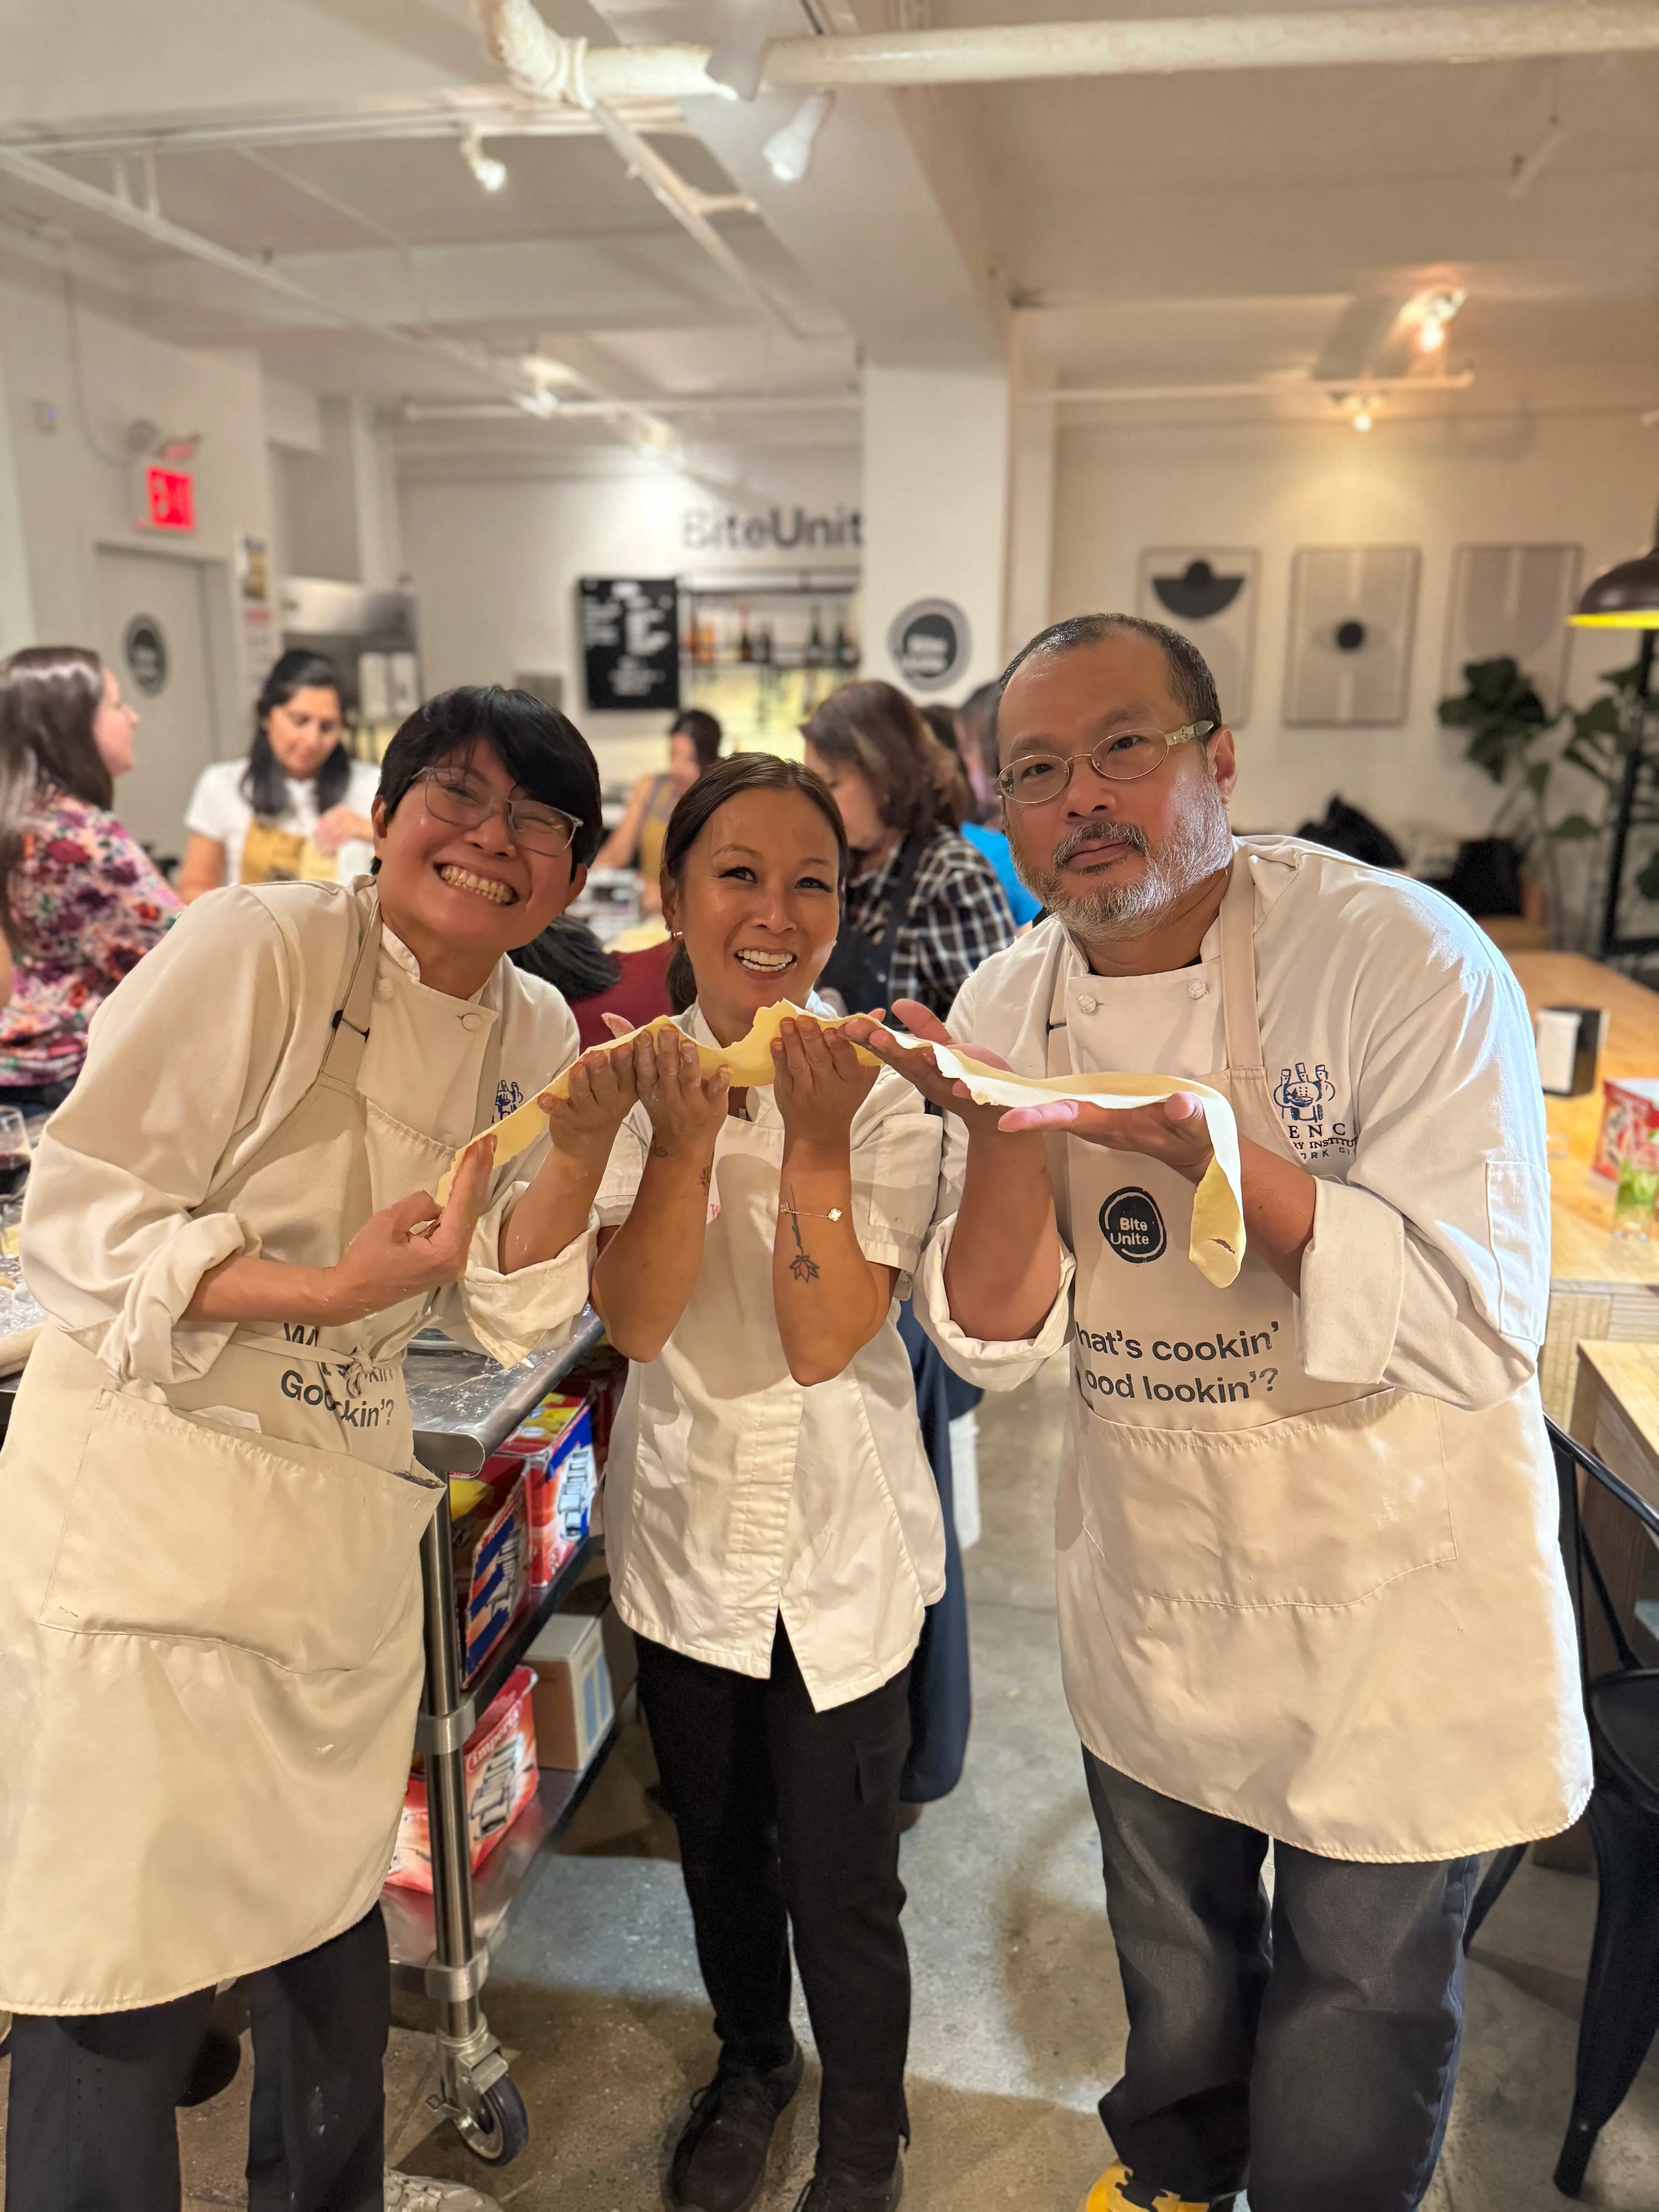
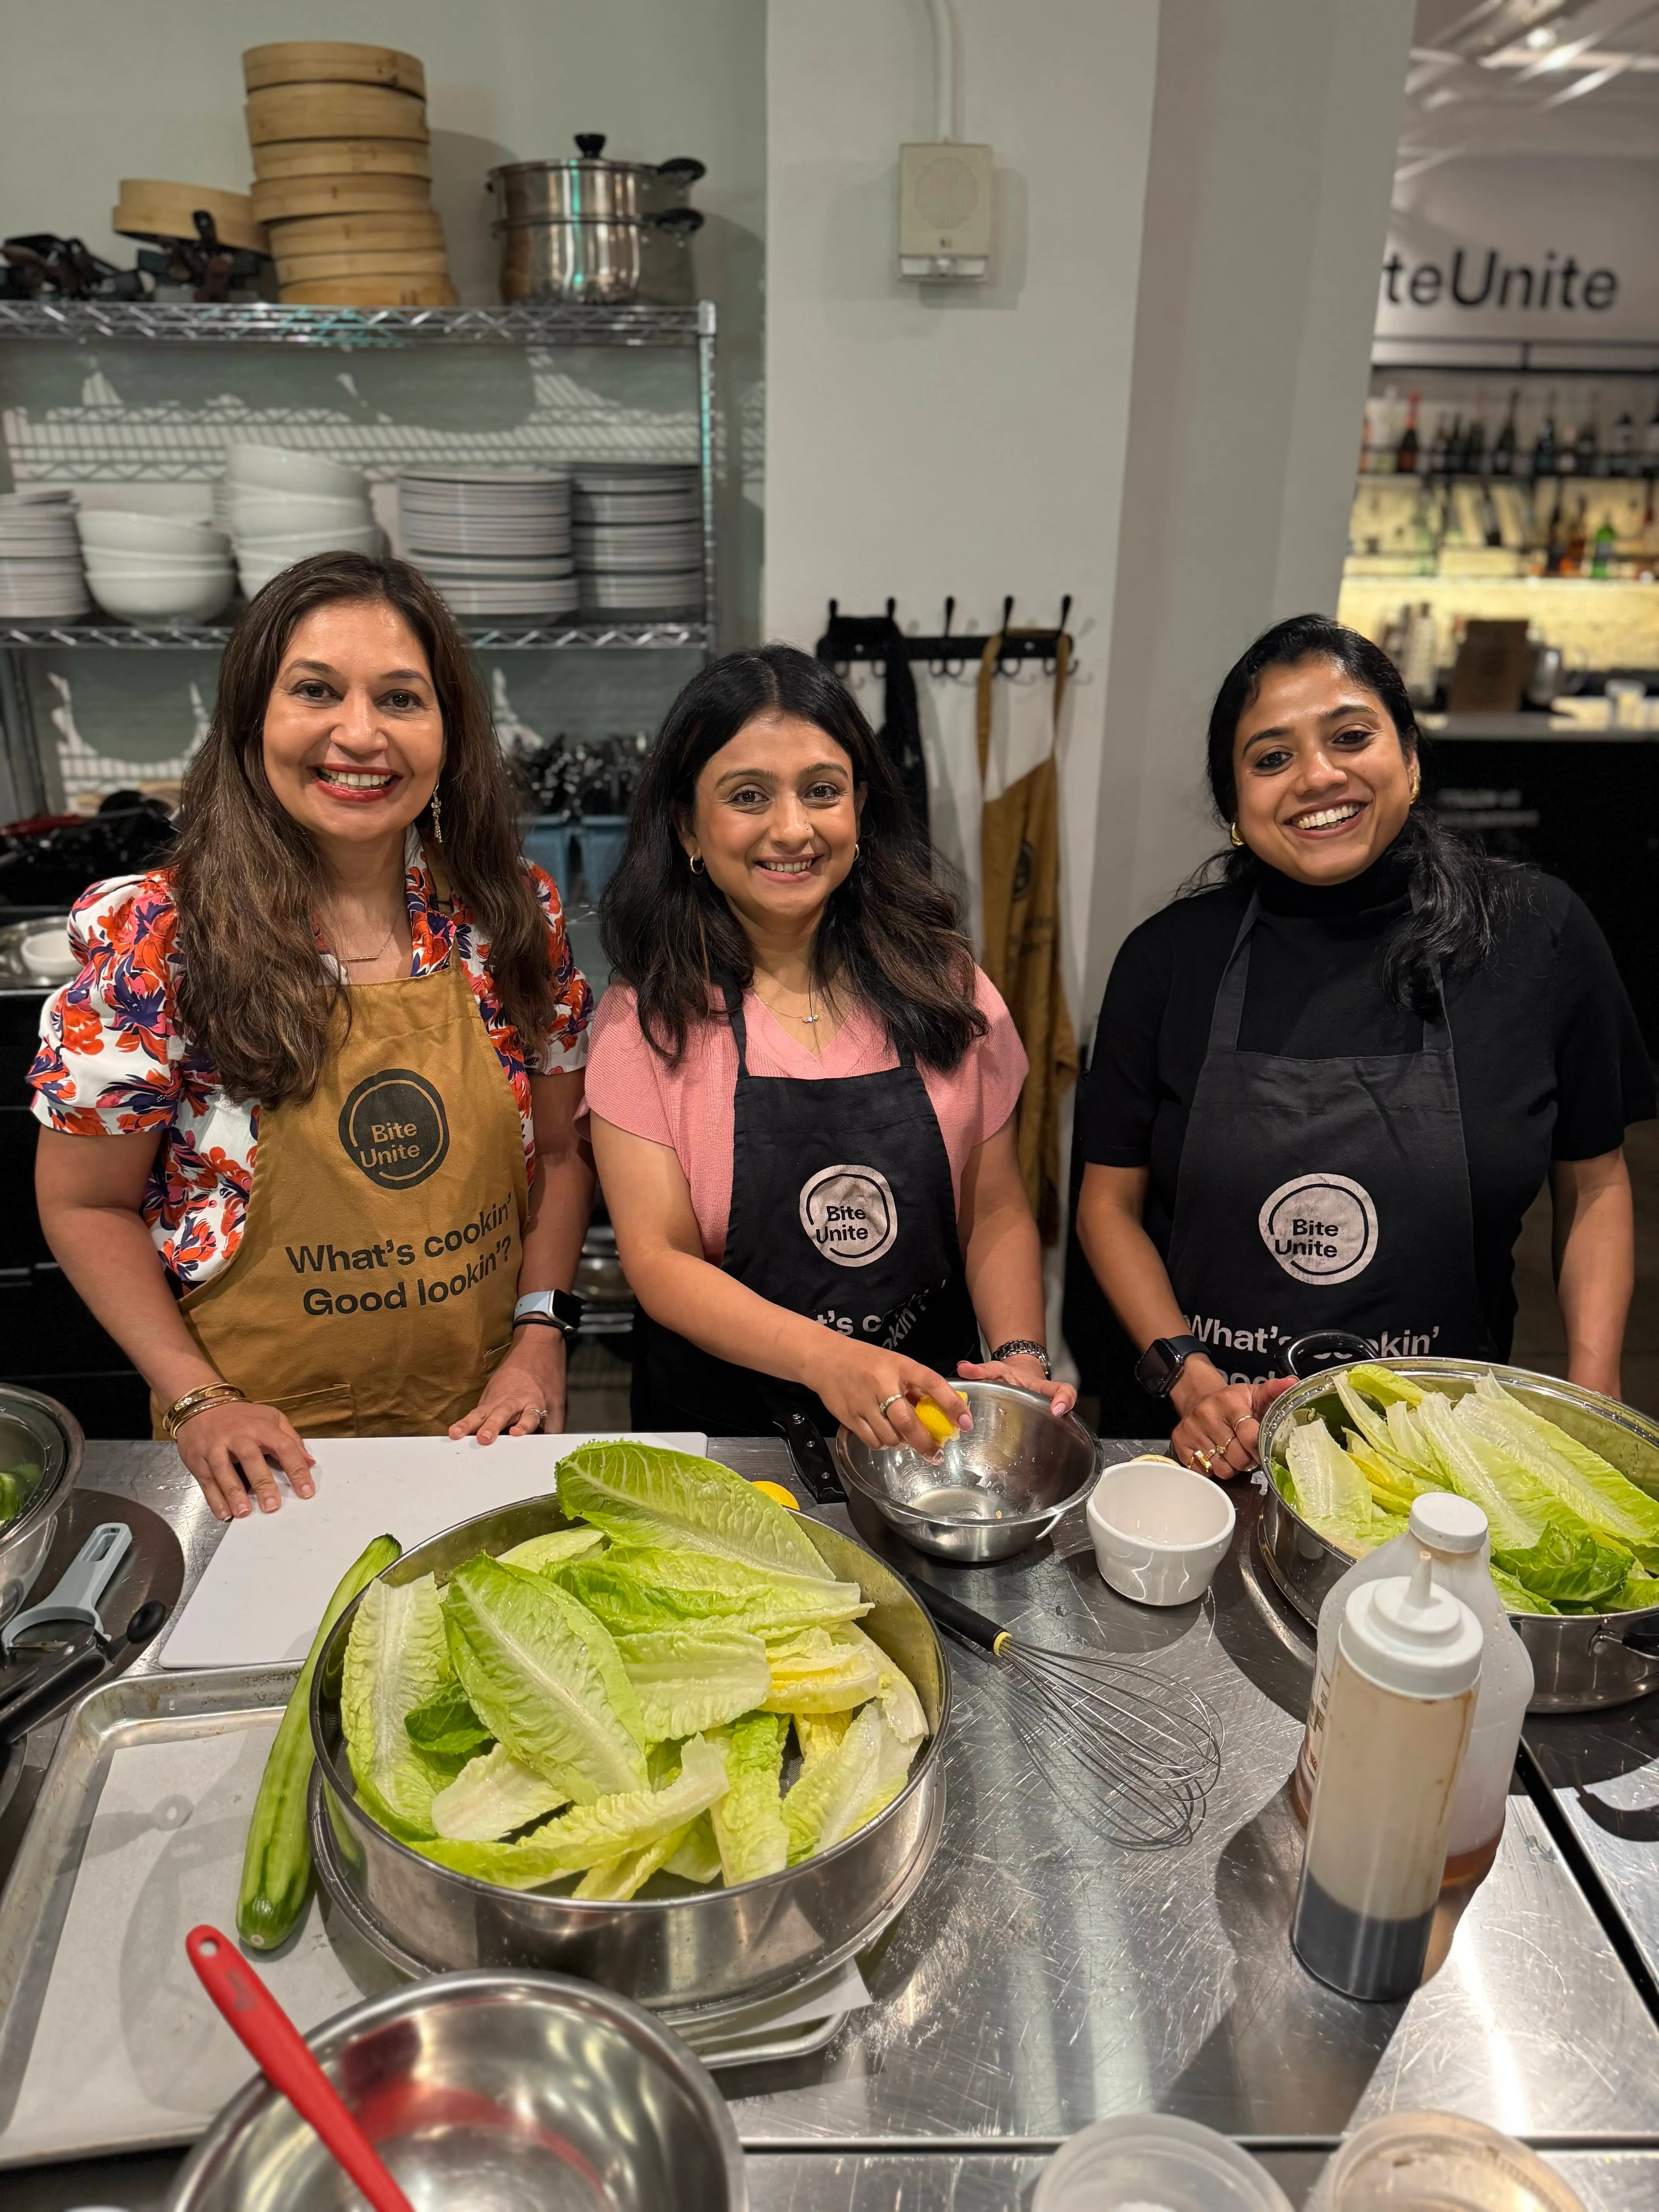
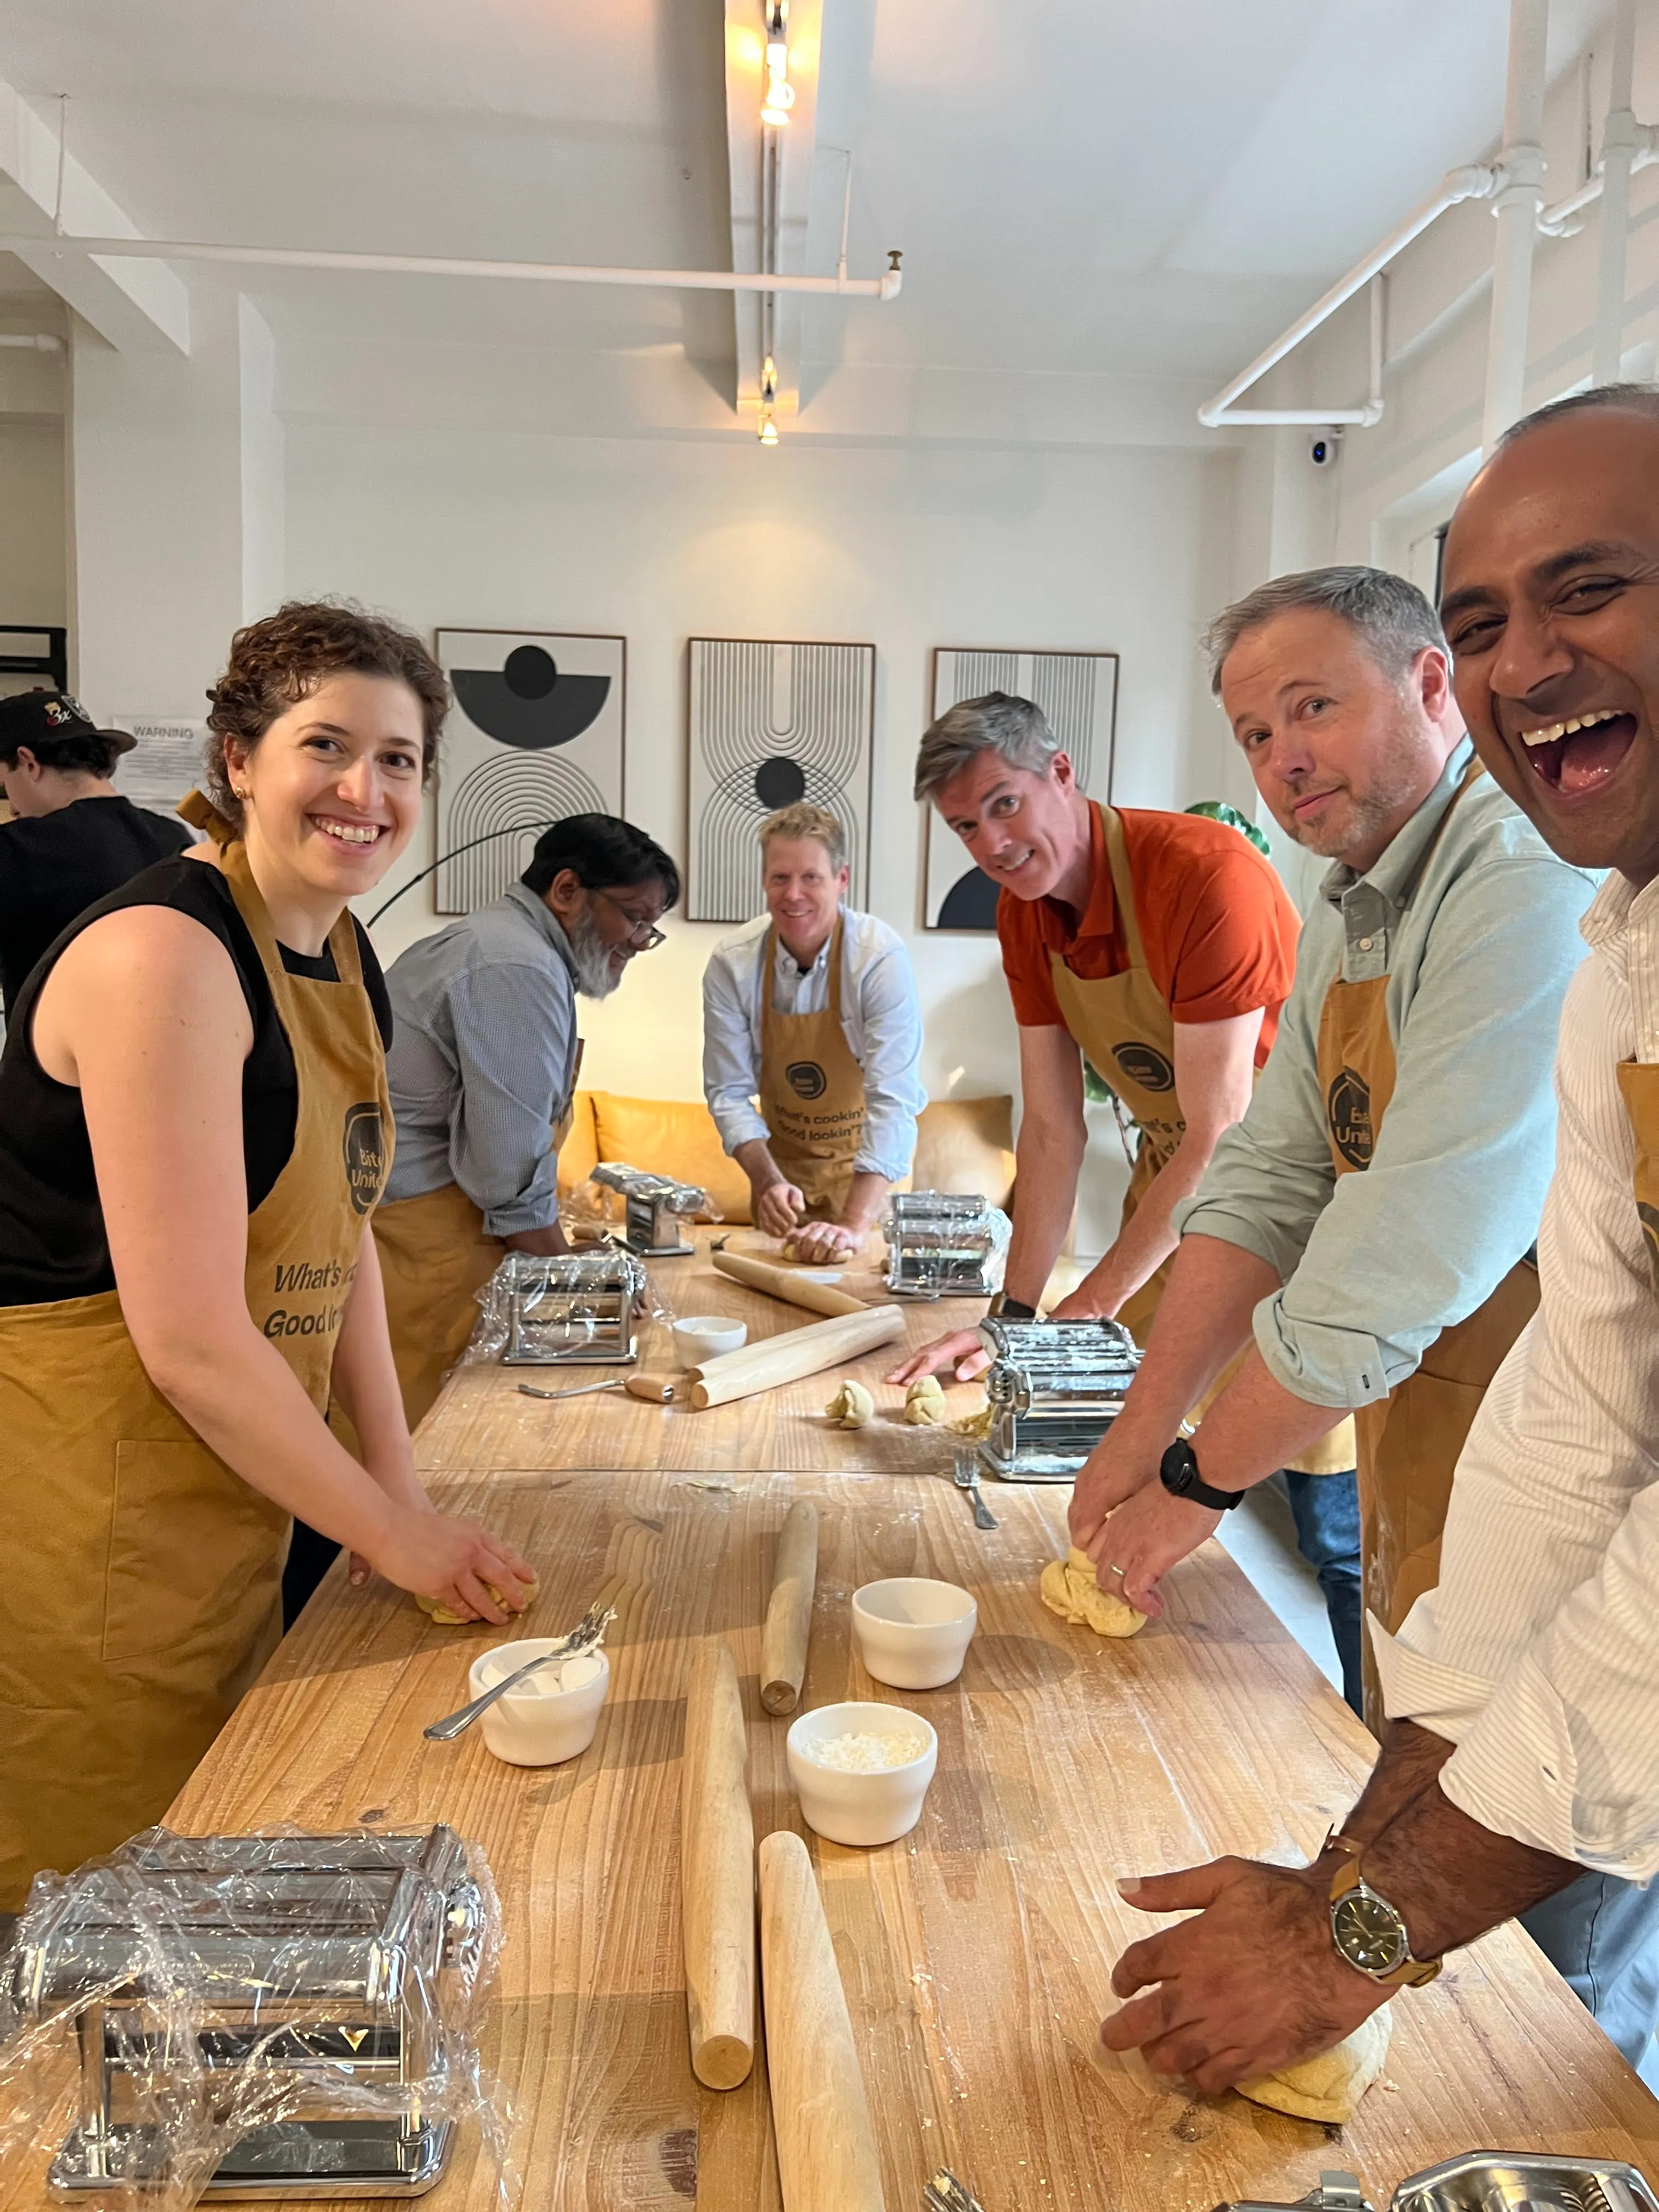
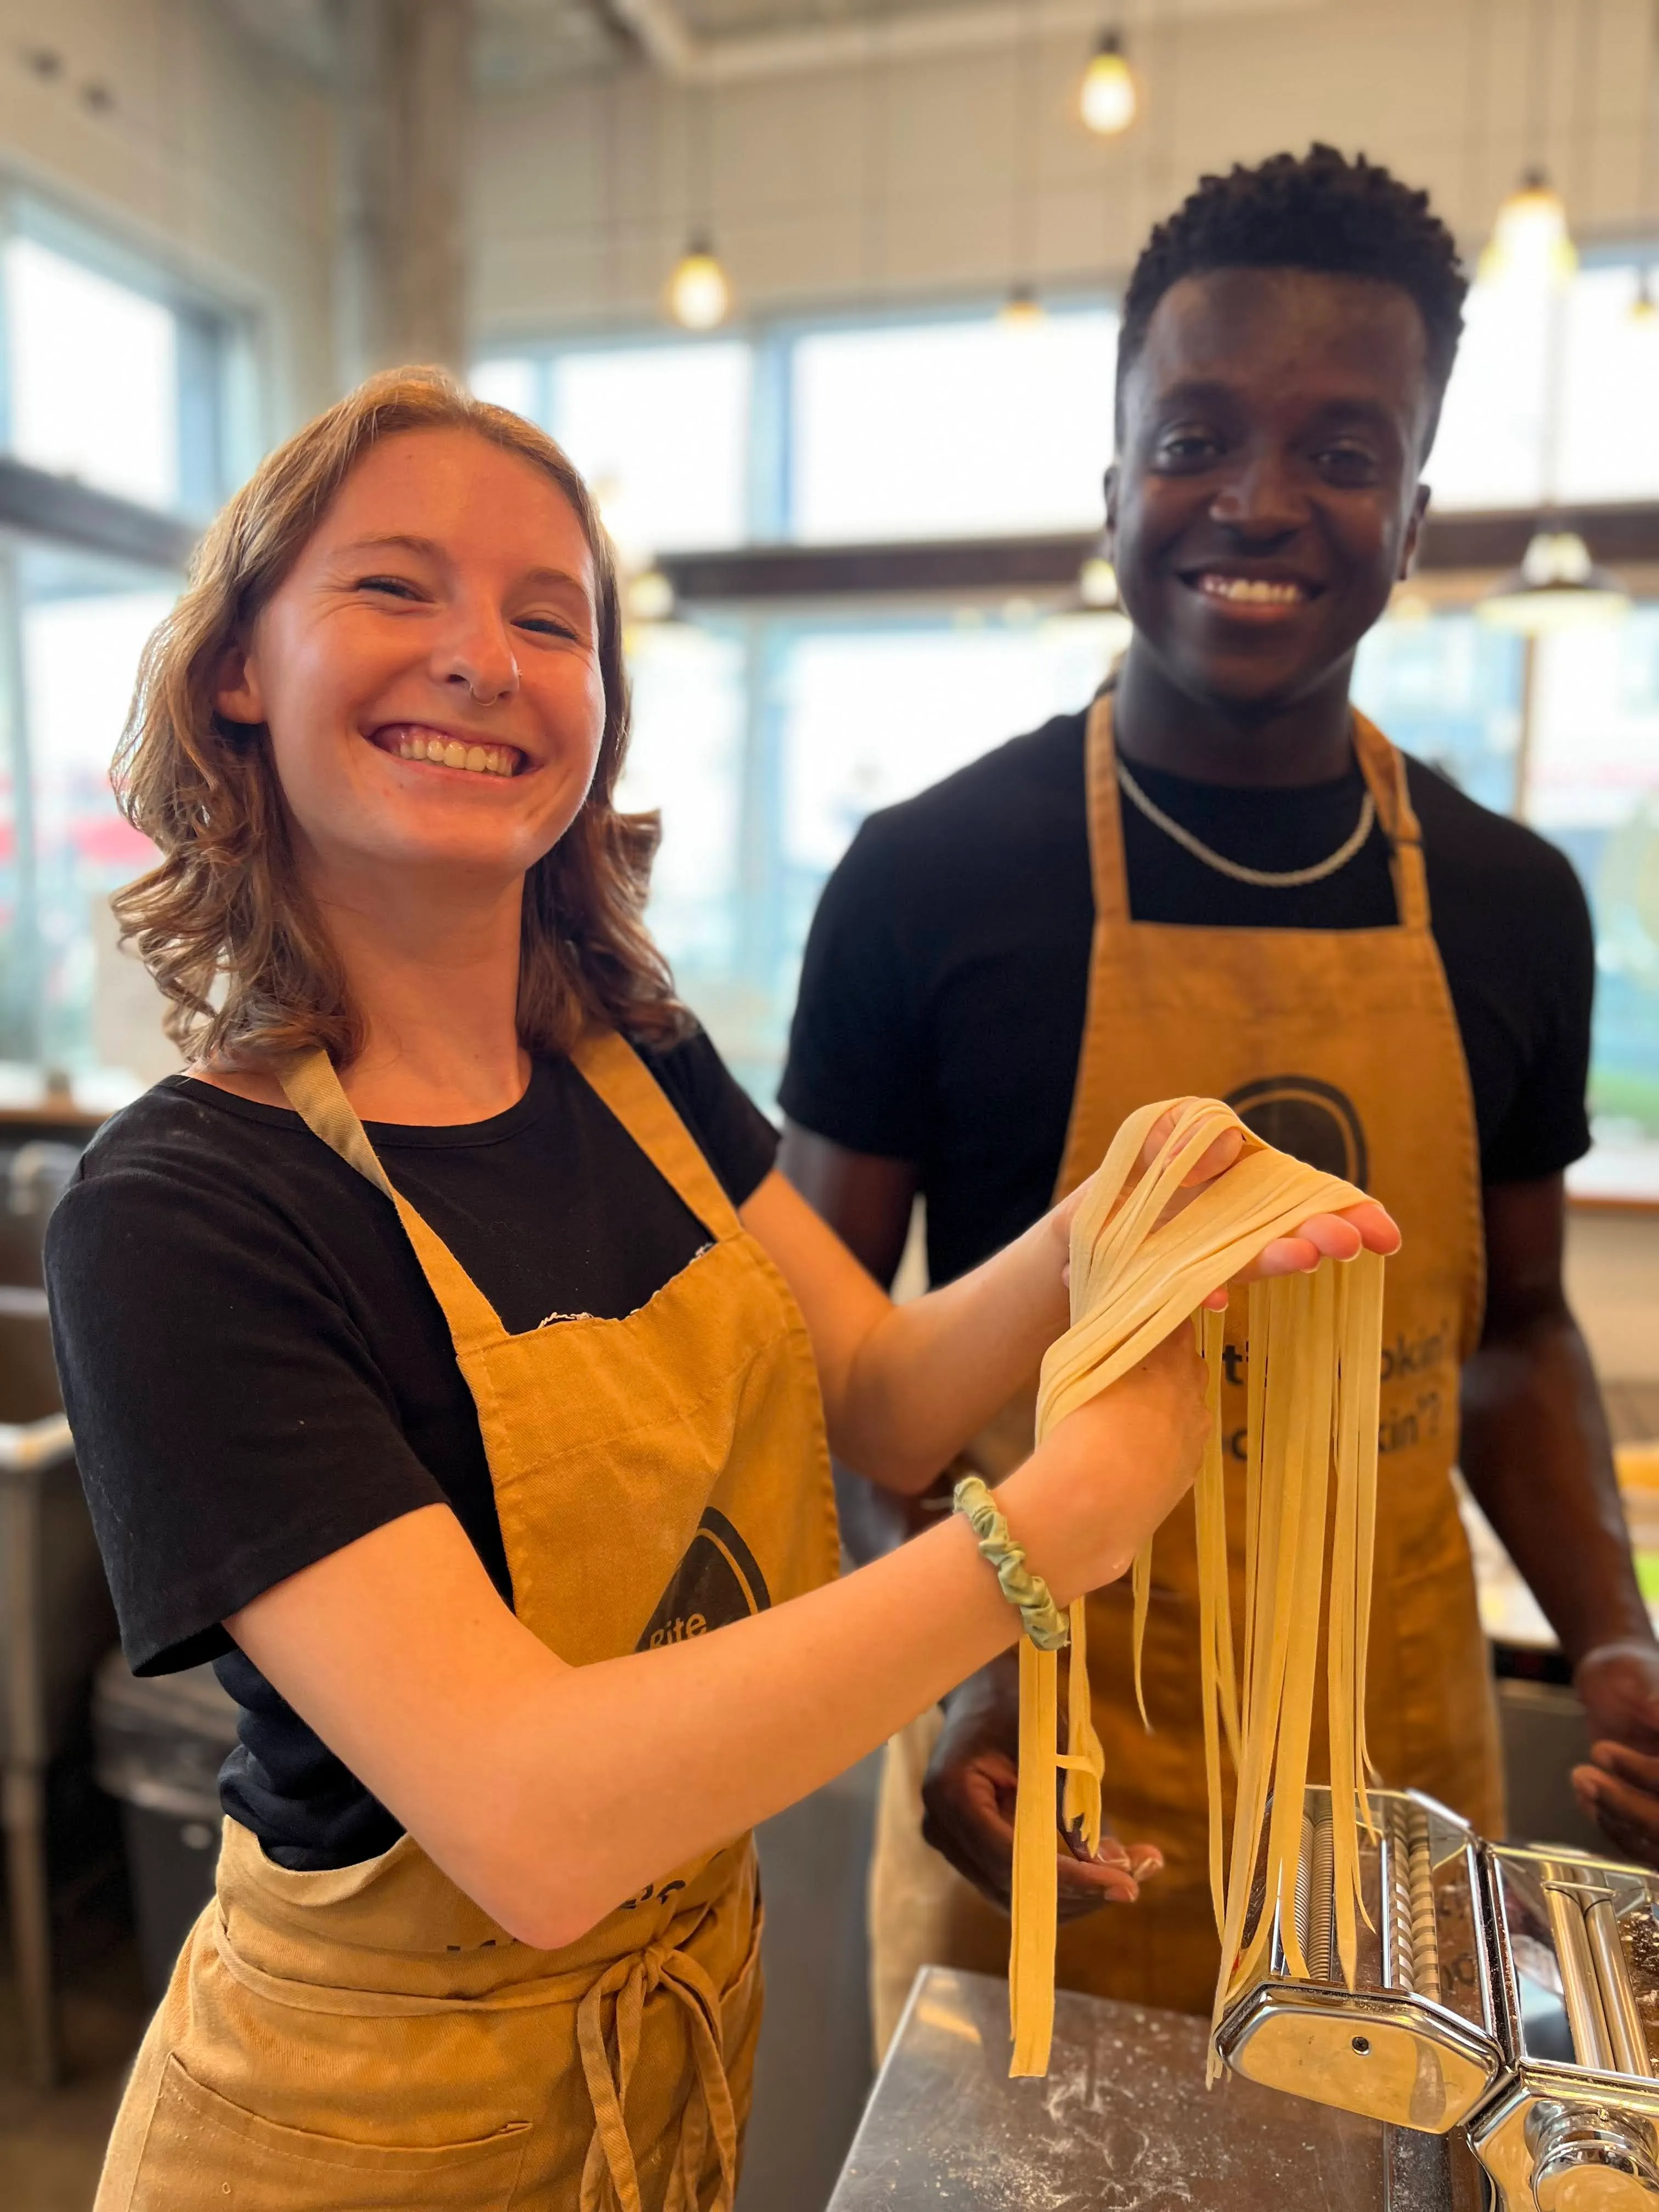
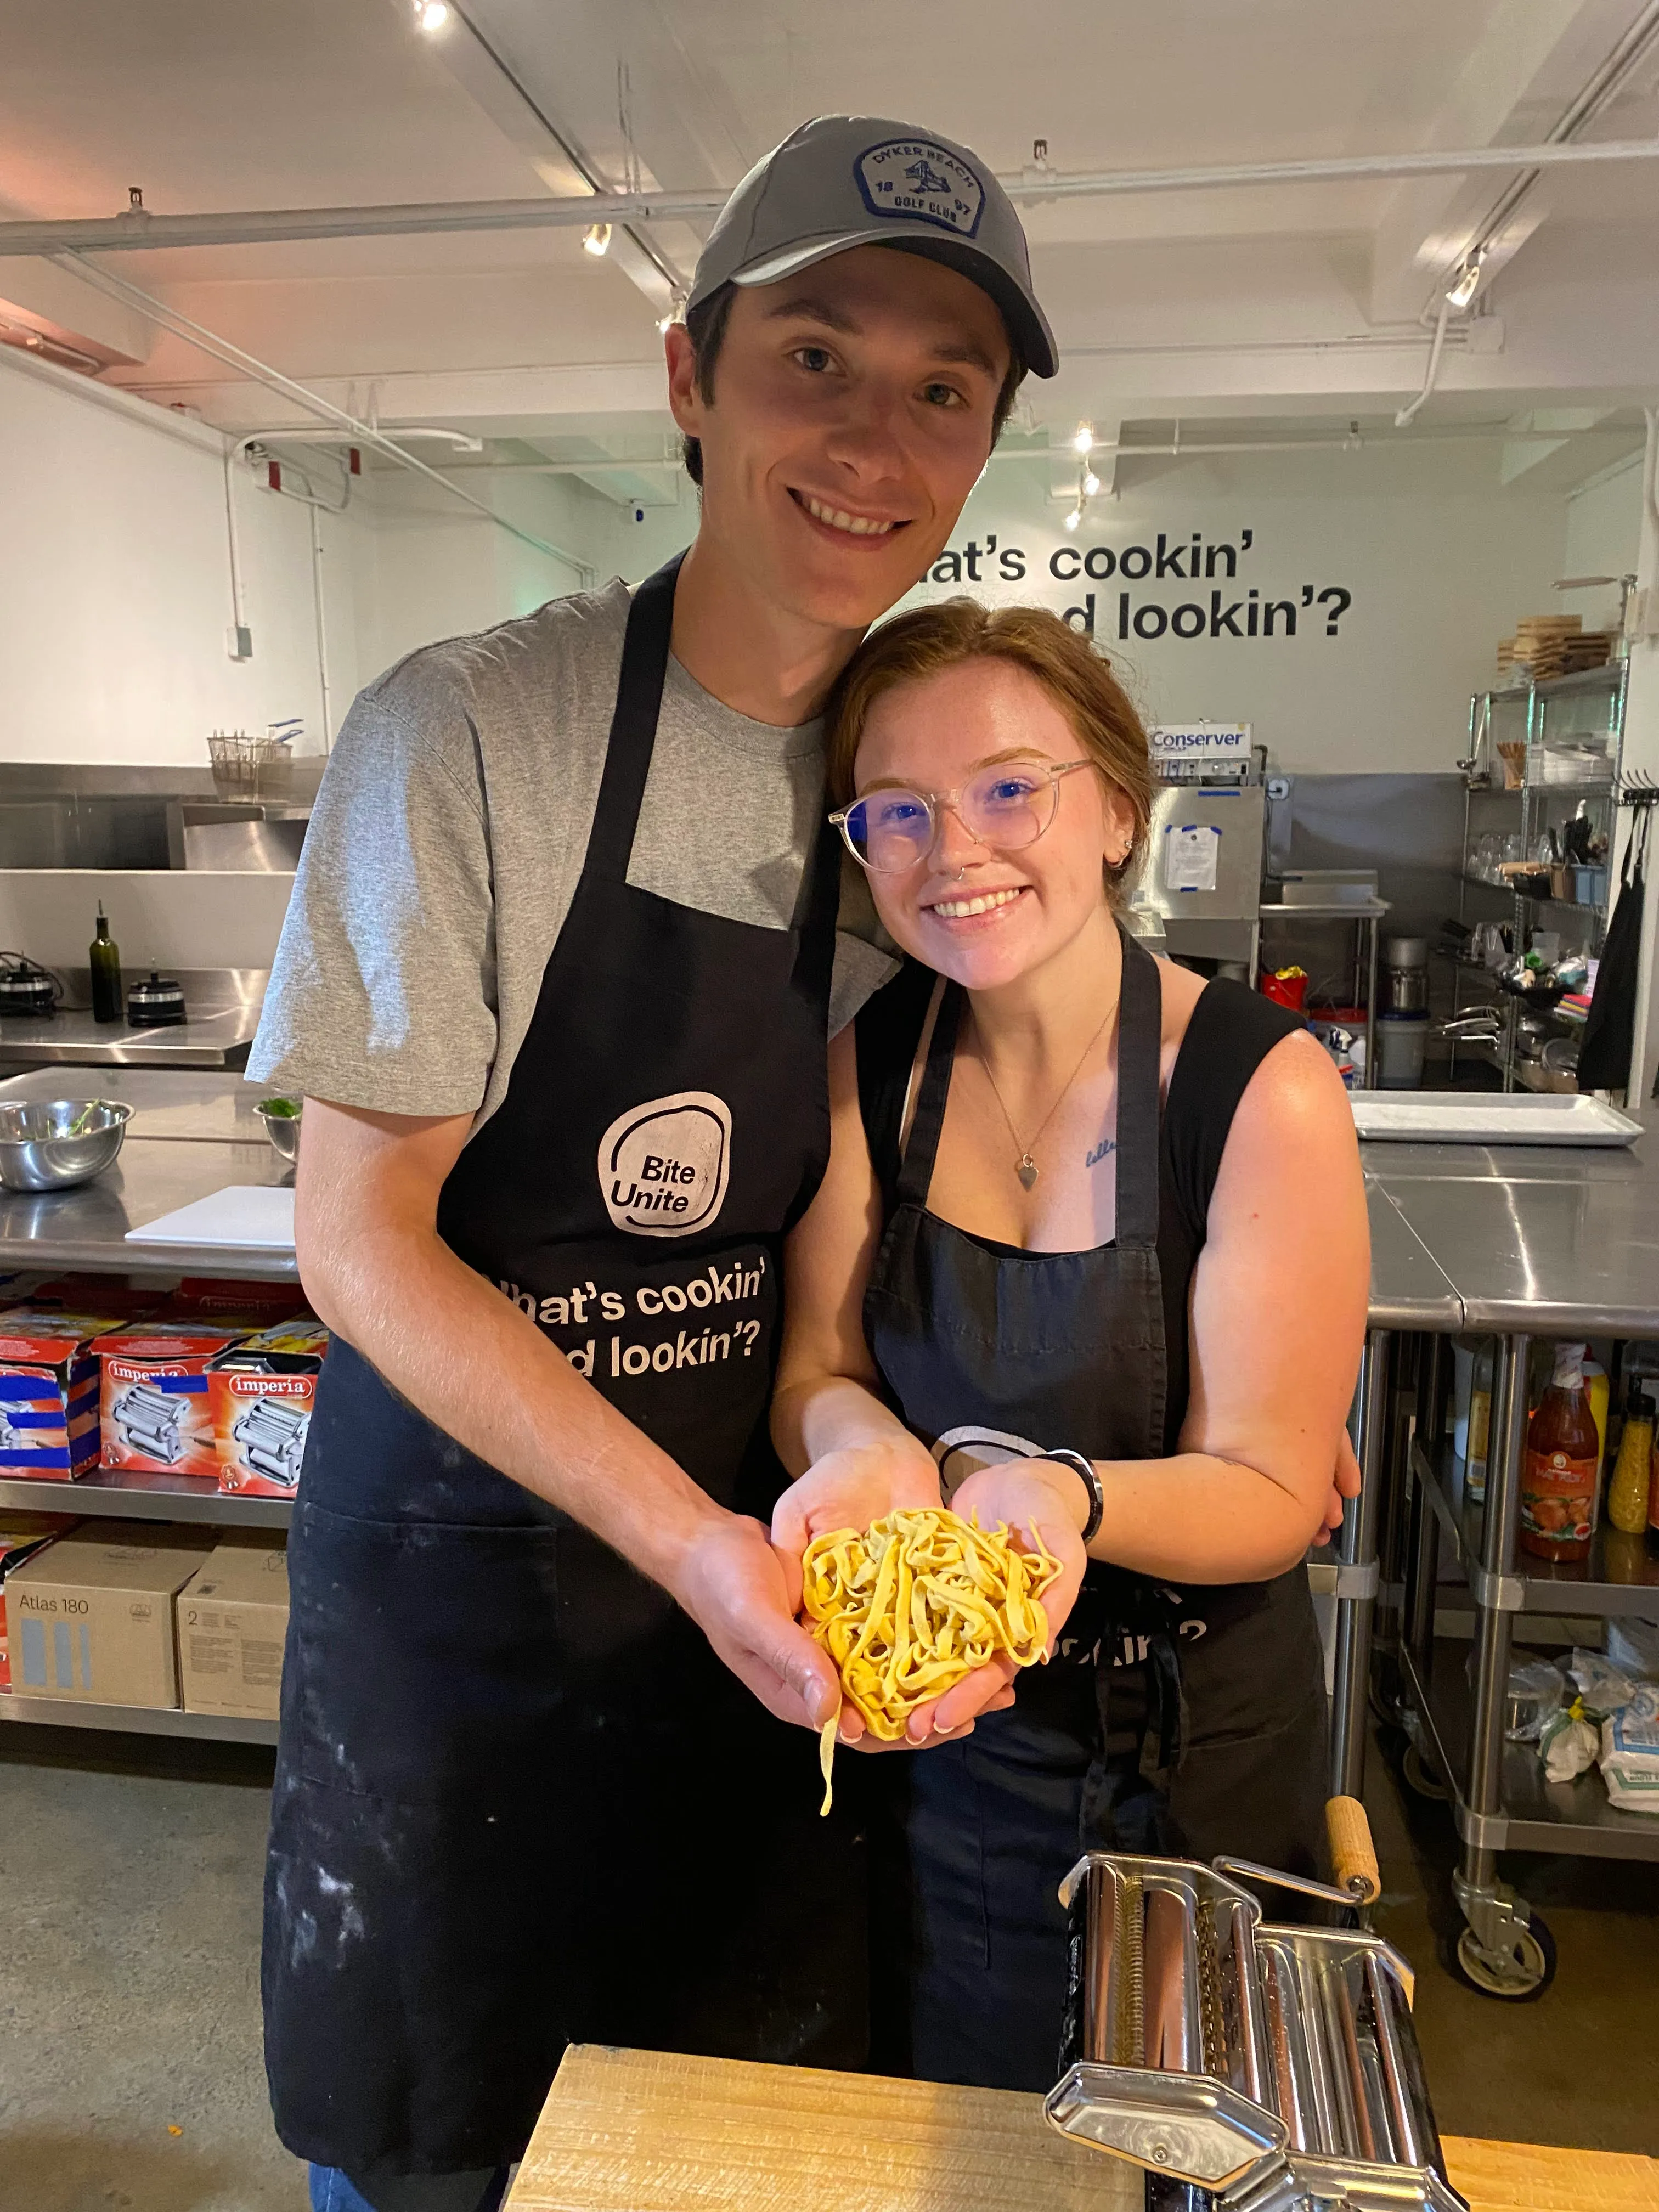
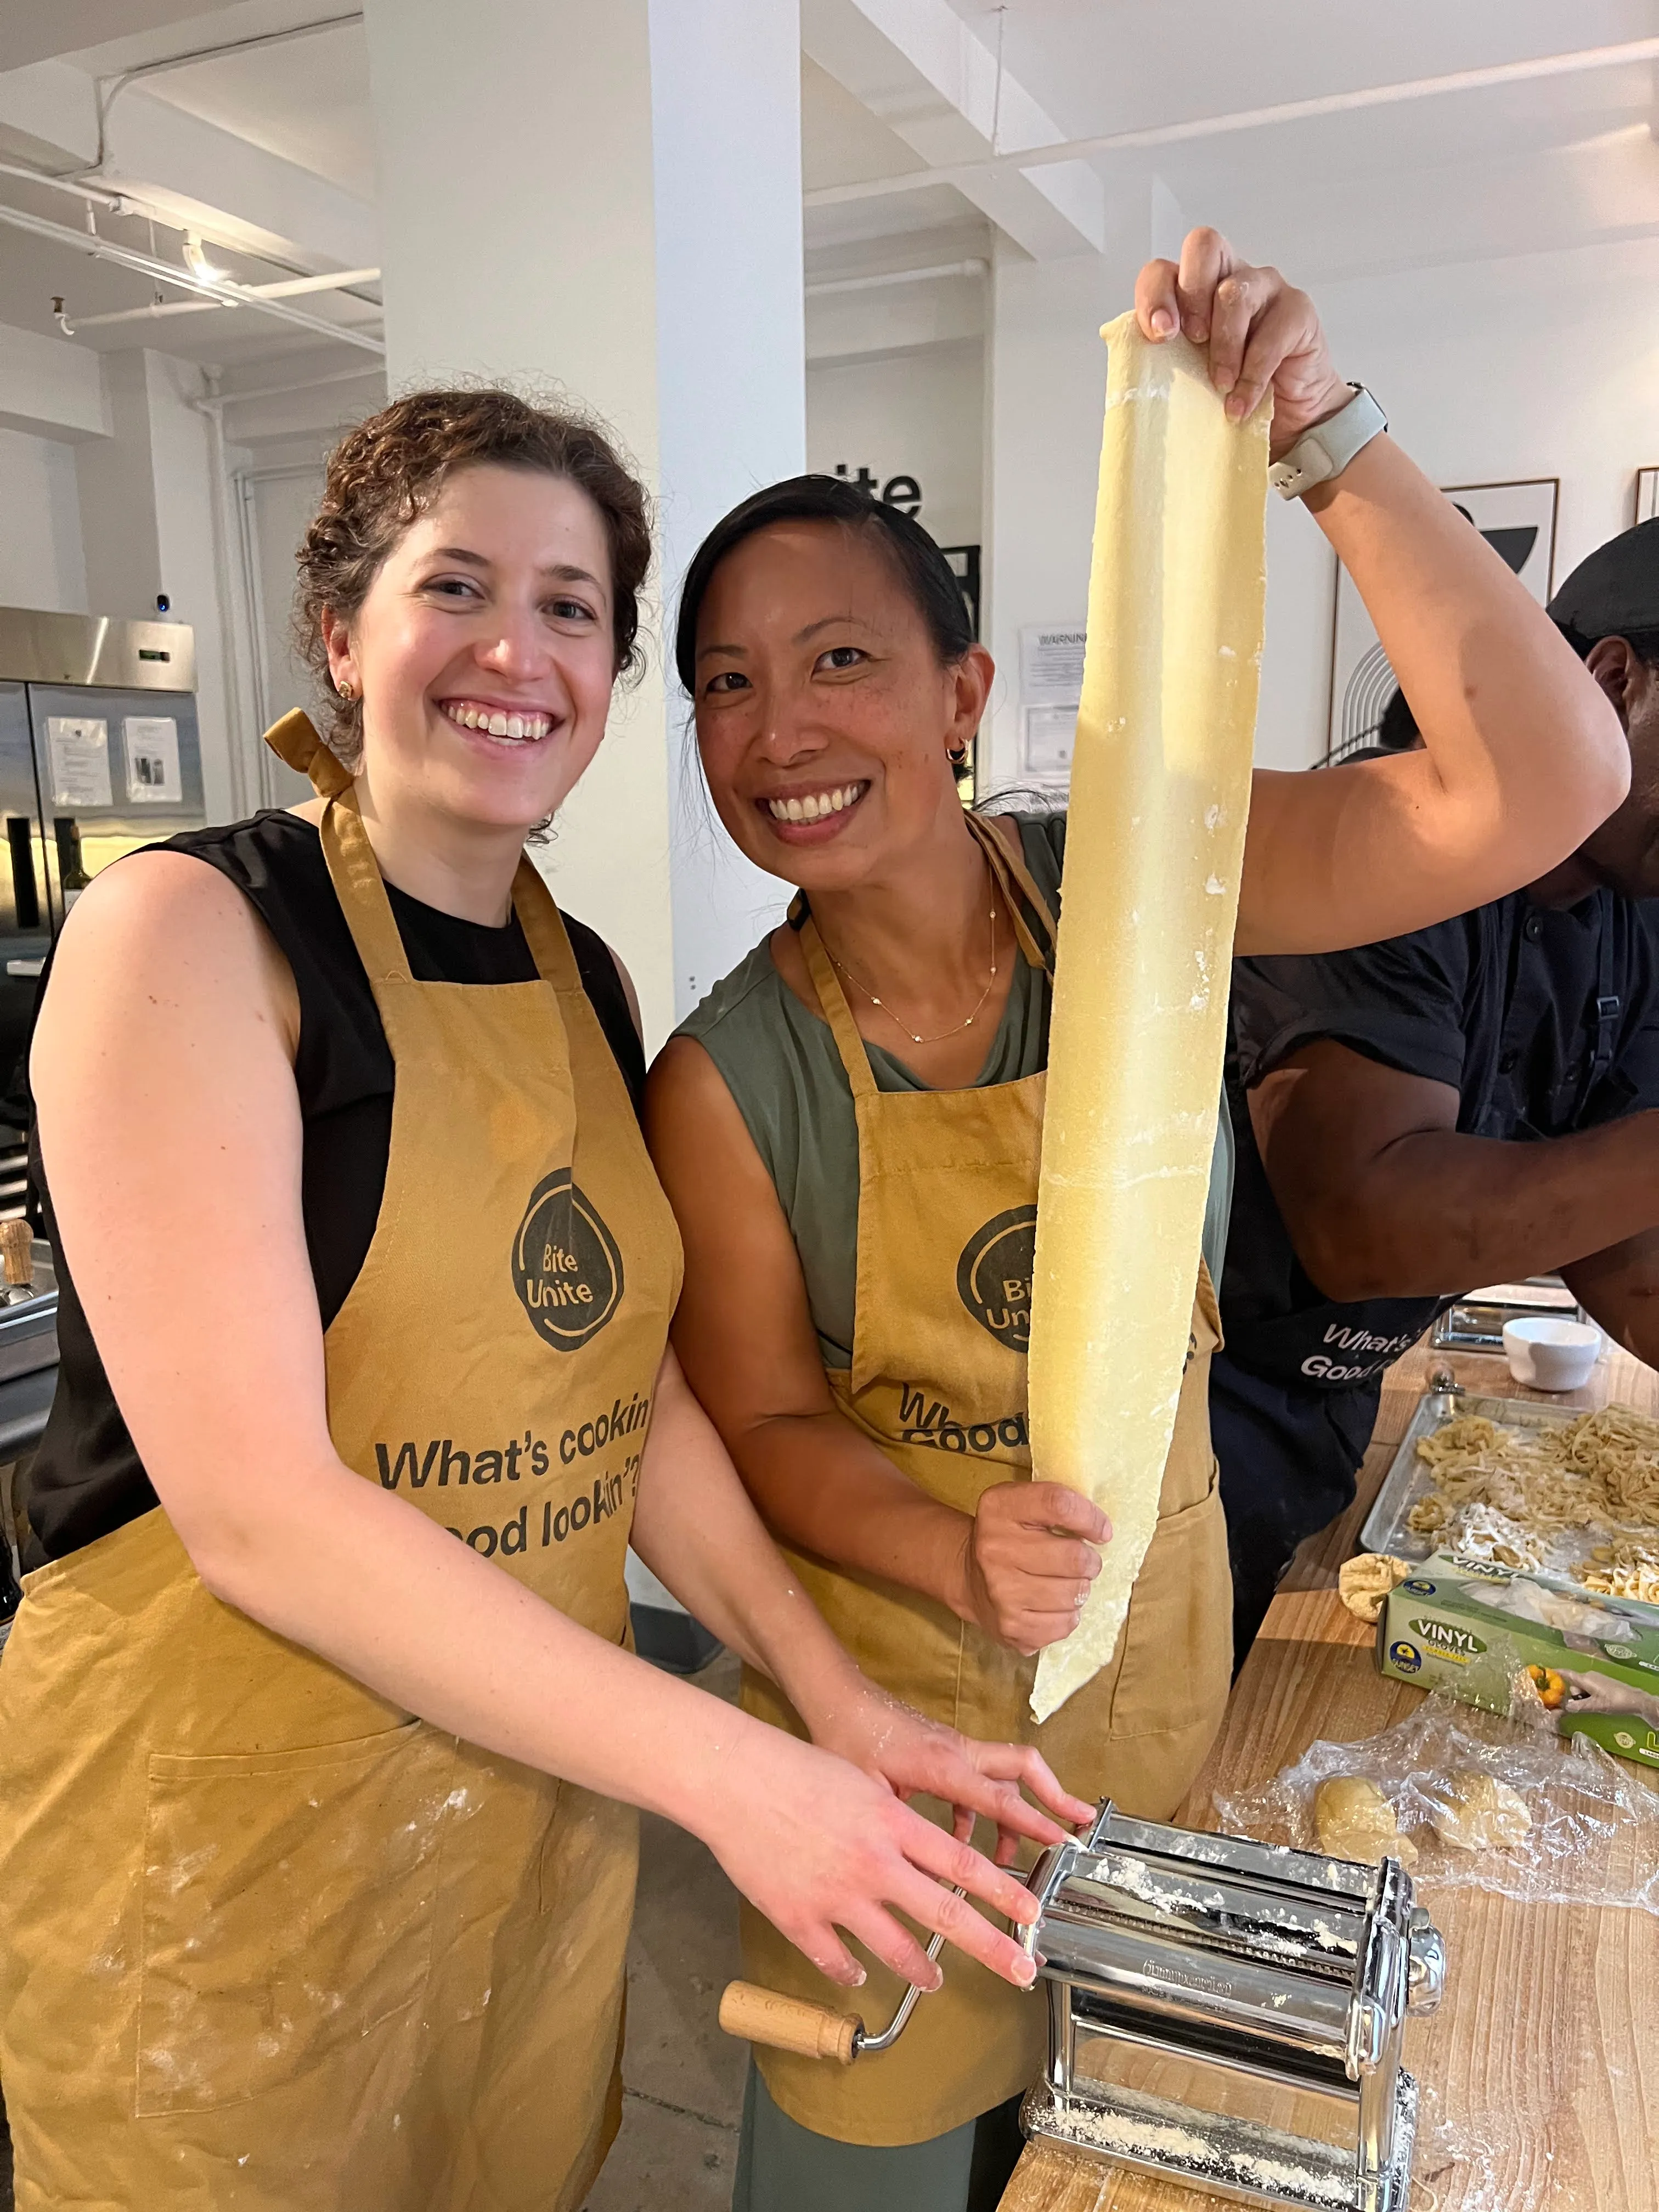
At Biteunite, the teaching model is built around exactly that: small groups, expert chefs, and real hands-on time in cities like New York and San Francisco. The classes are designed to be fun and social, not intimidating, which matters because relaxed learners absorb technique faster than anxious ones.
That said, a demo workshop or a structured online course is a perfectly reasonable starting point if cost or schedule is a real barrier. The key is to follow it up with deliberate practice at home, ideally using the drills from your session. The gap between “watched a video” and “took a class” is real, but the gap between “took a class” and “practiced afterward” is just as wide.
Biteunite makes it easy to book a hands-on knife skills experience

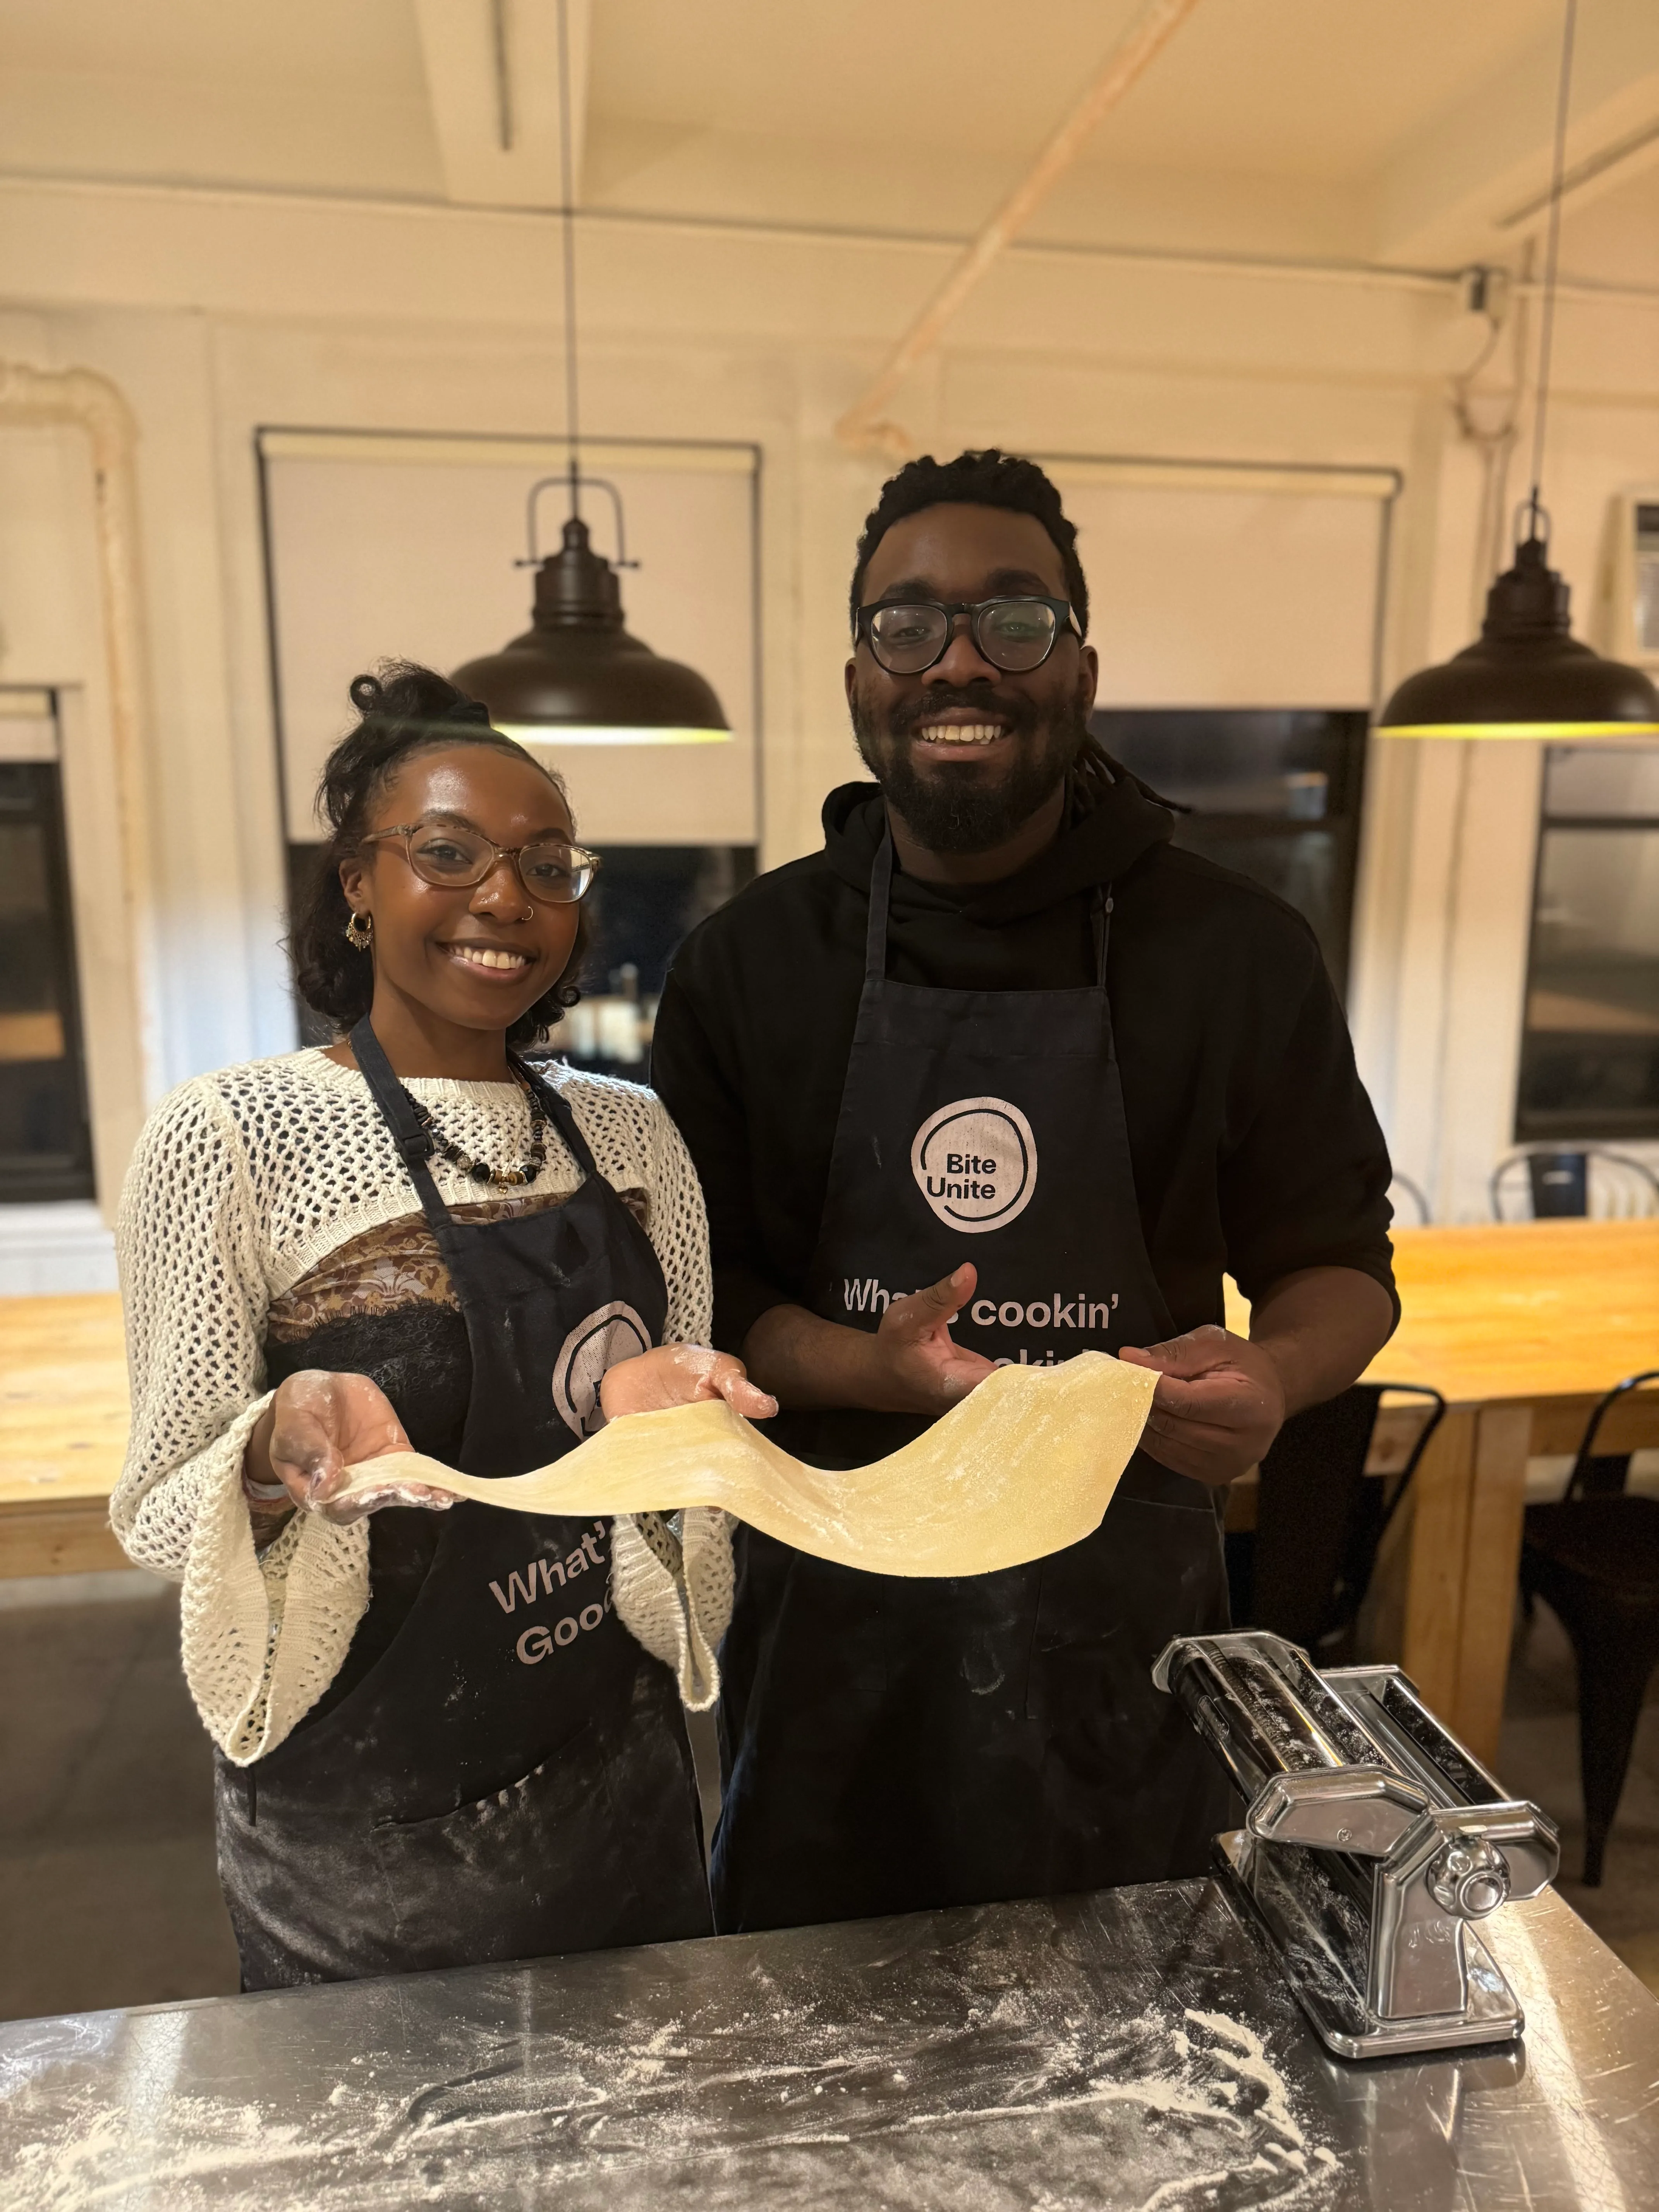
Biteunite’s hands-on cooking classes in New York and San Francisco are led by expert chefs in small, interactive groups where you actually cook, not just watch. Whether you are booking a solo session to sharpen your technique, planning a date night in Manhattan, or organizing a team event, Biteunite’s format puts real knife time in your hands from the first minute. Check availability, pick a date that works, and come ready to cook. Browse current class schedules at Biteunite and book your spot today.
Sources
- Knife Skills 101 | American Heart Association
- How to Cut With a Chef’s Knife | Homegrown | NC State University
- Knife Skills for Beginners: A Visual Guide to Slicing, Dicing, and More | Forks Over Knives
- Basic Knife Skills | The New York Times Cooking
- Knife Skills: 10 Knife Cuts Every Professional Cook Should Know | Escoffier

















































.webp)