How to Launch a Branded Cooking Class Business from Scratch: A Step-by-Step Guide
So, you've got the passion. You’ve got the recipes. You’ve got the charm to teach others the art of cooking. Now the question is — how do you turn that into a business?
Launching a branded cooking class business can be both exciting and incredibly rewarding. Whether you're a professional chef, a passionate home cook, or an entrepreneur with a love for food, sharing your culinary expertise through live experiences is a fantastic way to connect, teach, and earn.
But let’s be honest: the idea sounds fun until you realize there’s licensing, kitchen space, pricing, marketing, and operations to handle.
Don’t worry — this guide breaks down exactly how to go from concept to your first successful cooking class.
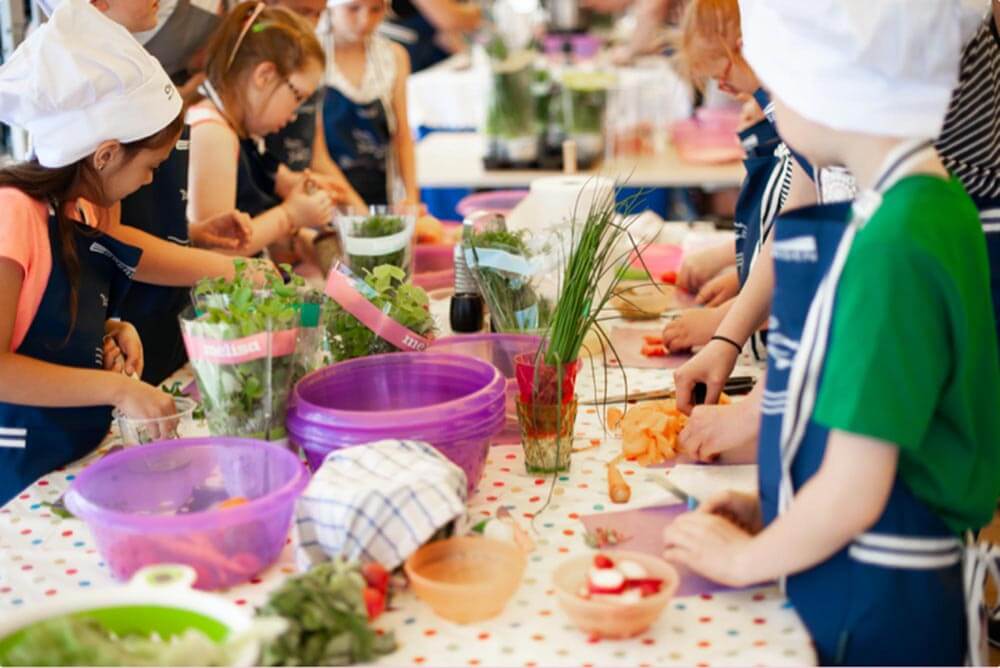
Step 1: Choose Your Niche and Audience
Before you buy your first apron in bulk, get clear on what your business is — and who it’s for.
Ask yourself:
- What style of cooking do I love most?
- Who do I enjoy teaching — families, couples, kids, tourists, or corporate teams?
- What kind of experience do I want to create — fun and playful, elegant and upscale, or skill-building and technical?
Examples of niches:
- Handmade pasta for date nights
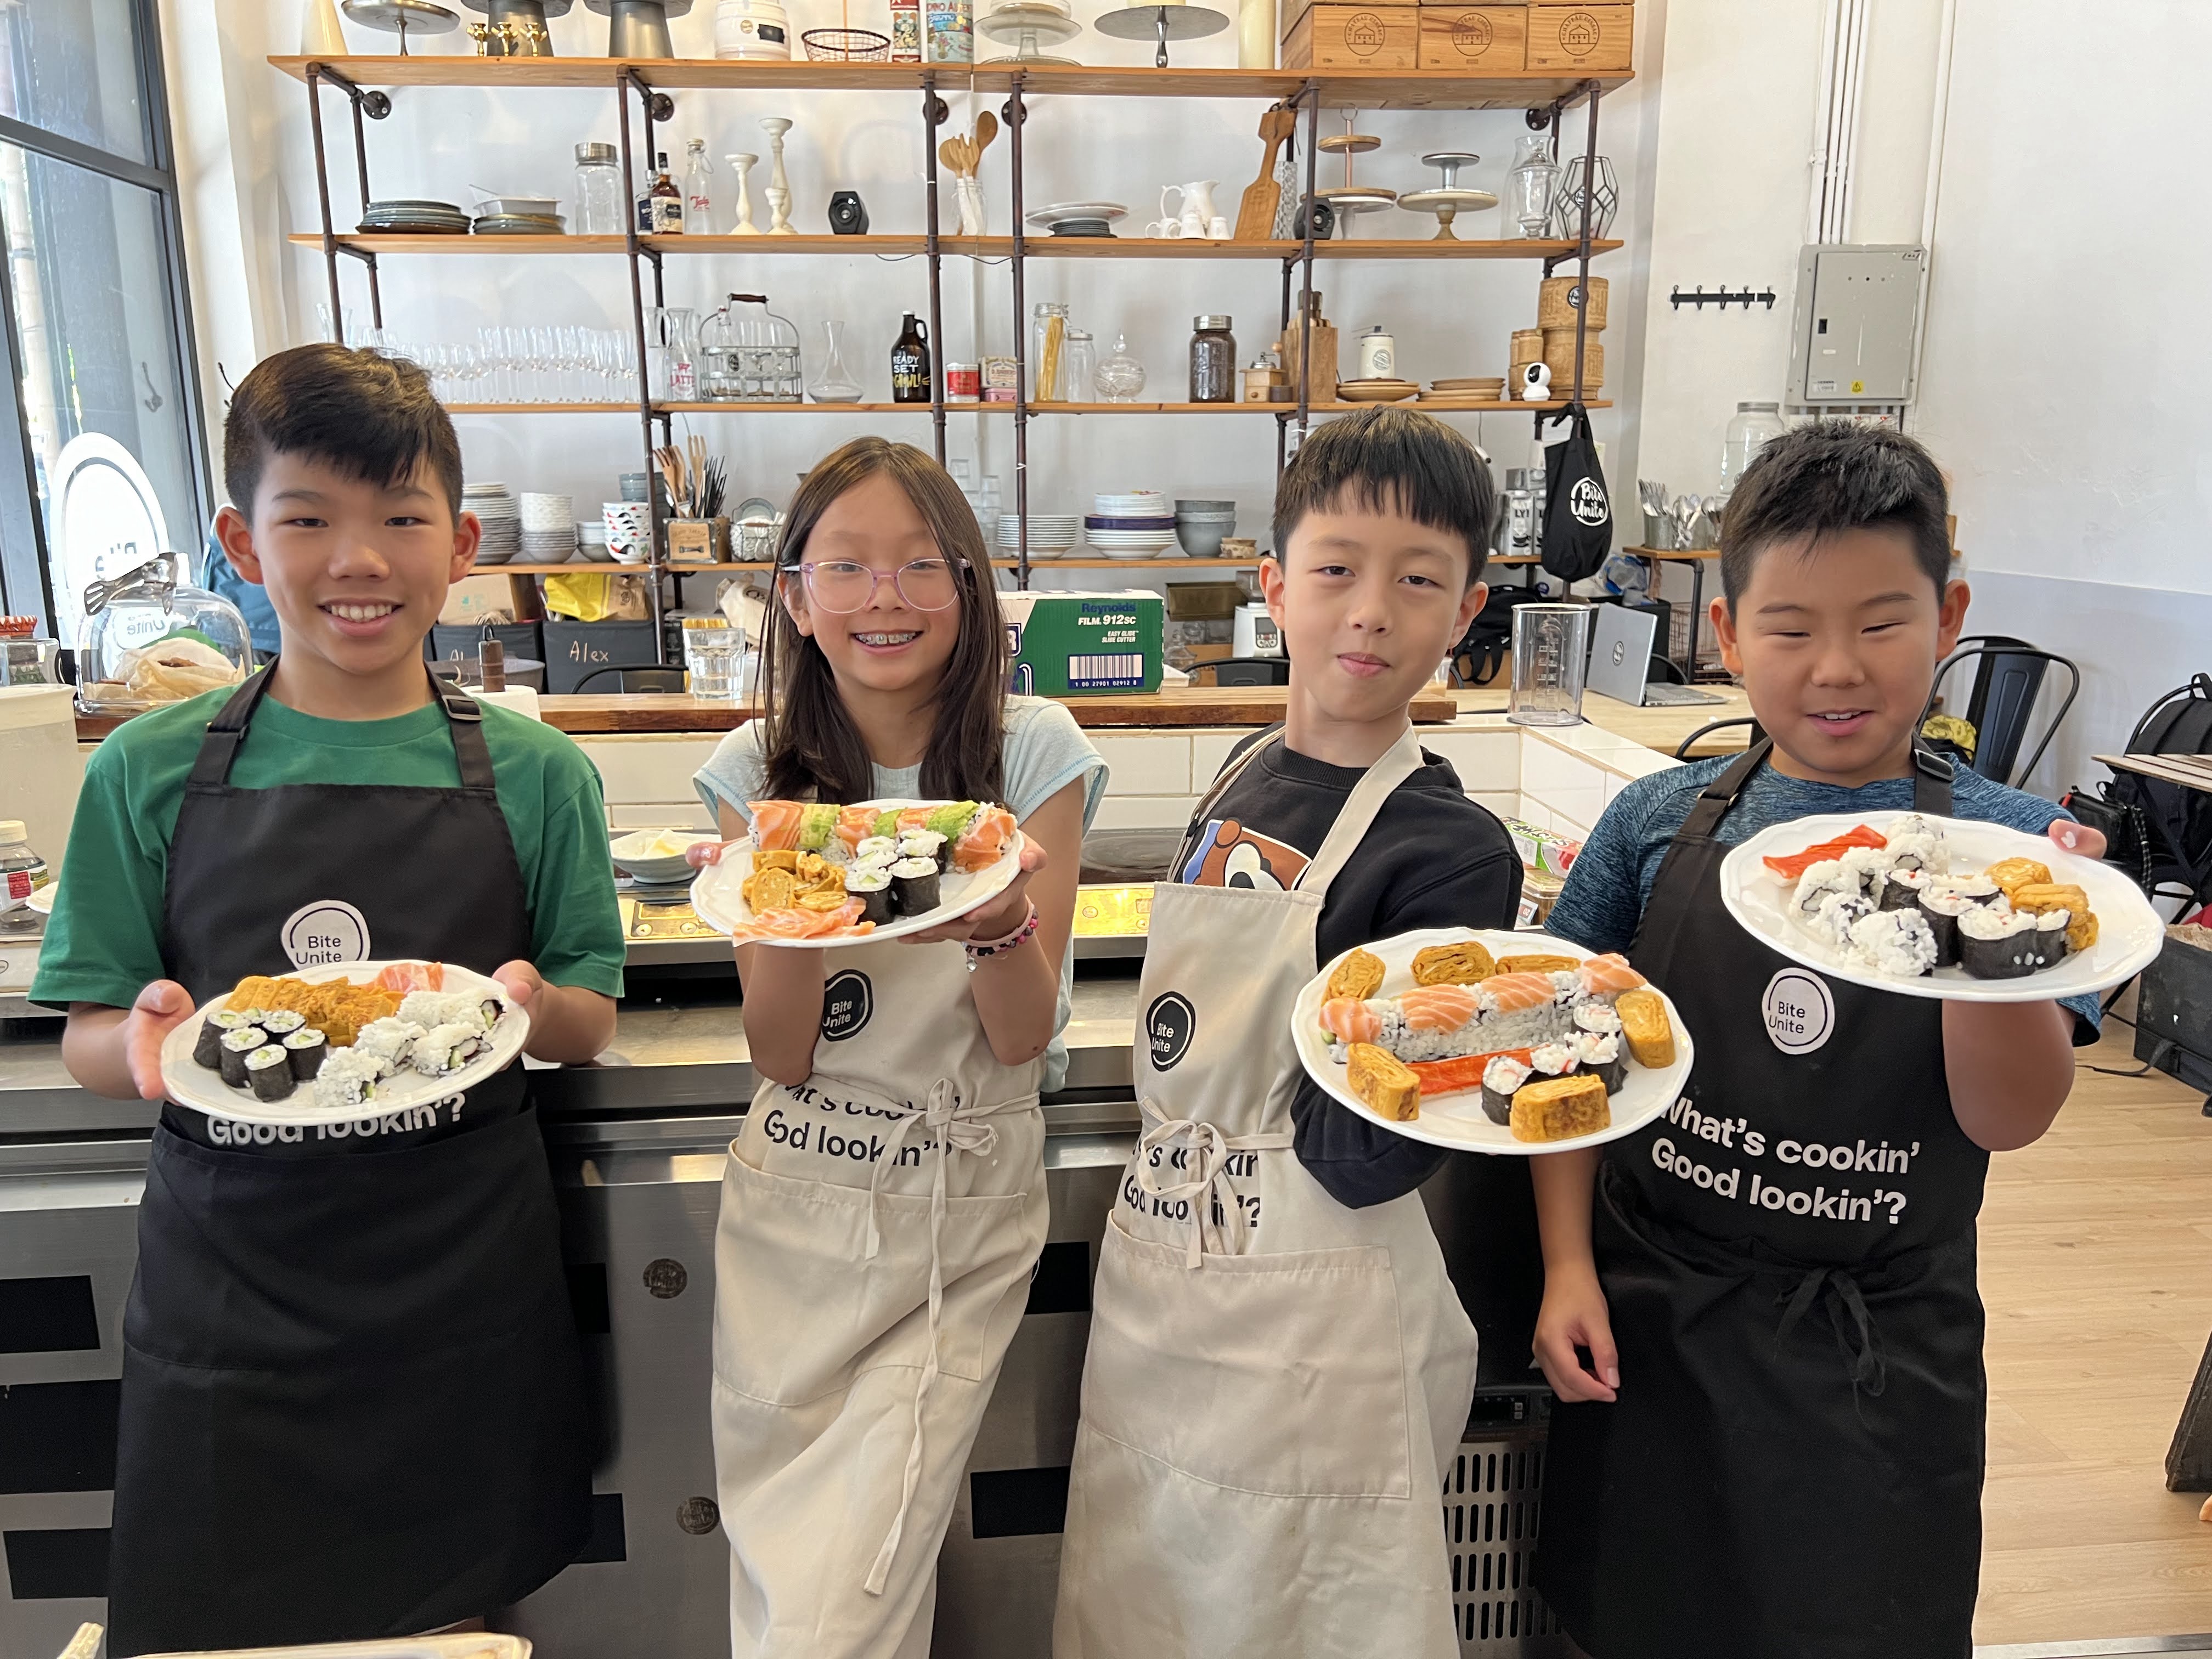
- Kids’ summer cooking camps
- Plant-based weeknight meal prep
- Sushi-making and sake pairings
- Gluten-free comfort food workshops
Picking a clear niche not only helps you stand out — it shapes your brand, curriculum, and marketing direction.
Step 2: Handle Licensing and Legal Basics
Before you start accepting payments or serving food to the public, cover your legal bases.
Here’s what you may need:
- Business registration (LLC or sole proprietorship)
- Food handler’s permit (or ServSafe certification, depending on location)
- Liability insurance to protect yourself in case of accidents
- Health department approvals (if using your own space or serving cooked food)
- Waivers for participants (especially if knives, fire, or alcohol are involved)
Consult with a small business attorney or local city licensing office to make sure you’re compliant. Trust us — it’s better to be safe than surprised.
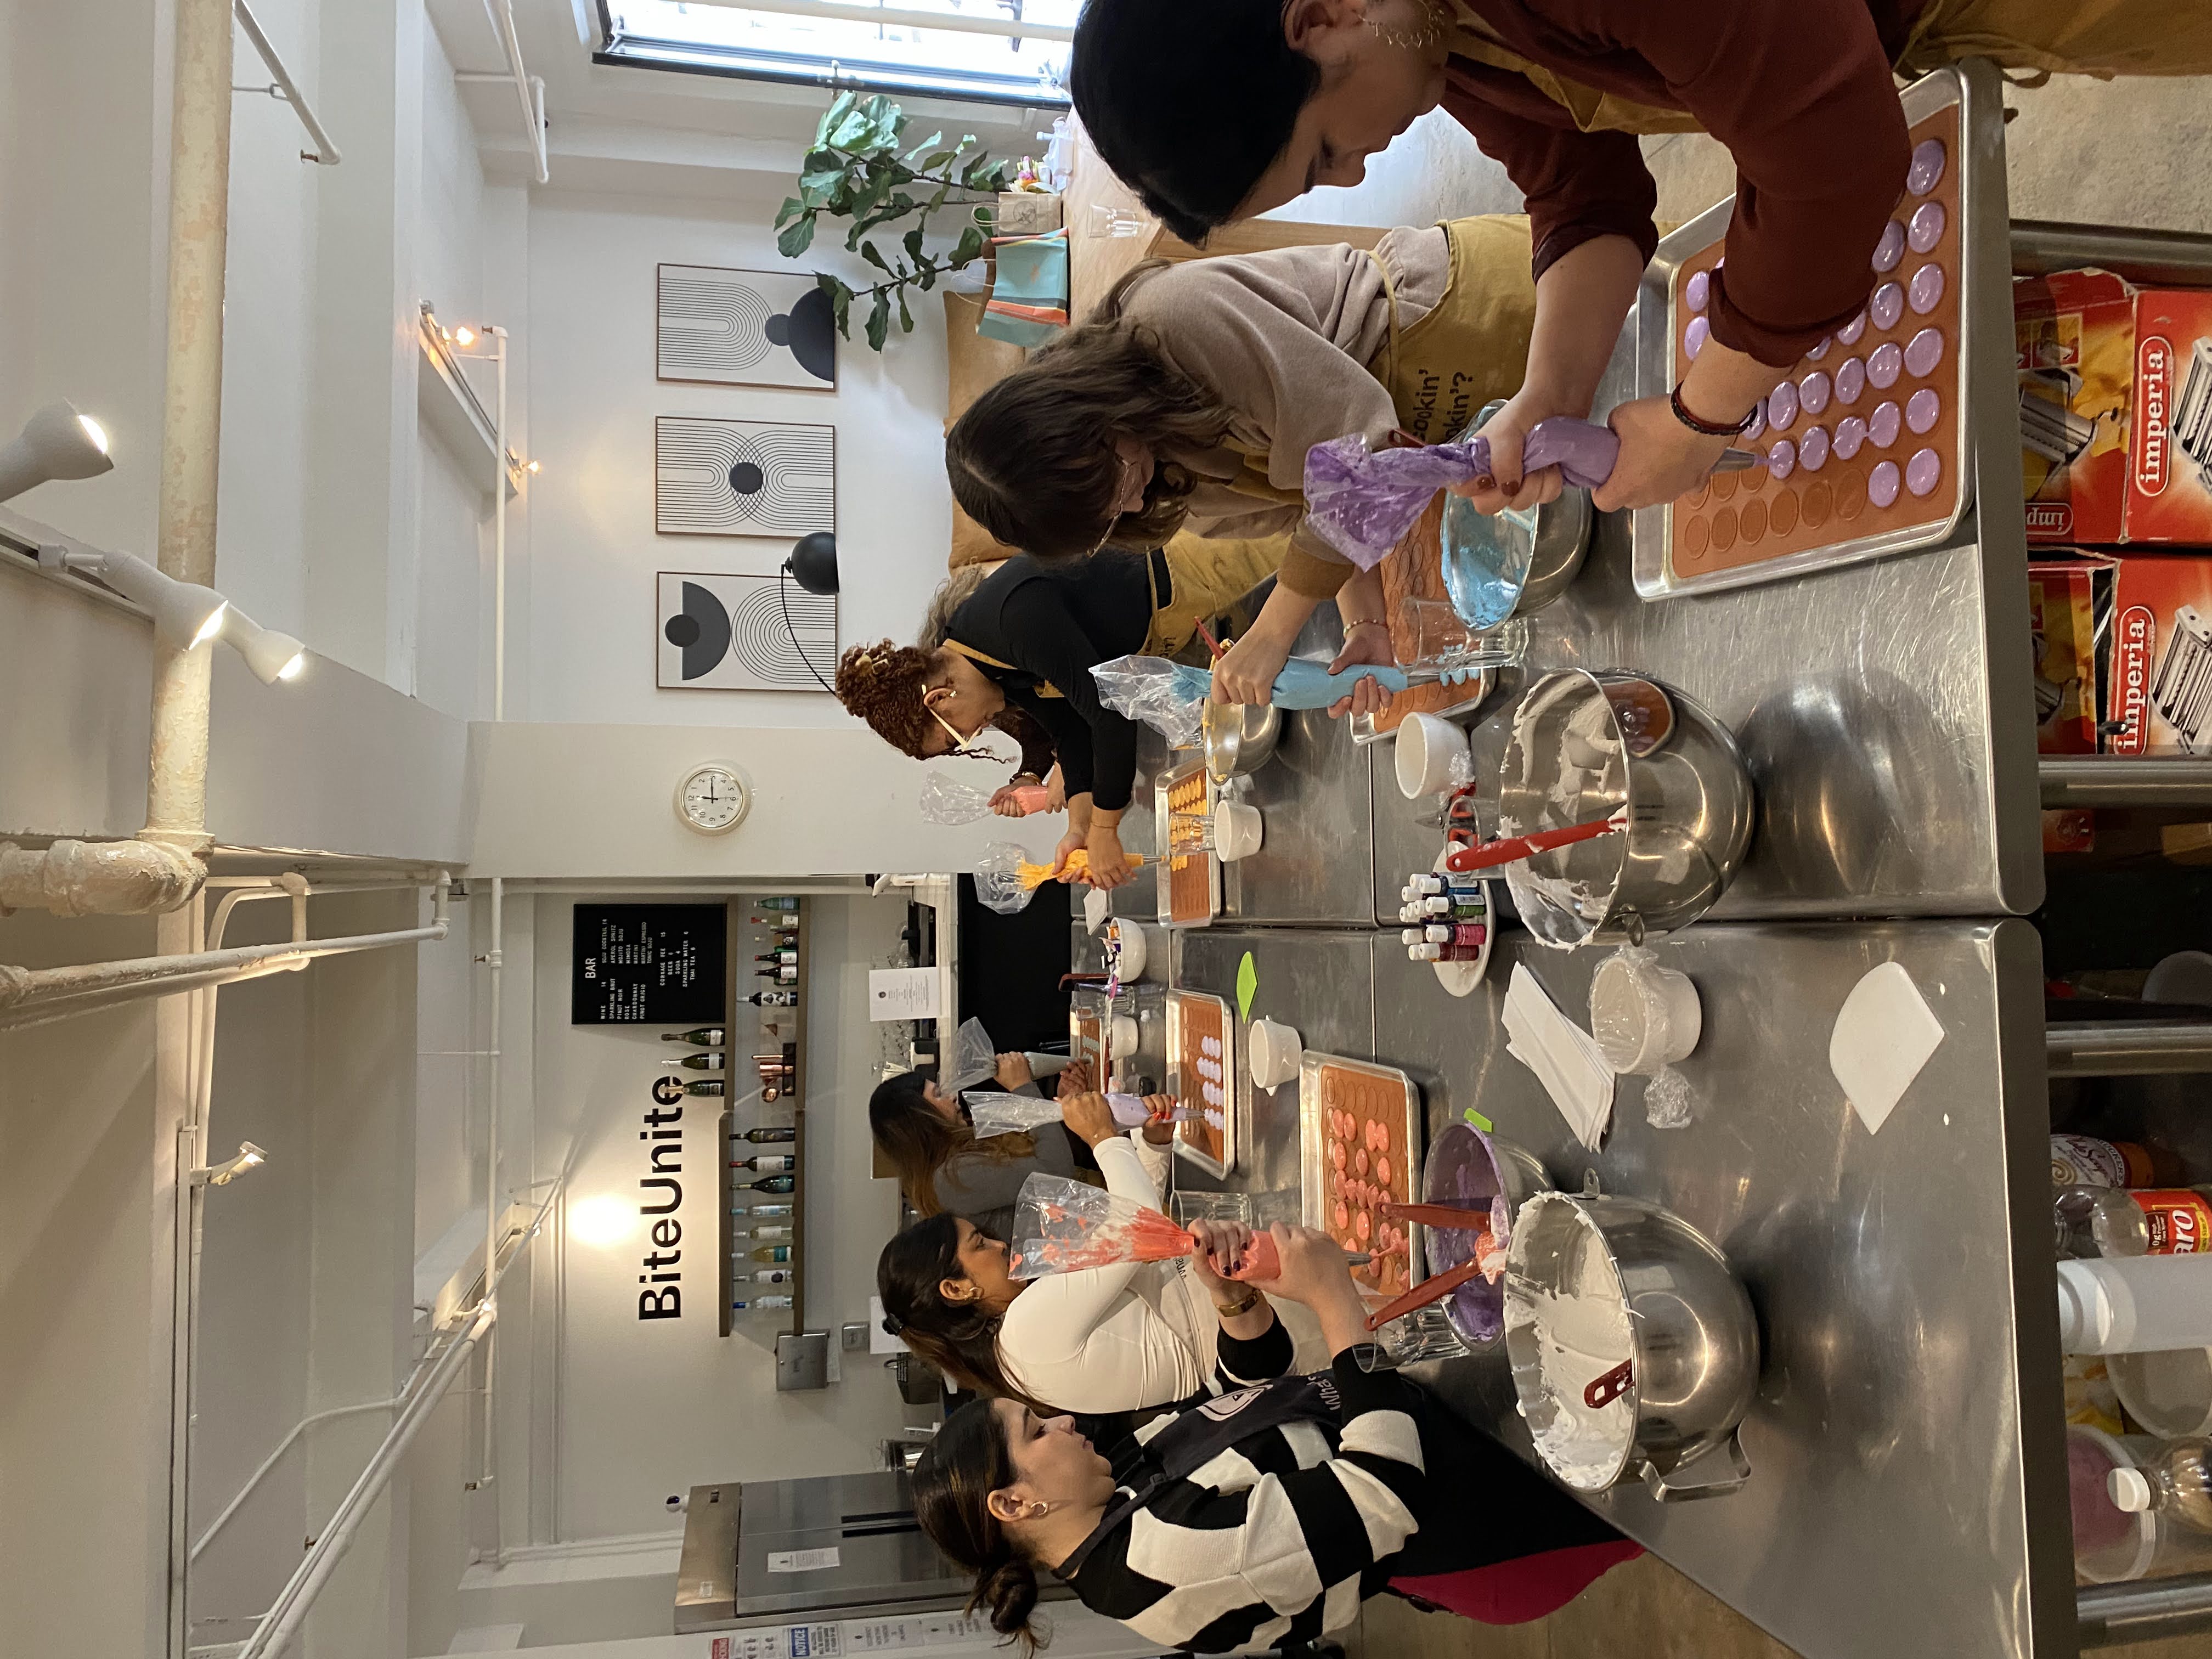
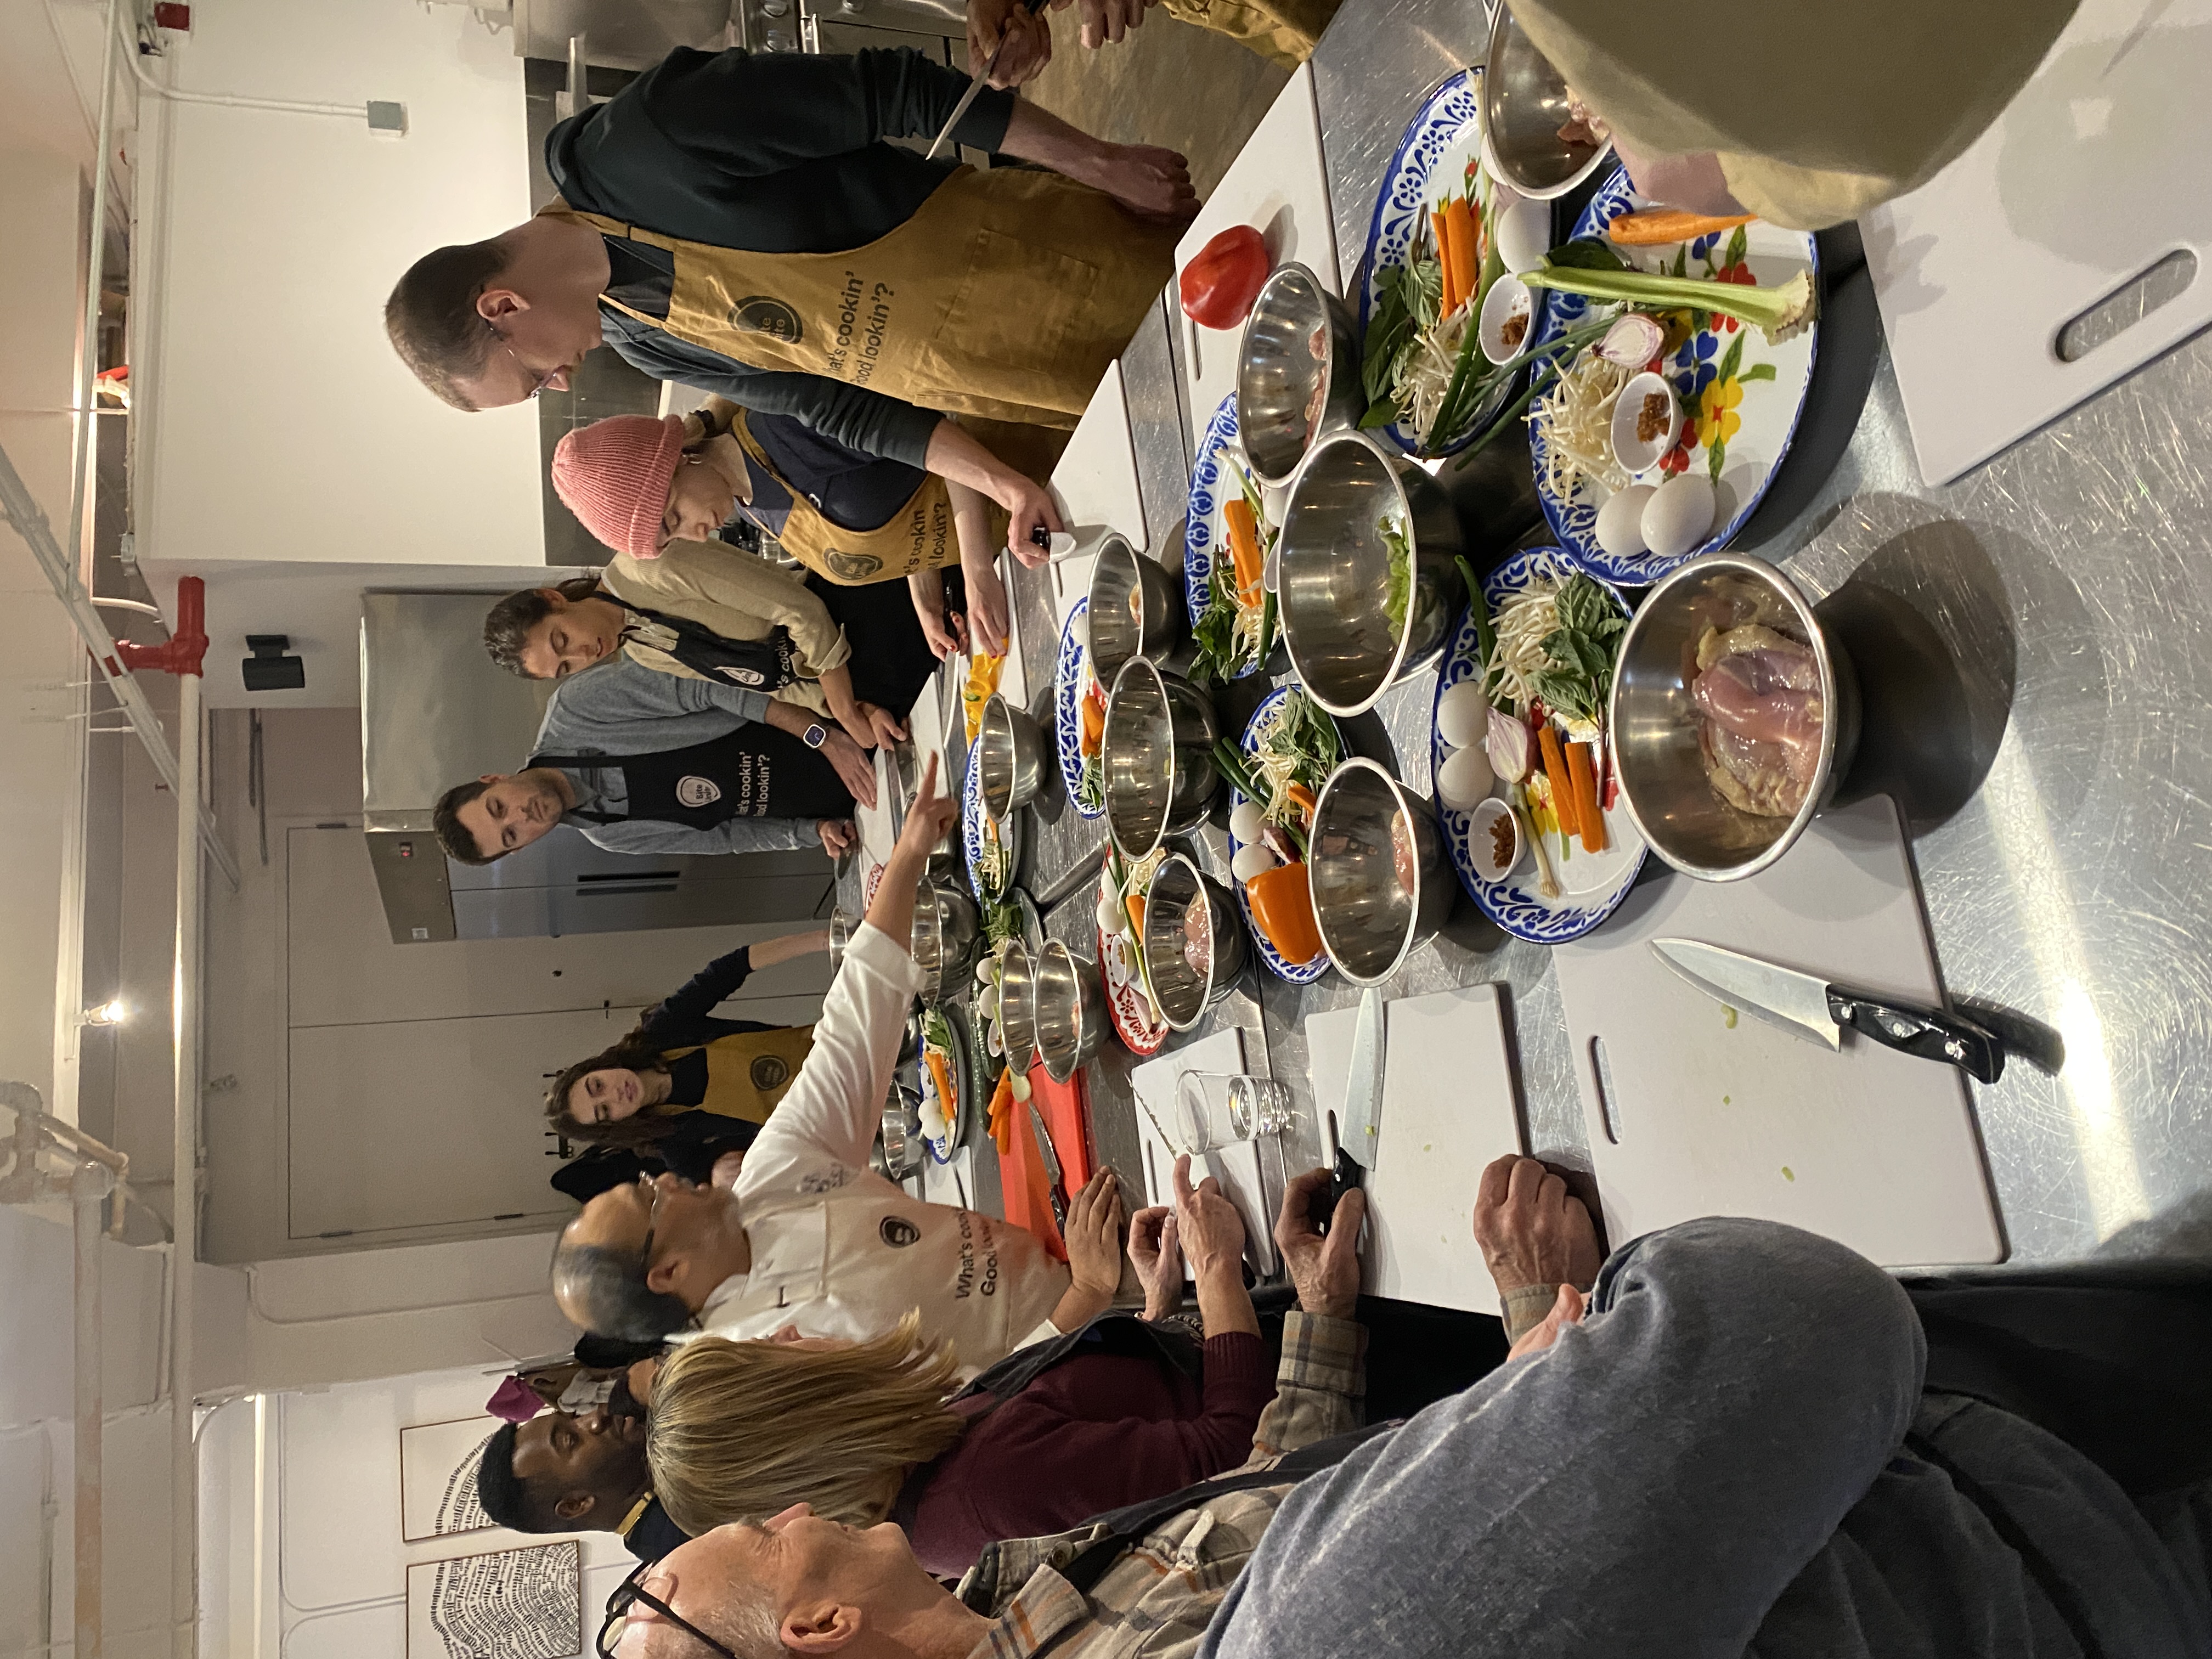
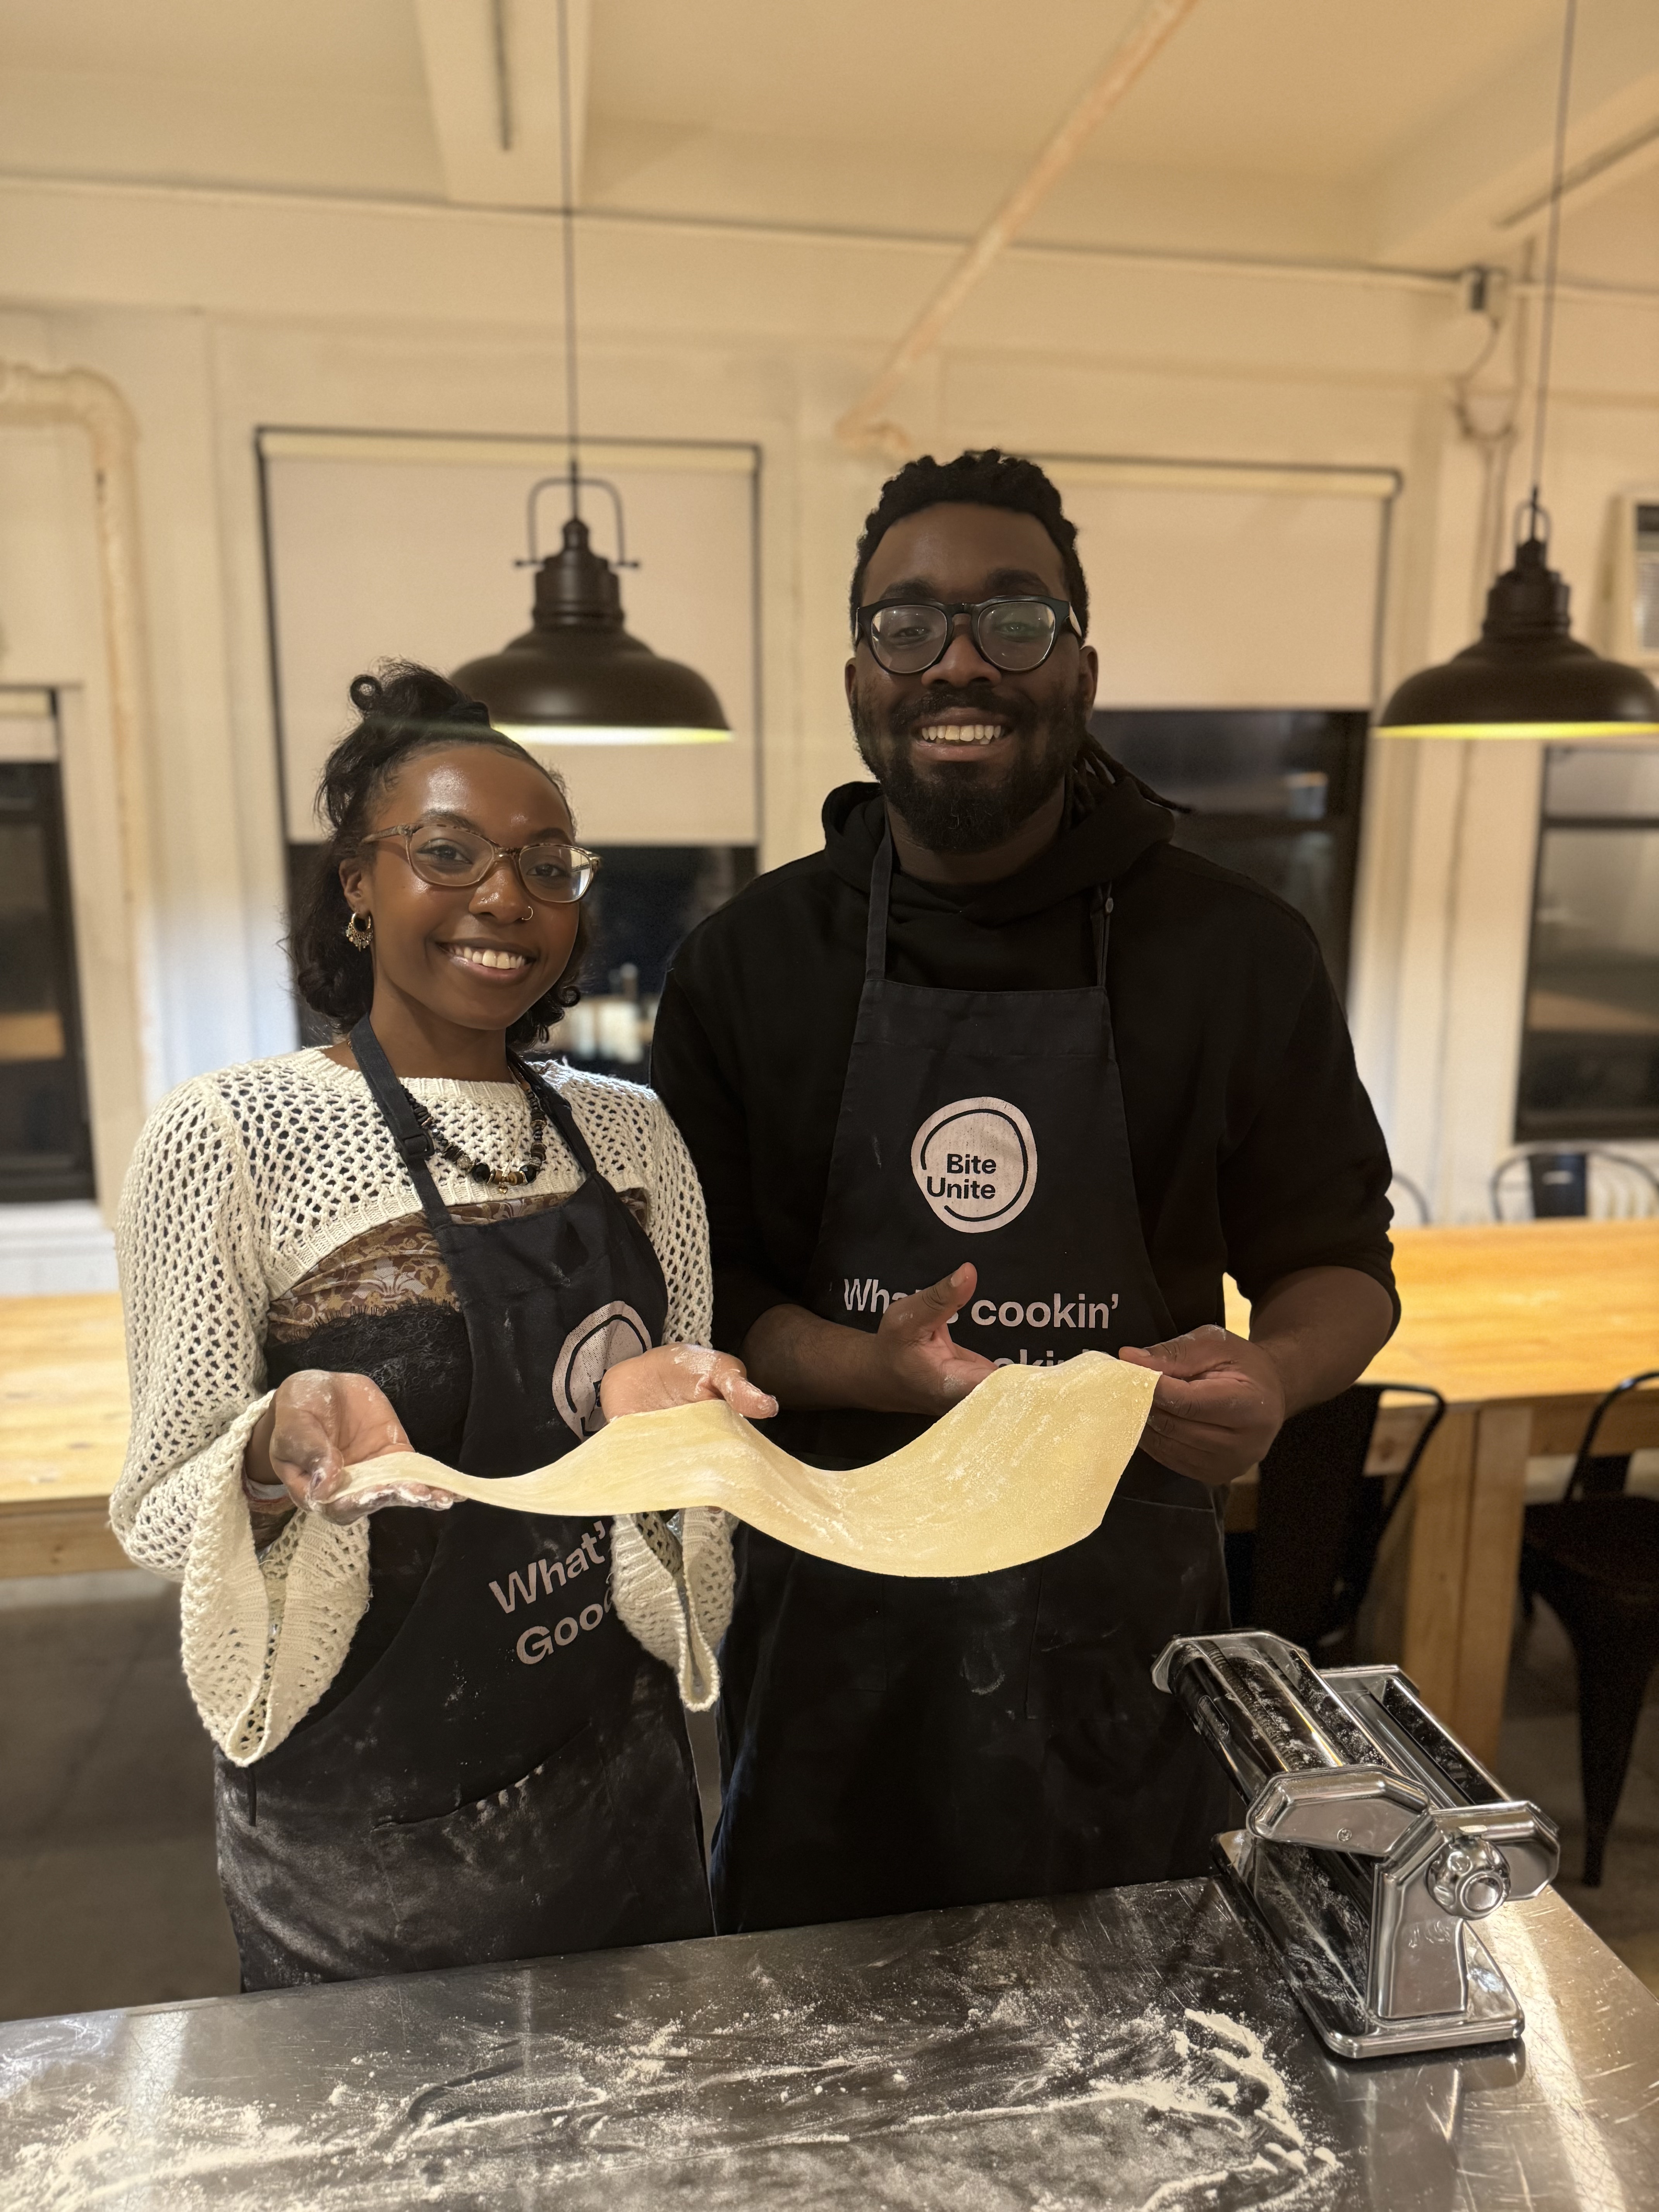
Step 3: Secure a Kitchen Space
Here’s the truth: most first-time cooking instructors don’t own a commercial kitchen. And that’s okay.
You can launch your business without massive overhead by using shared or white-label kitchen spaces.
Options include:
- Community kitchens or culinary incubators
- Event spaces with kitchens (some coworking spaces offer this!)
- Restaurants during off-hours
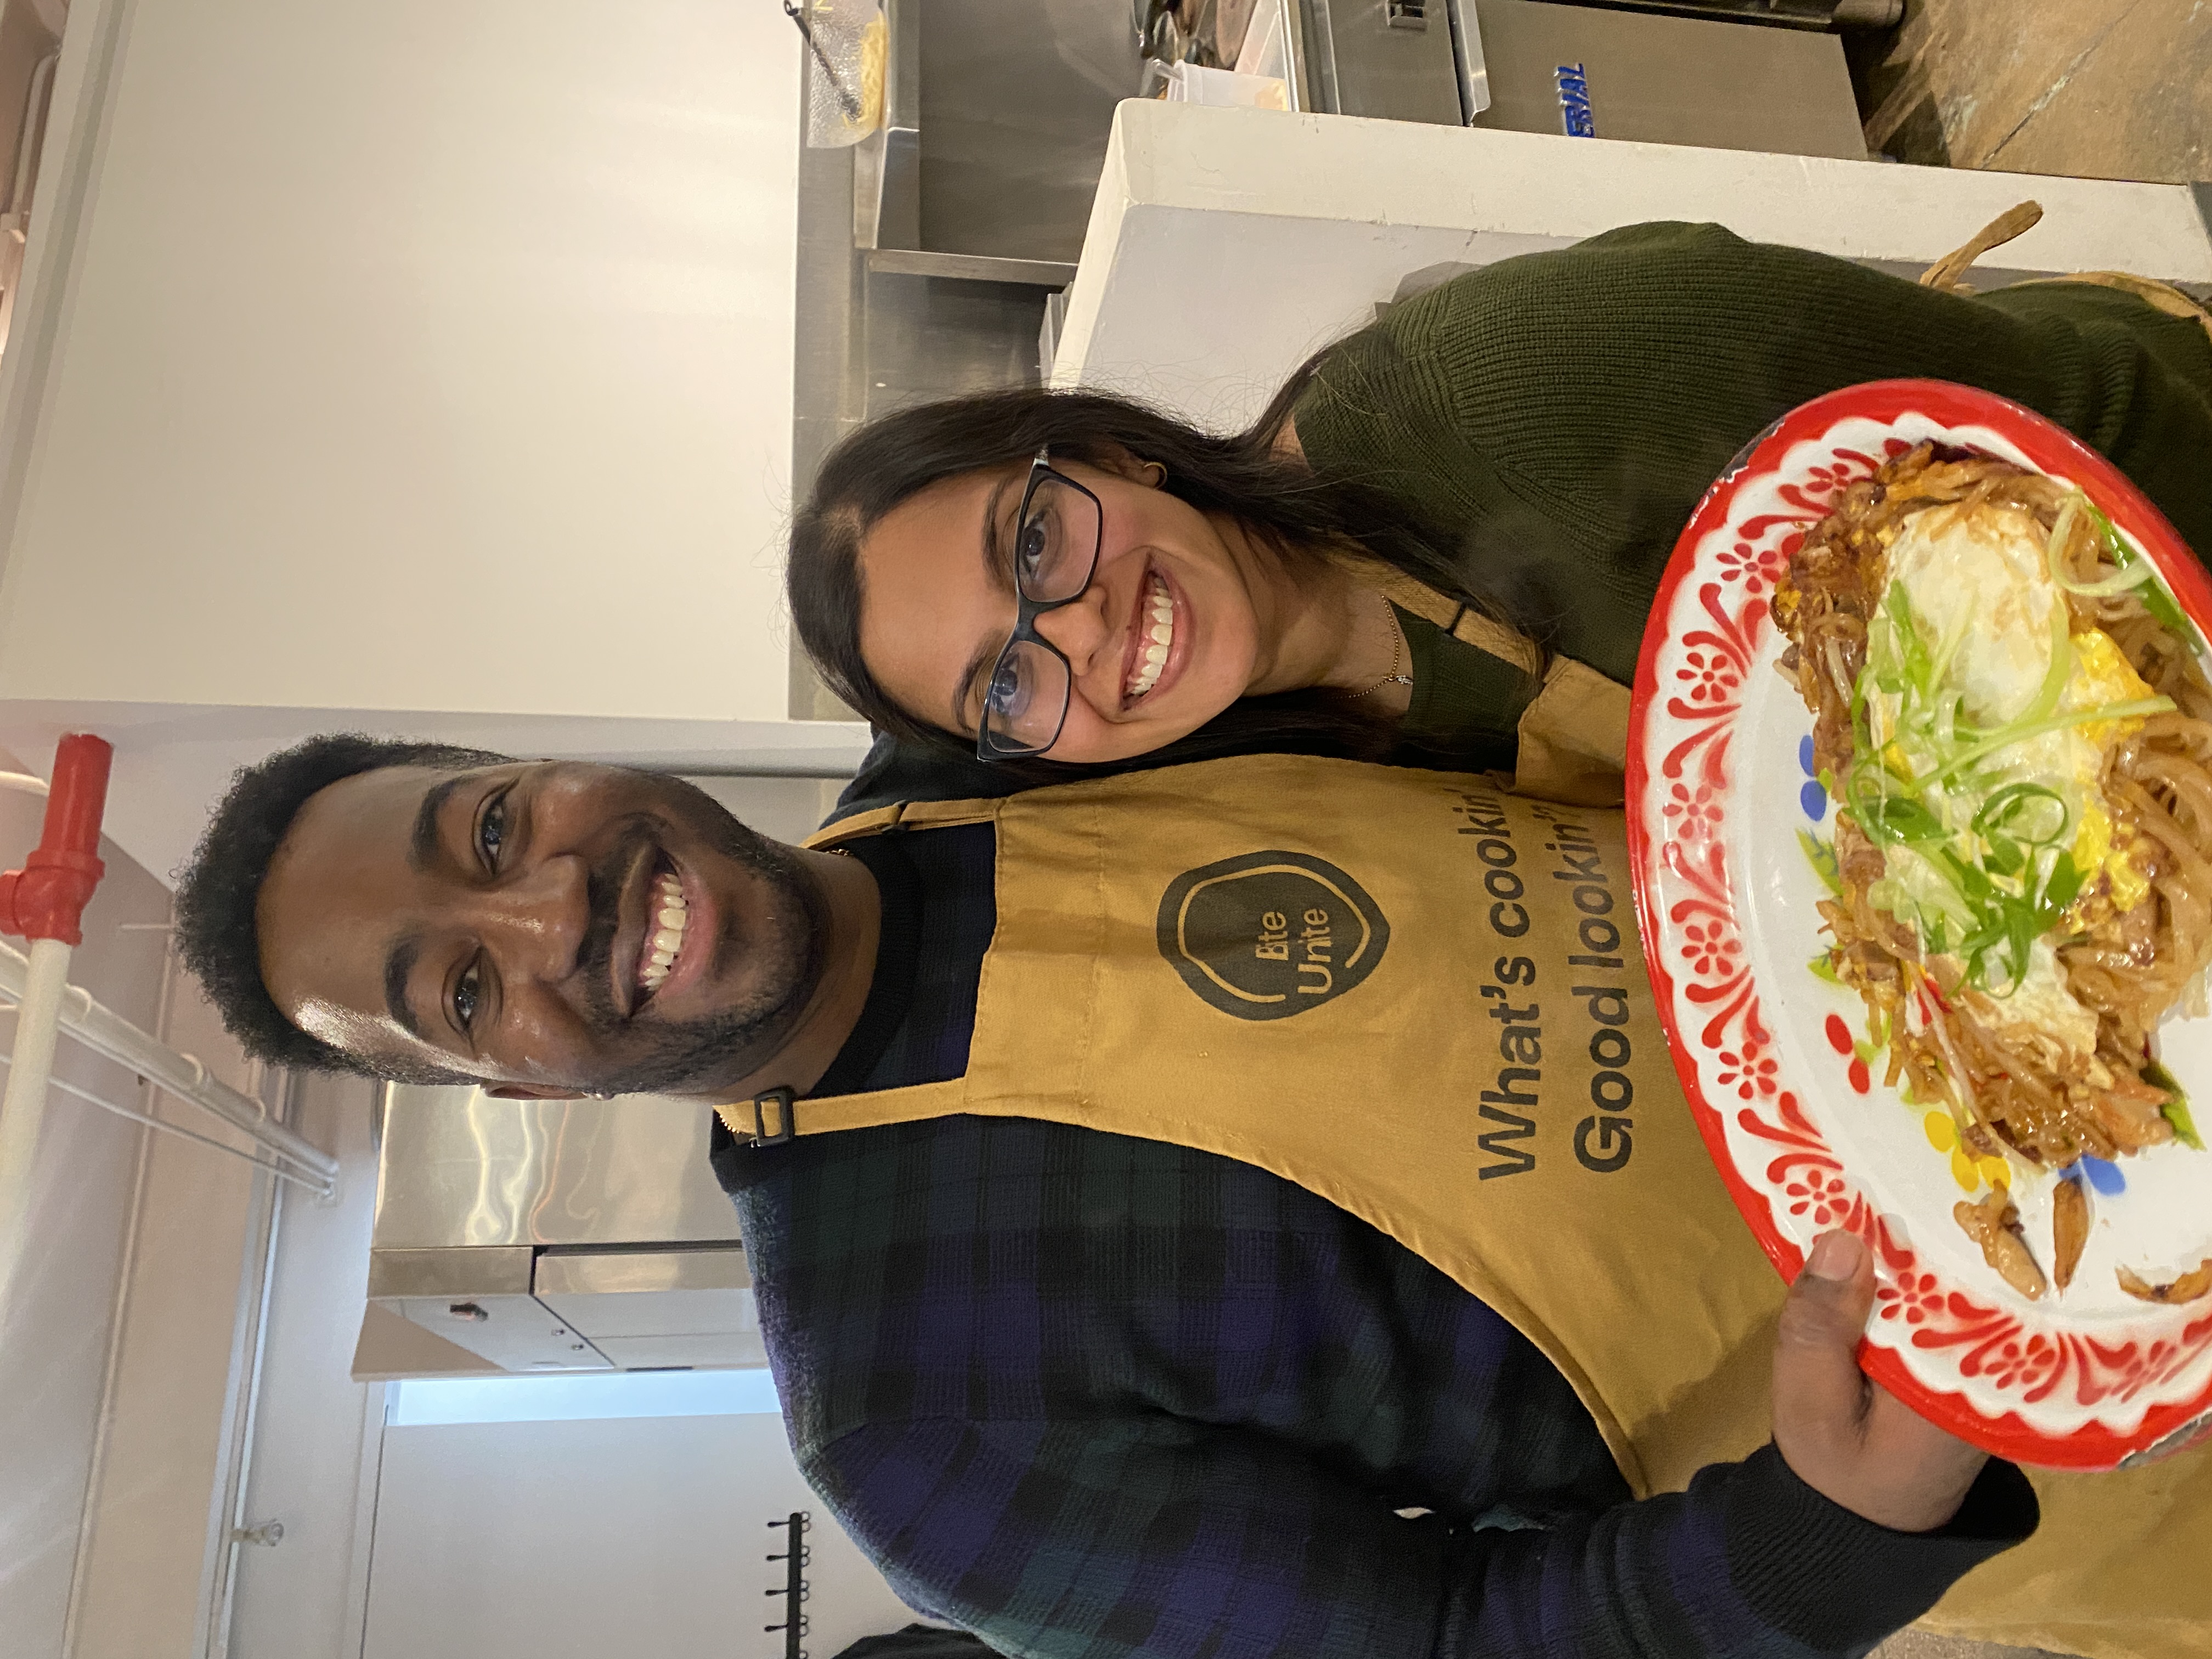
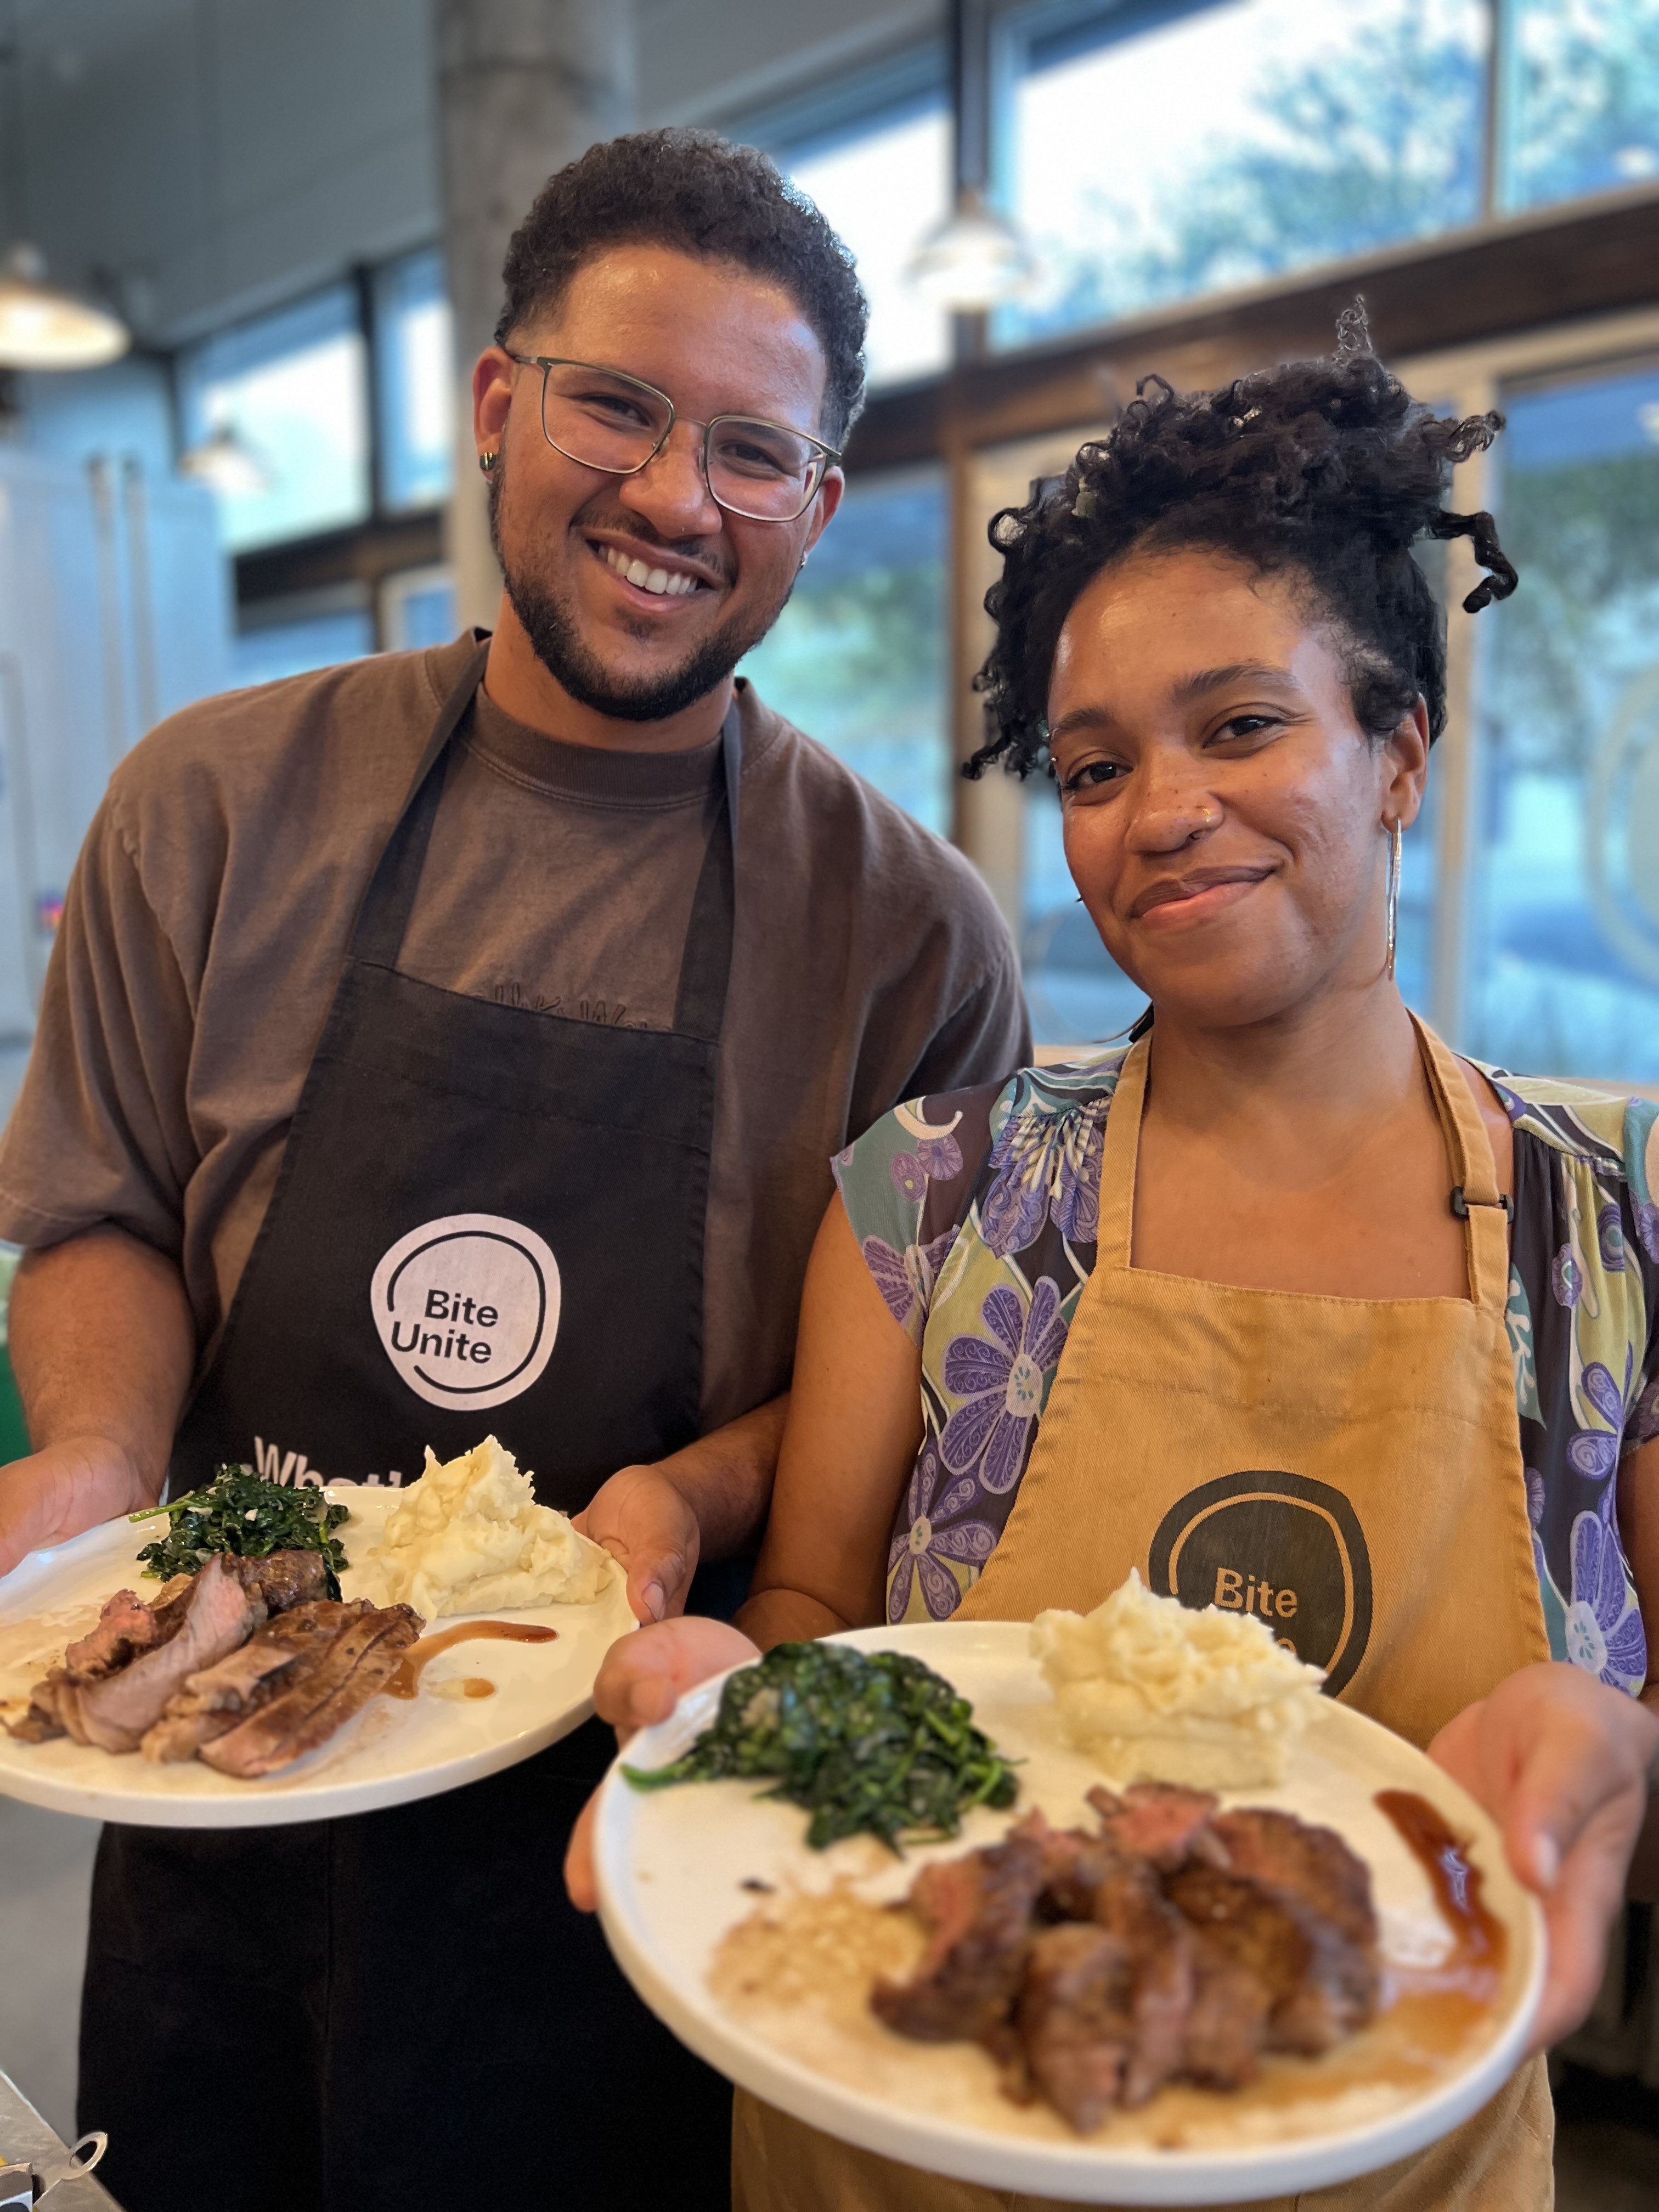
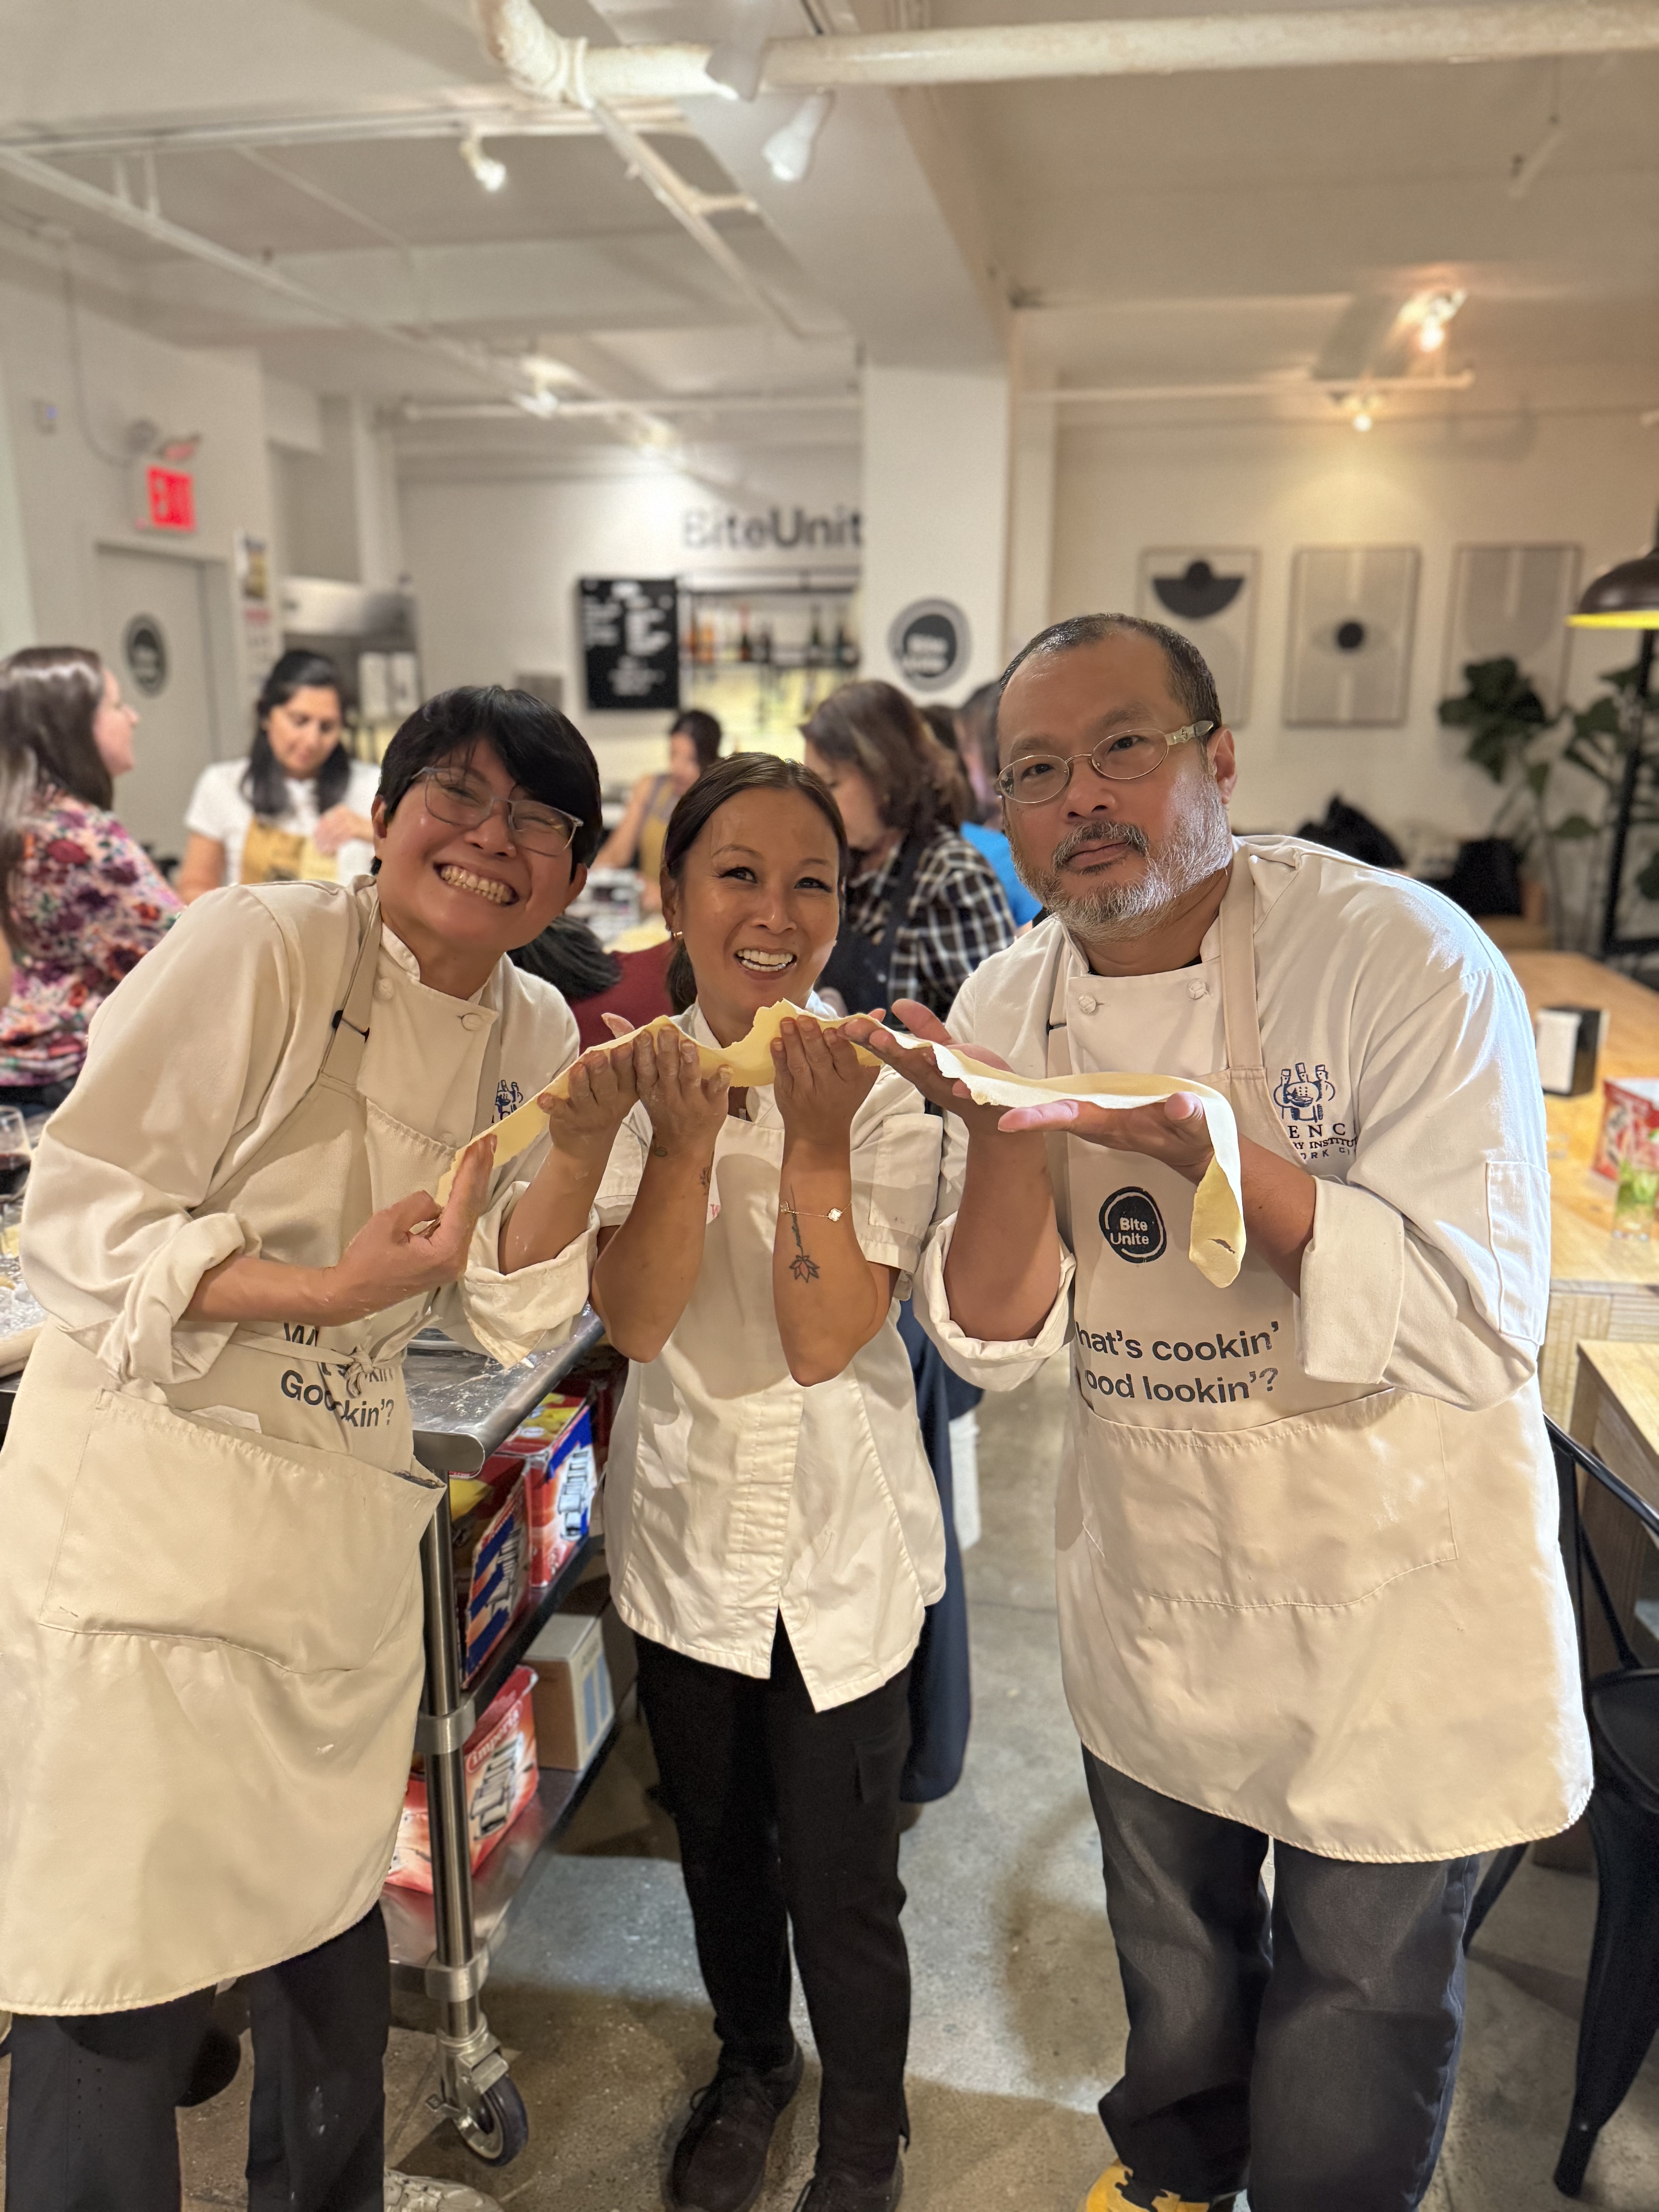
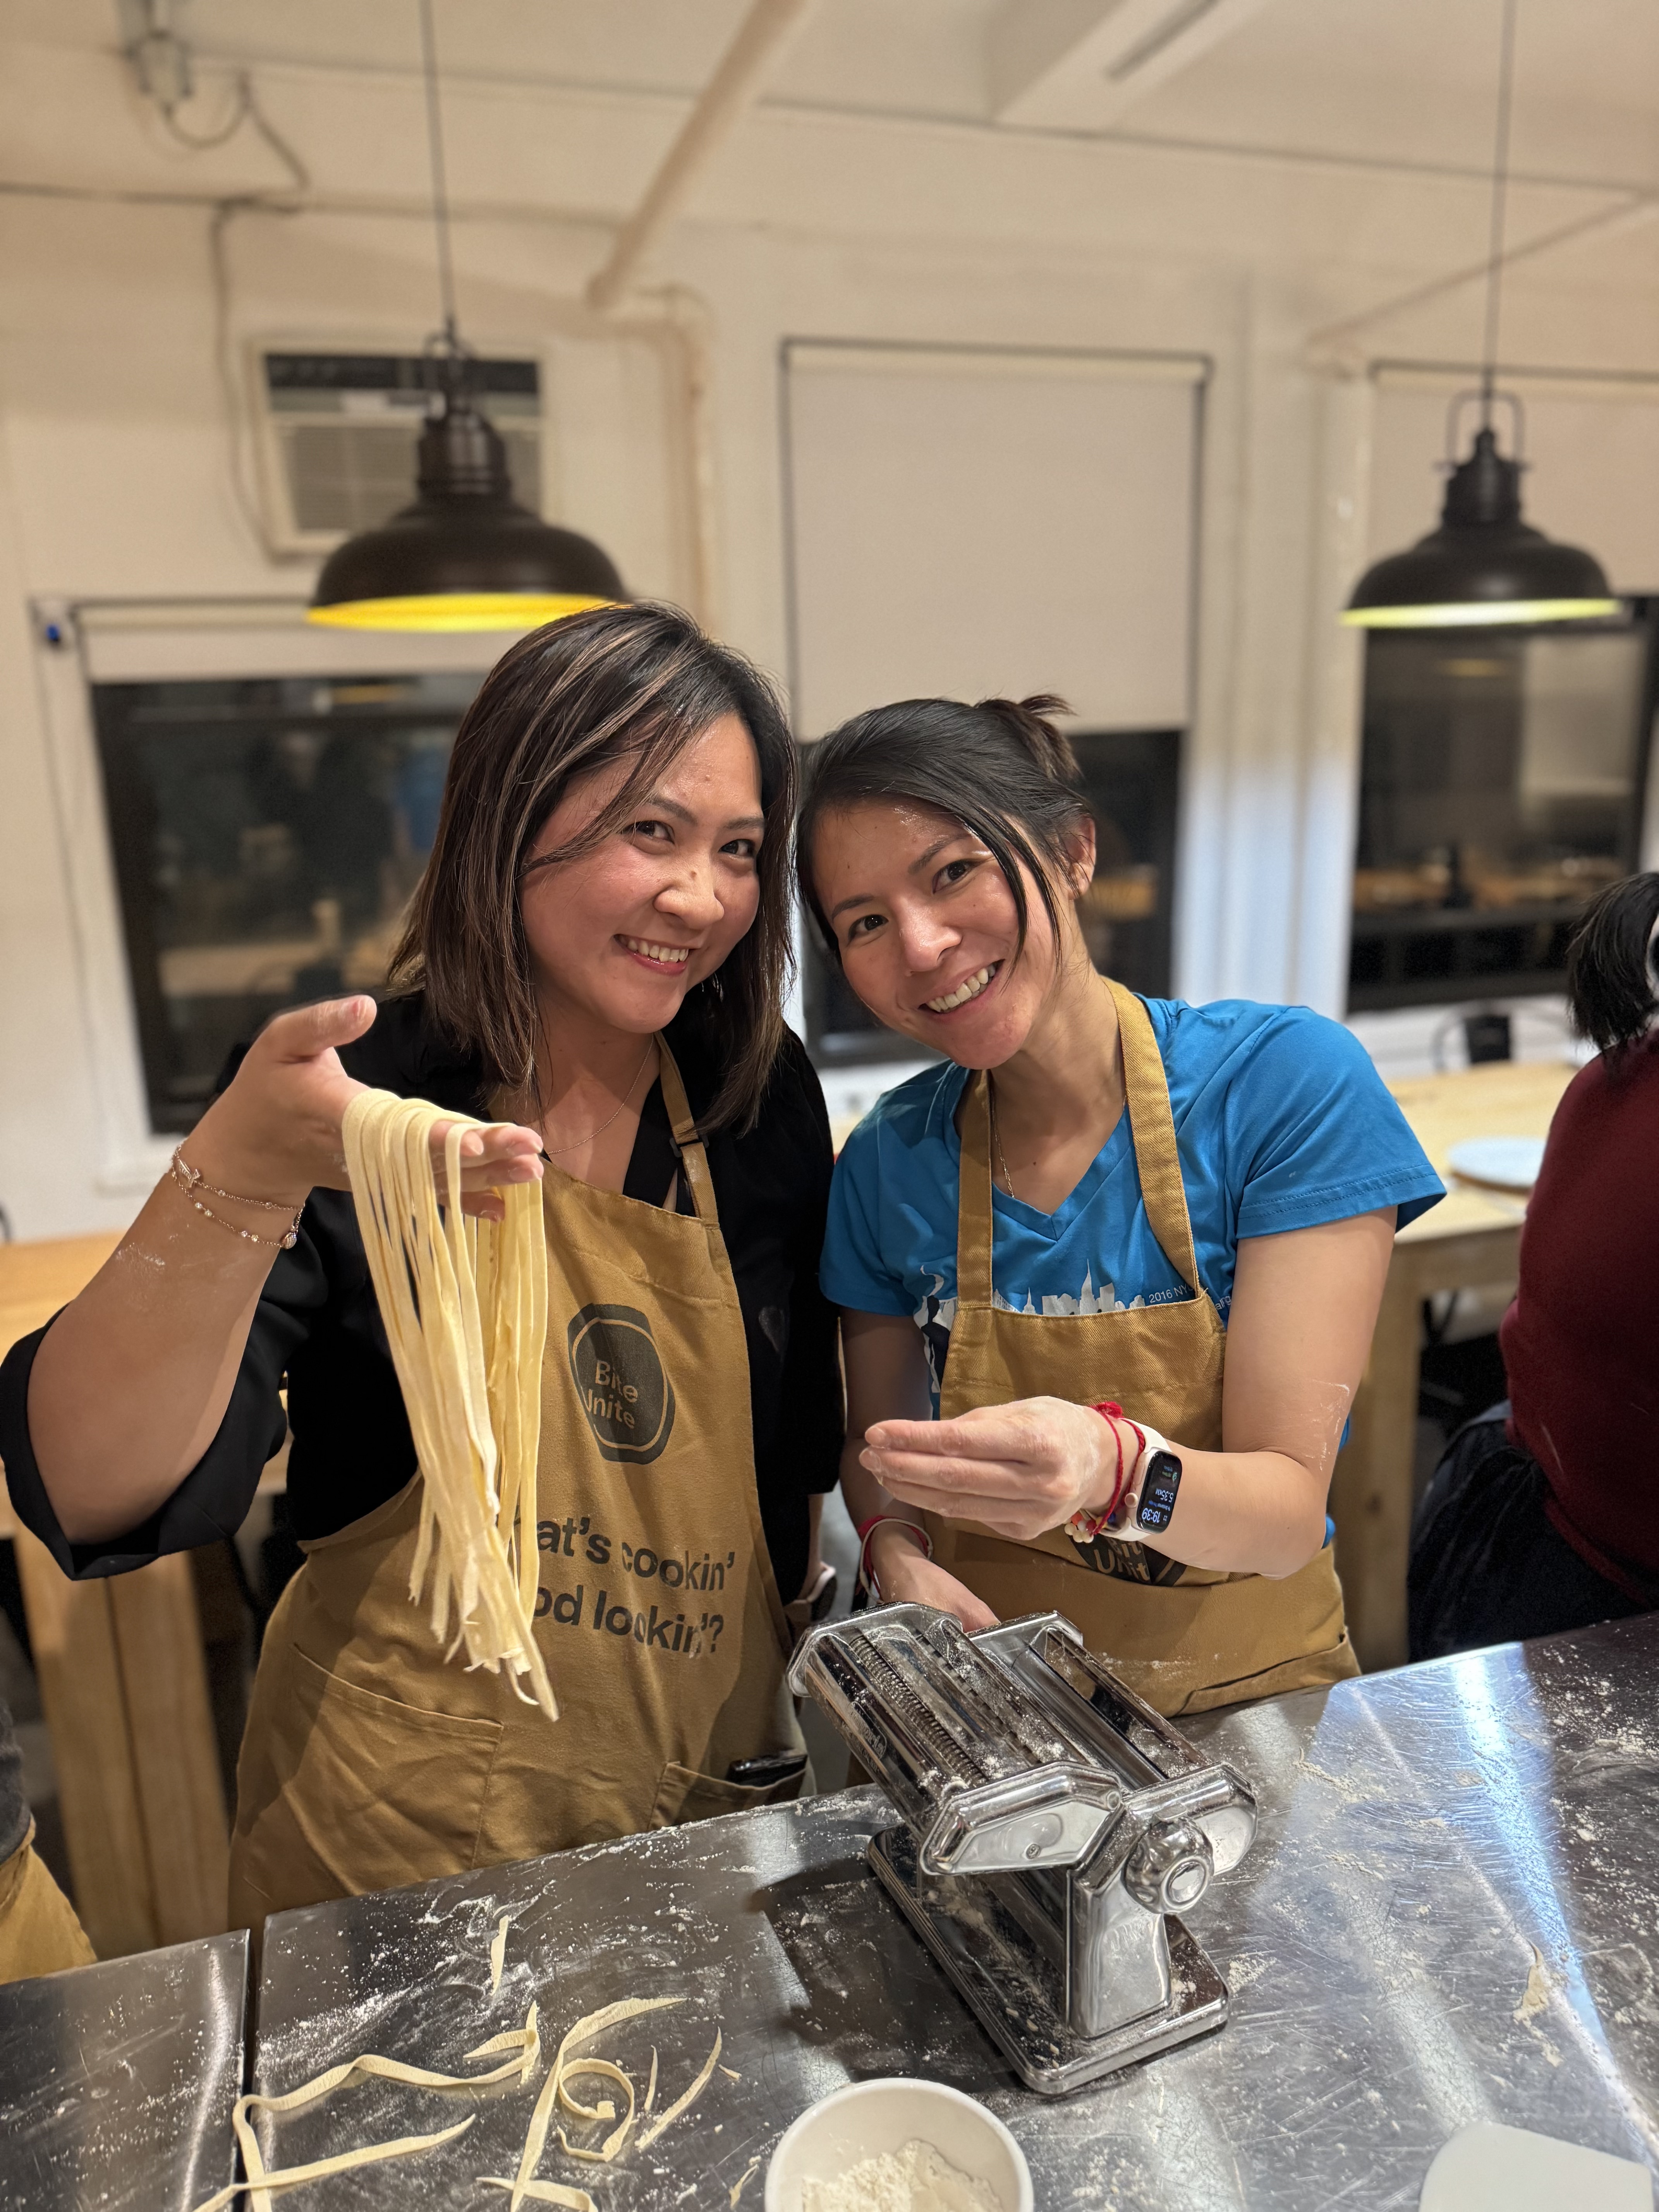
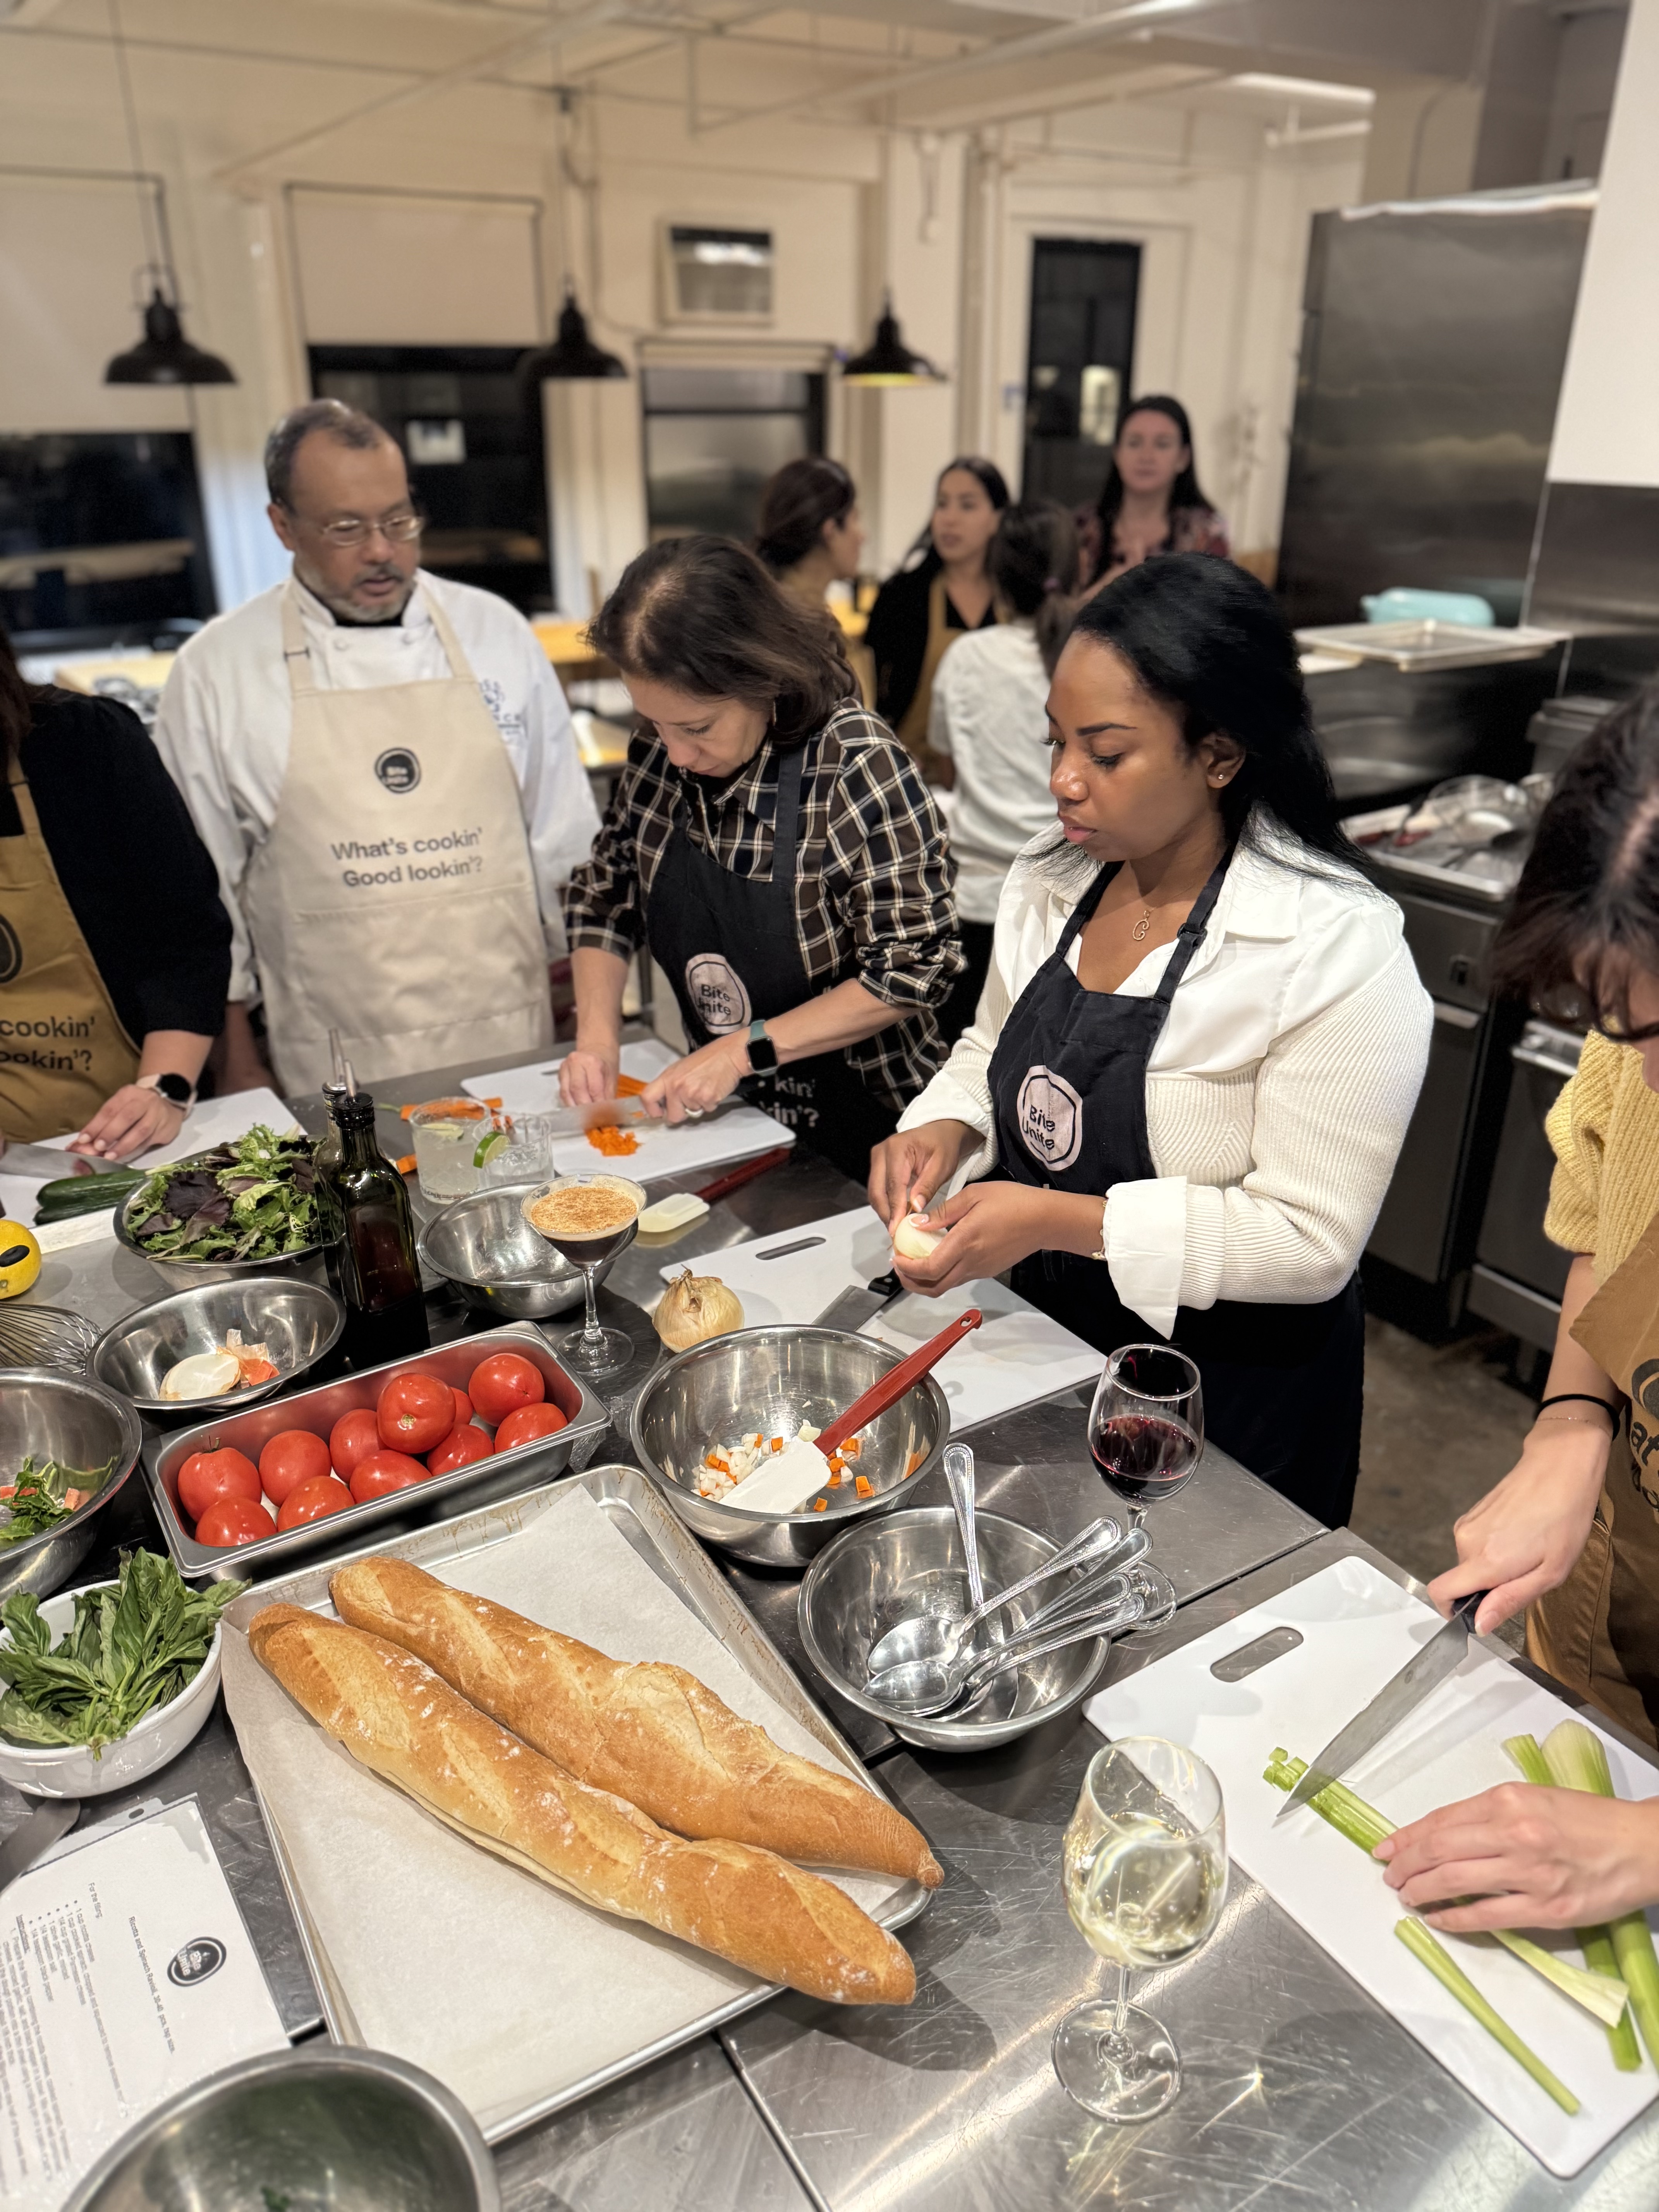
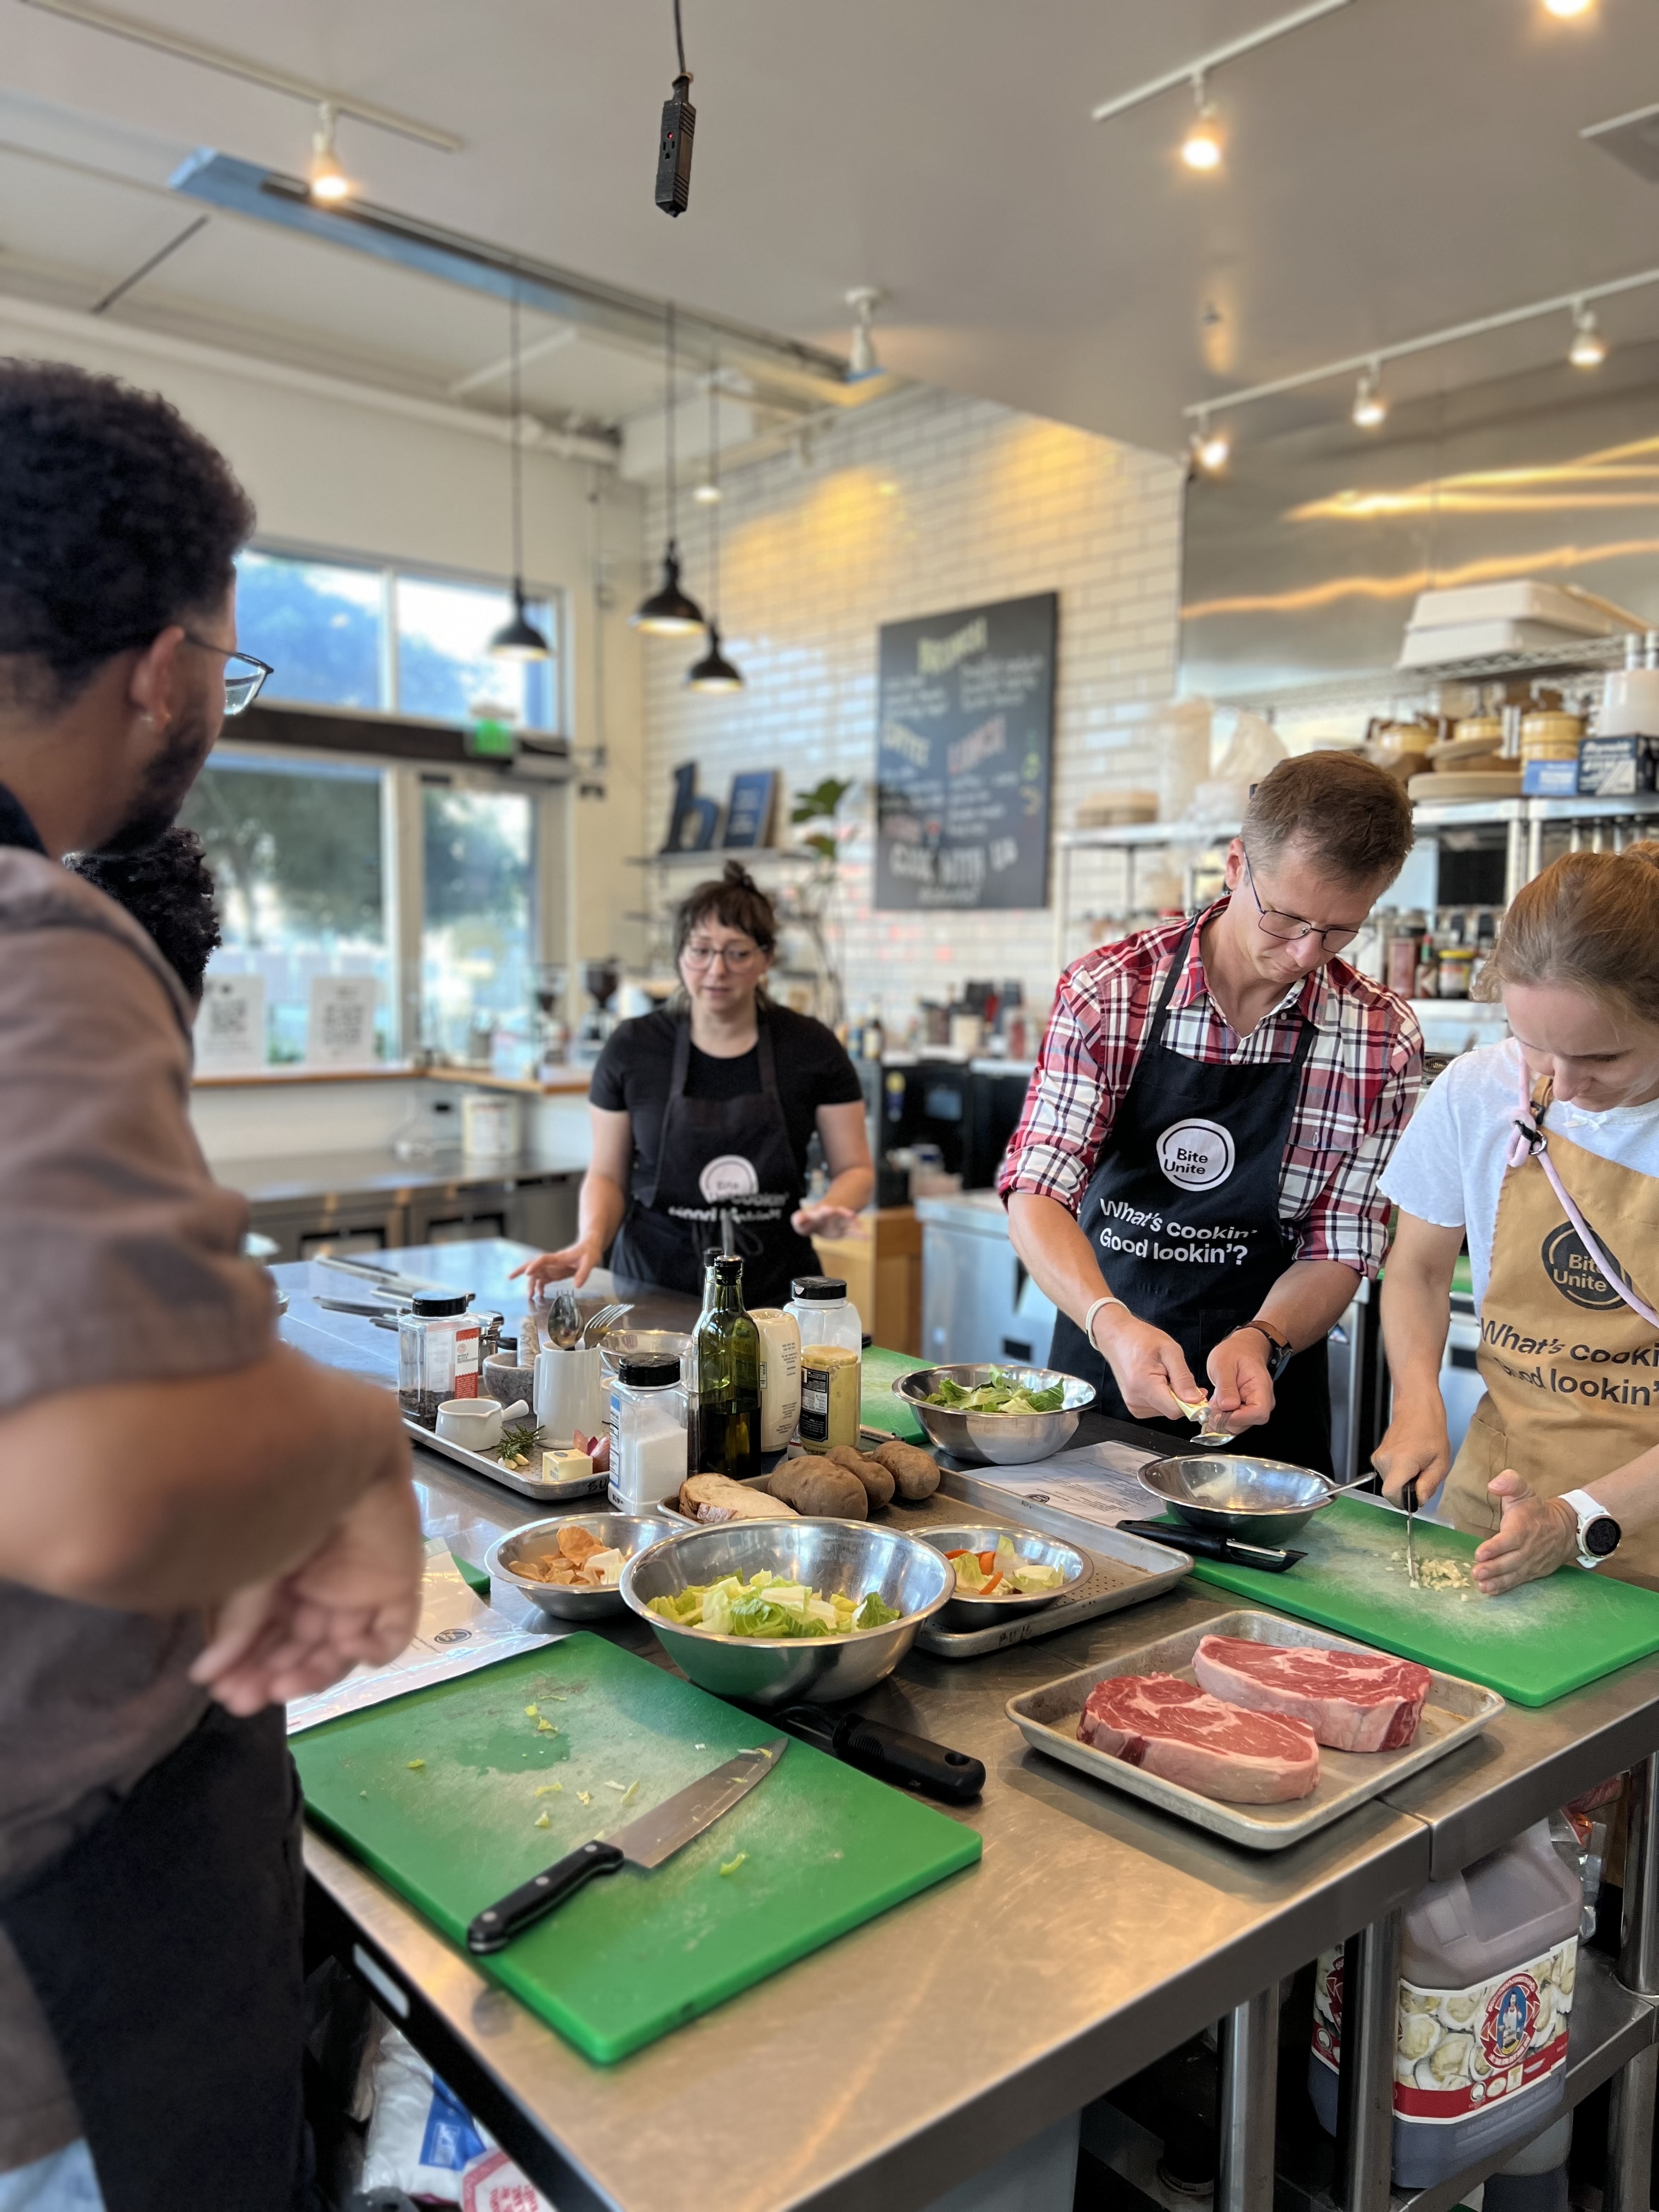
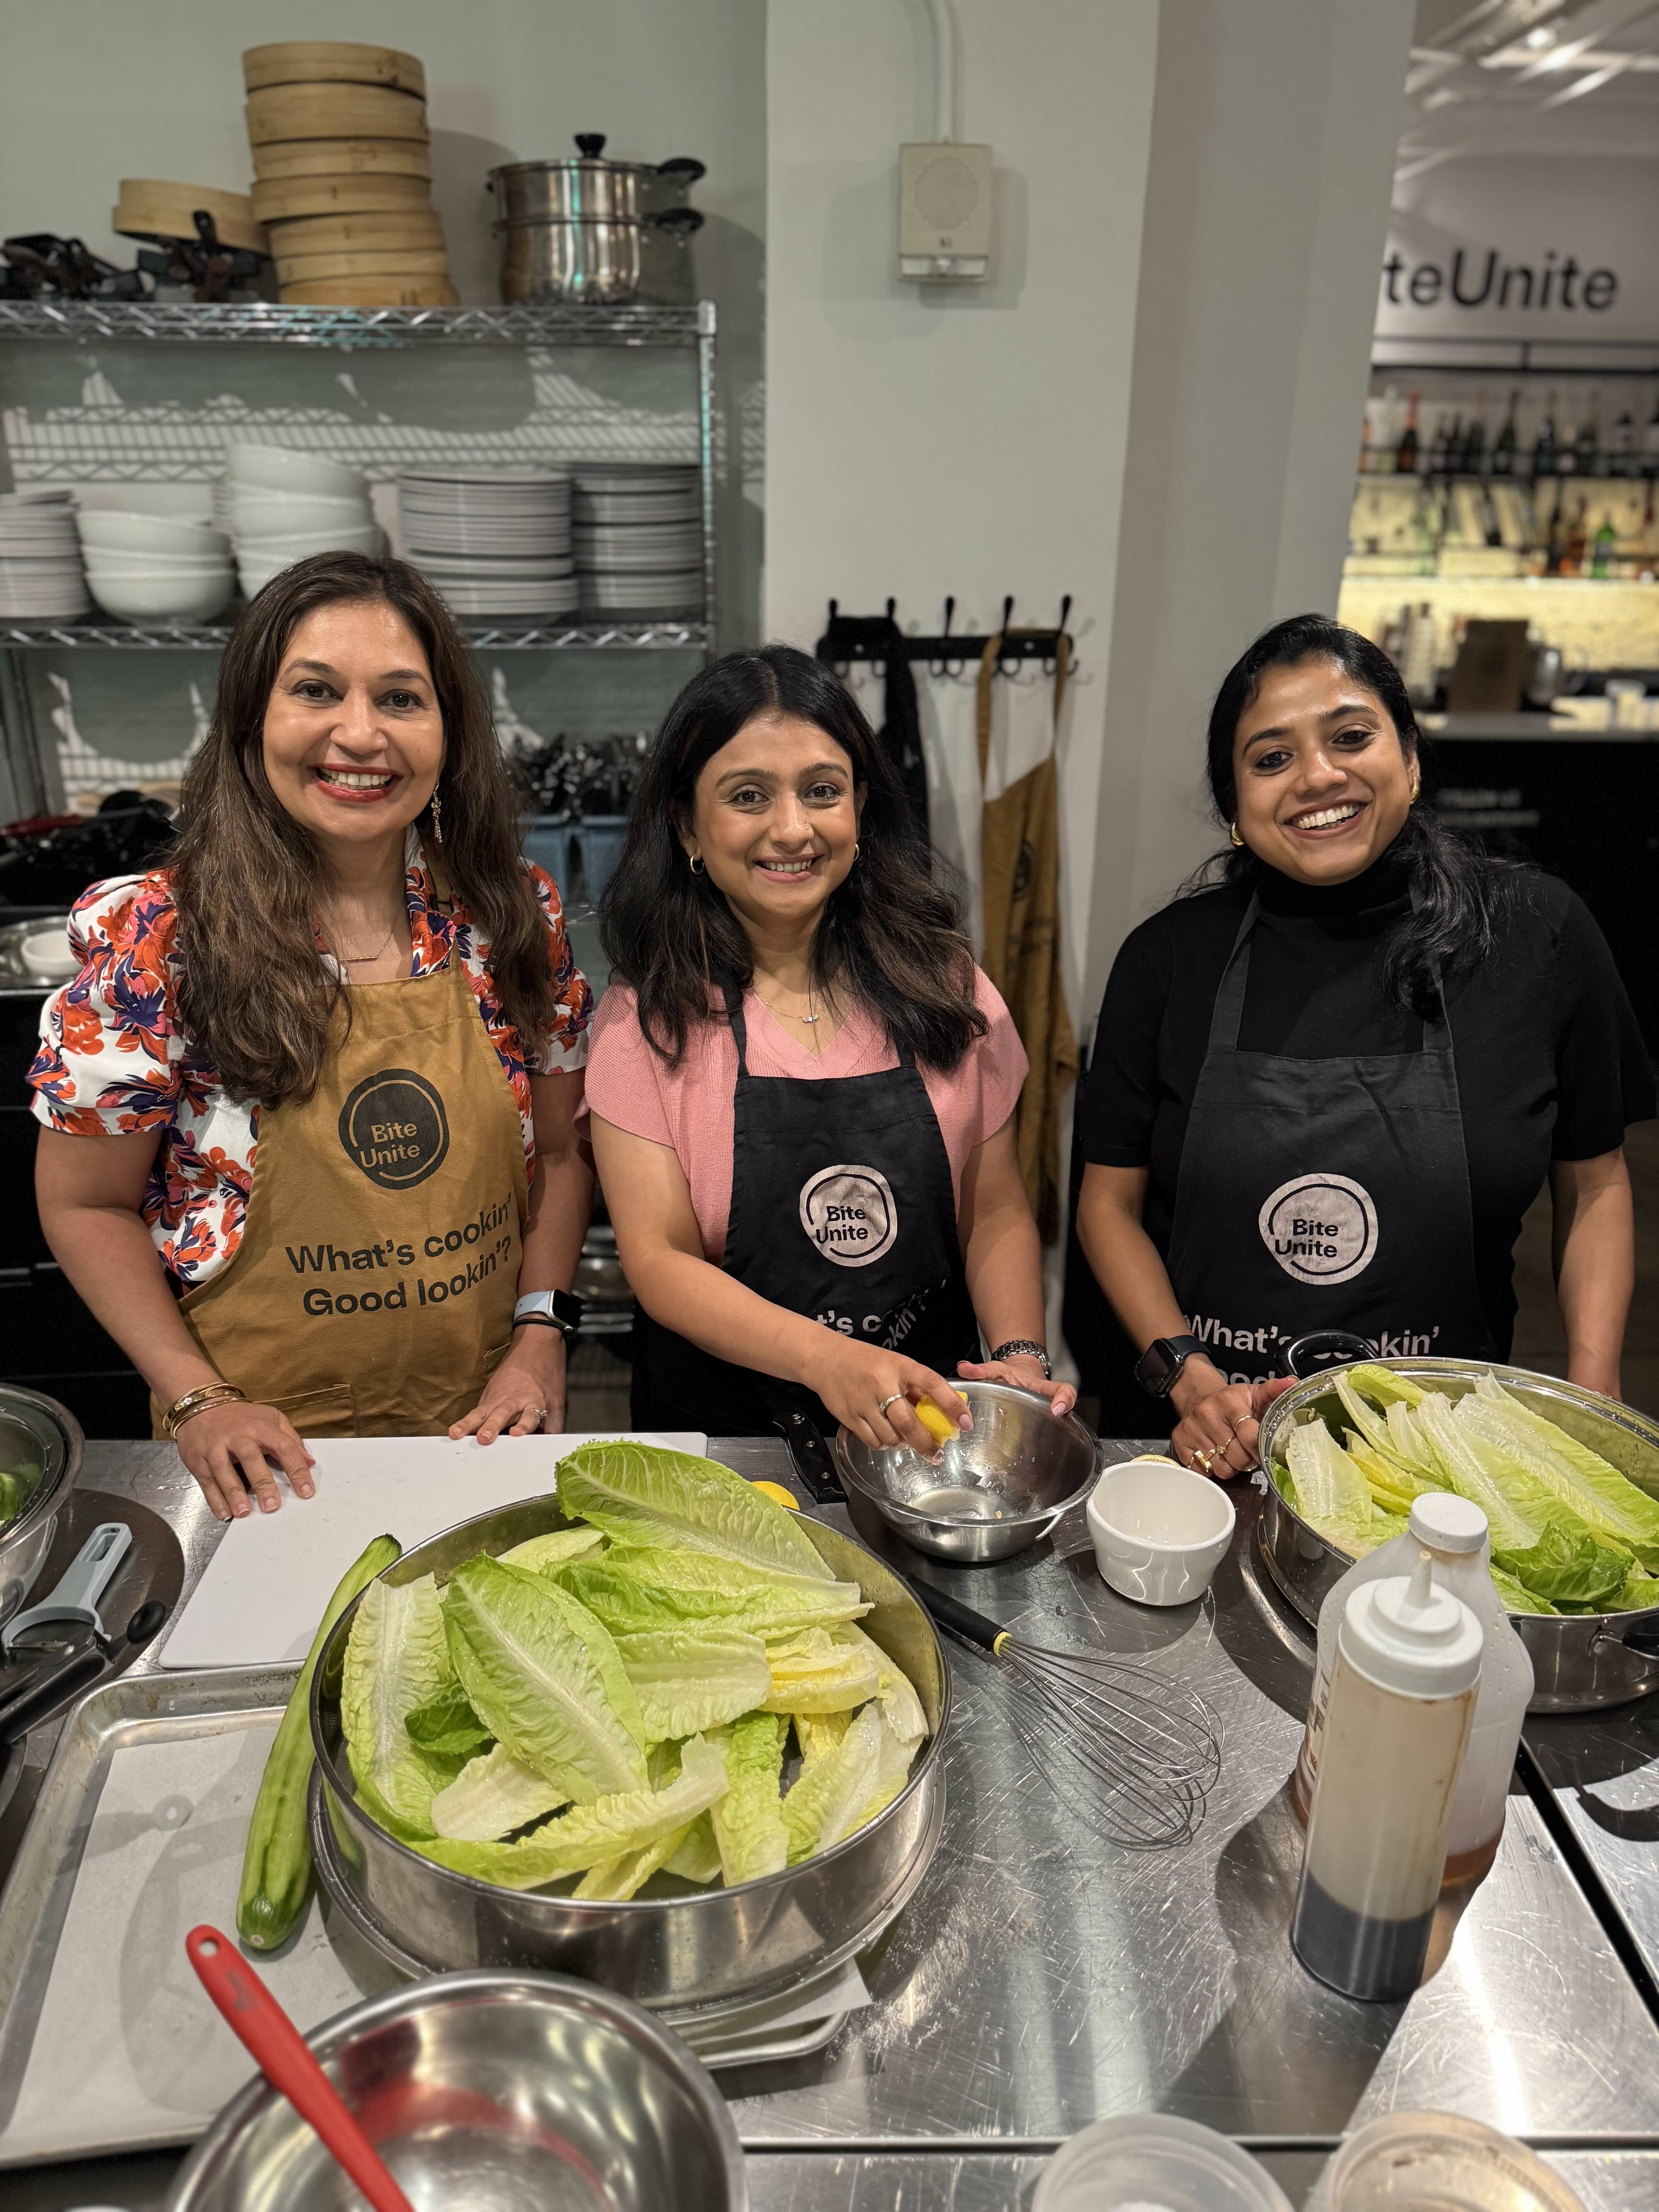
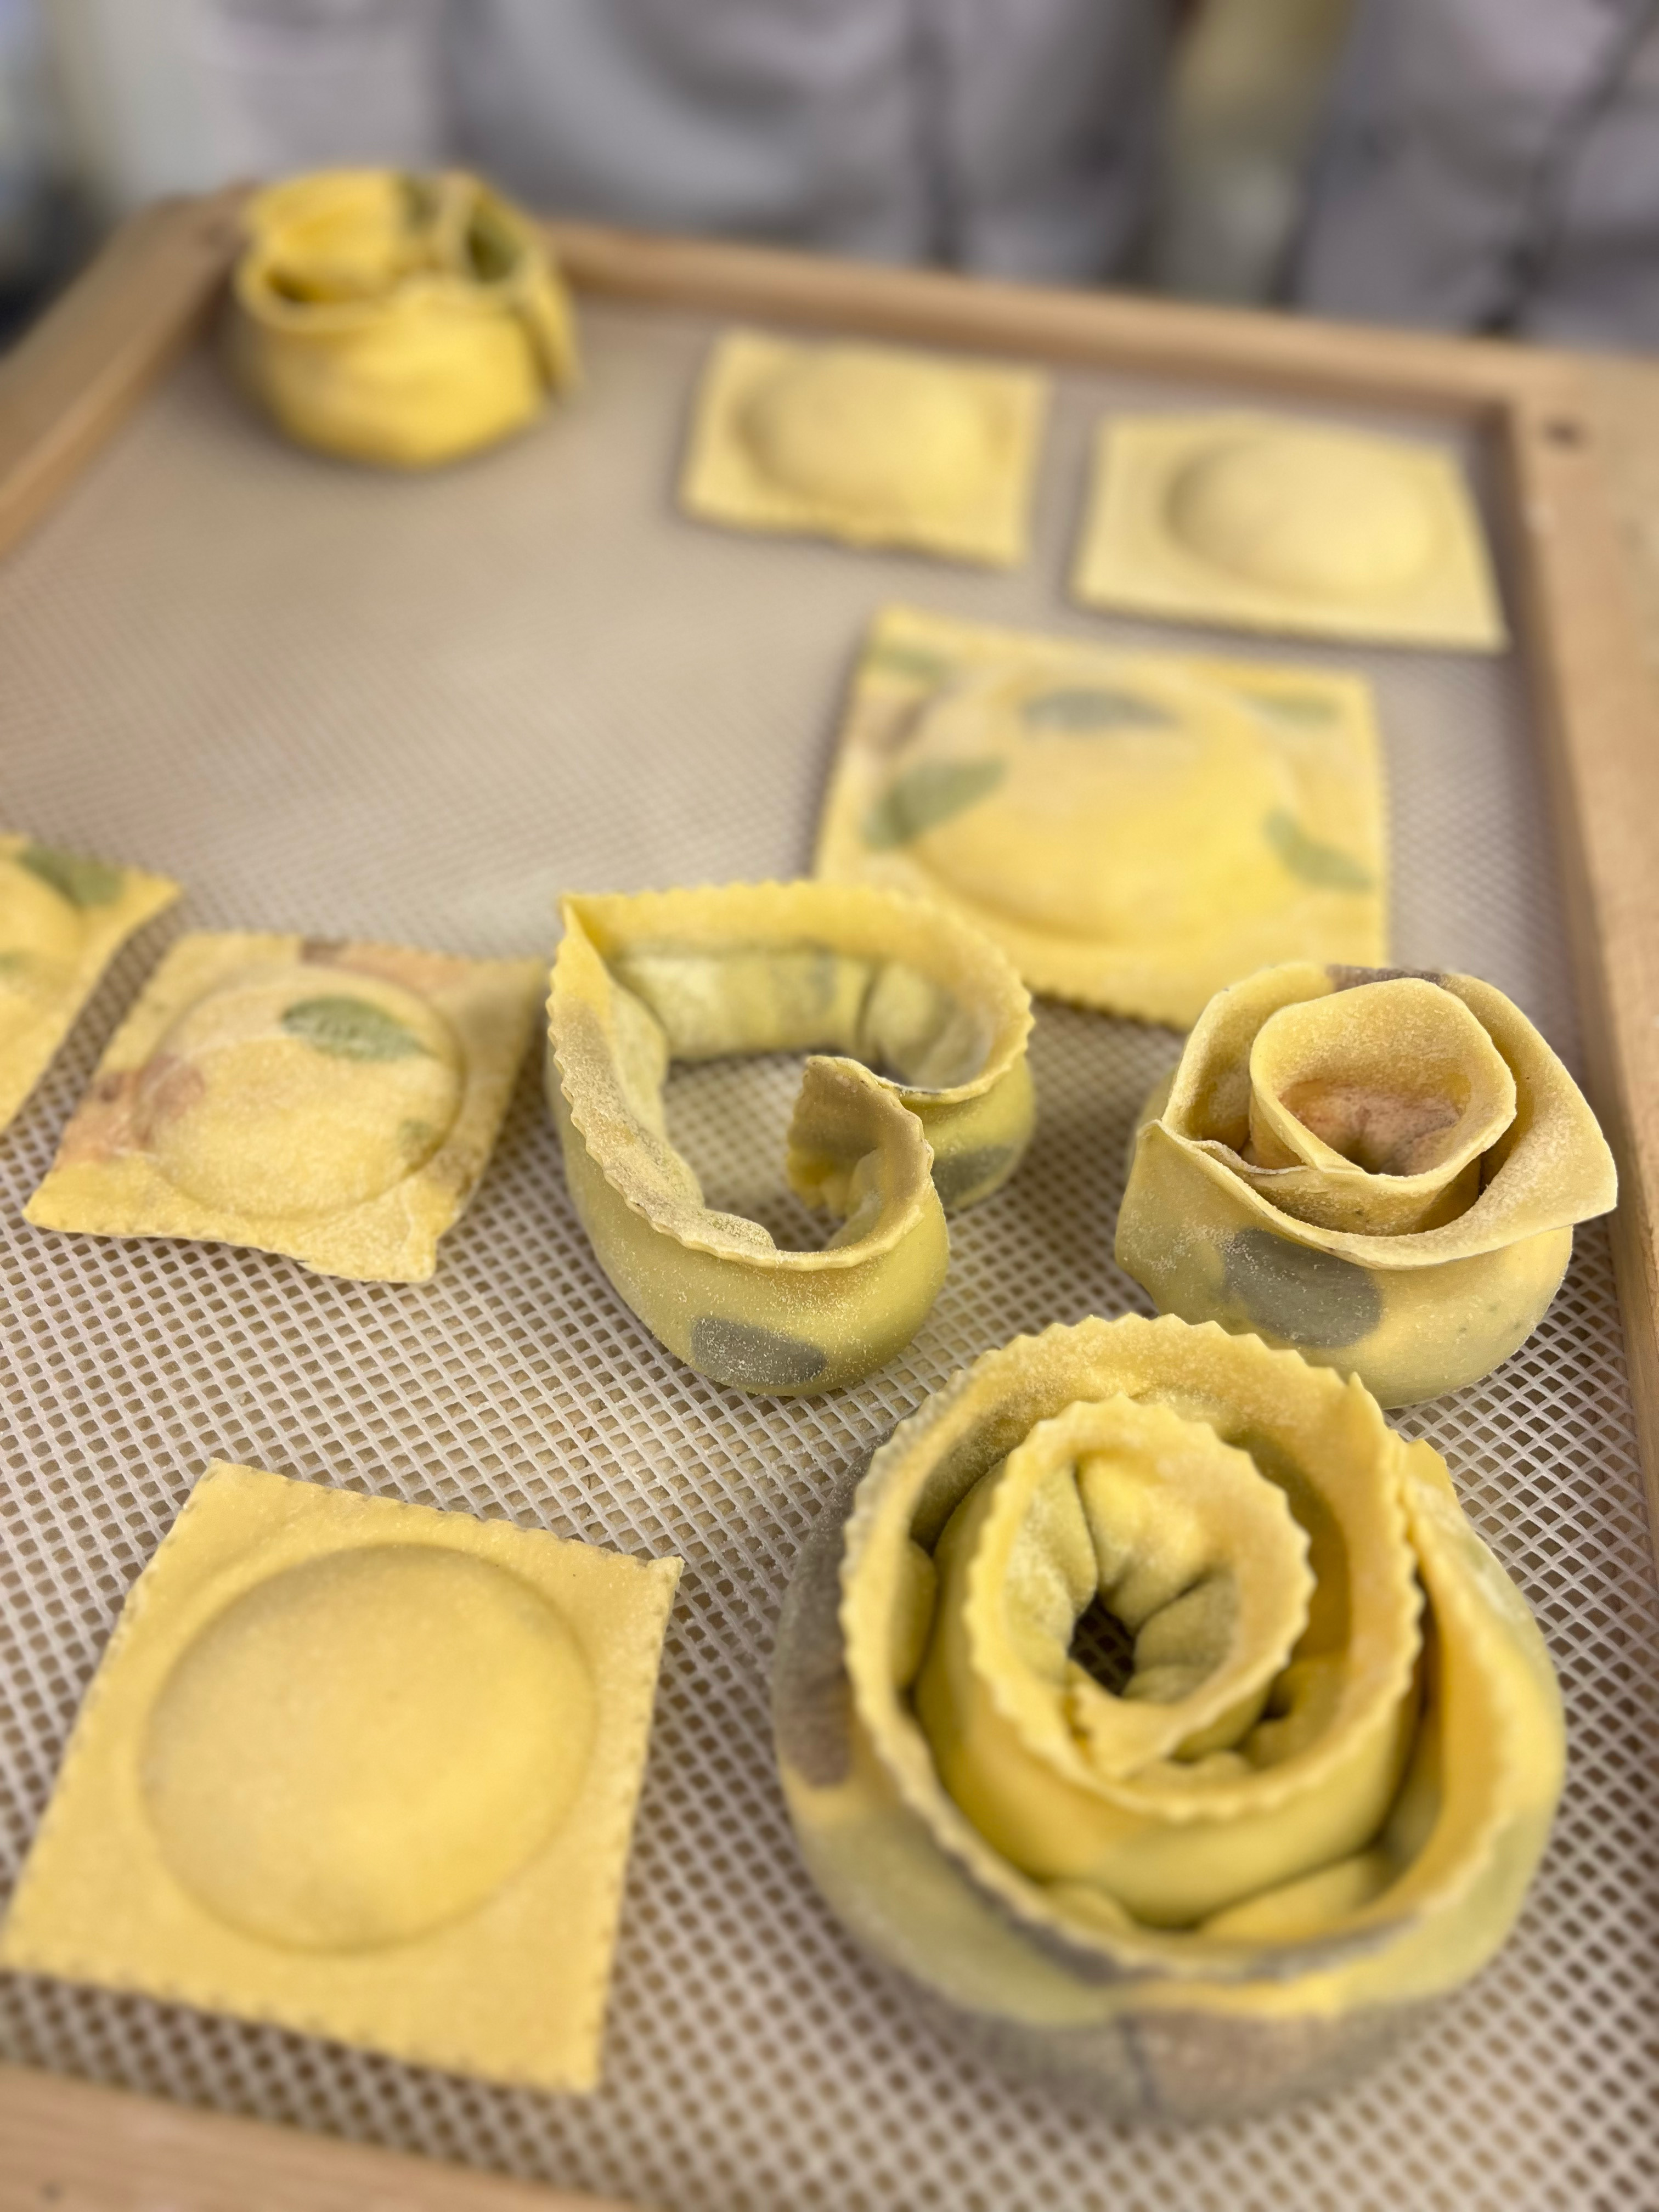
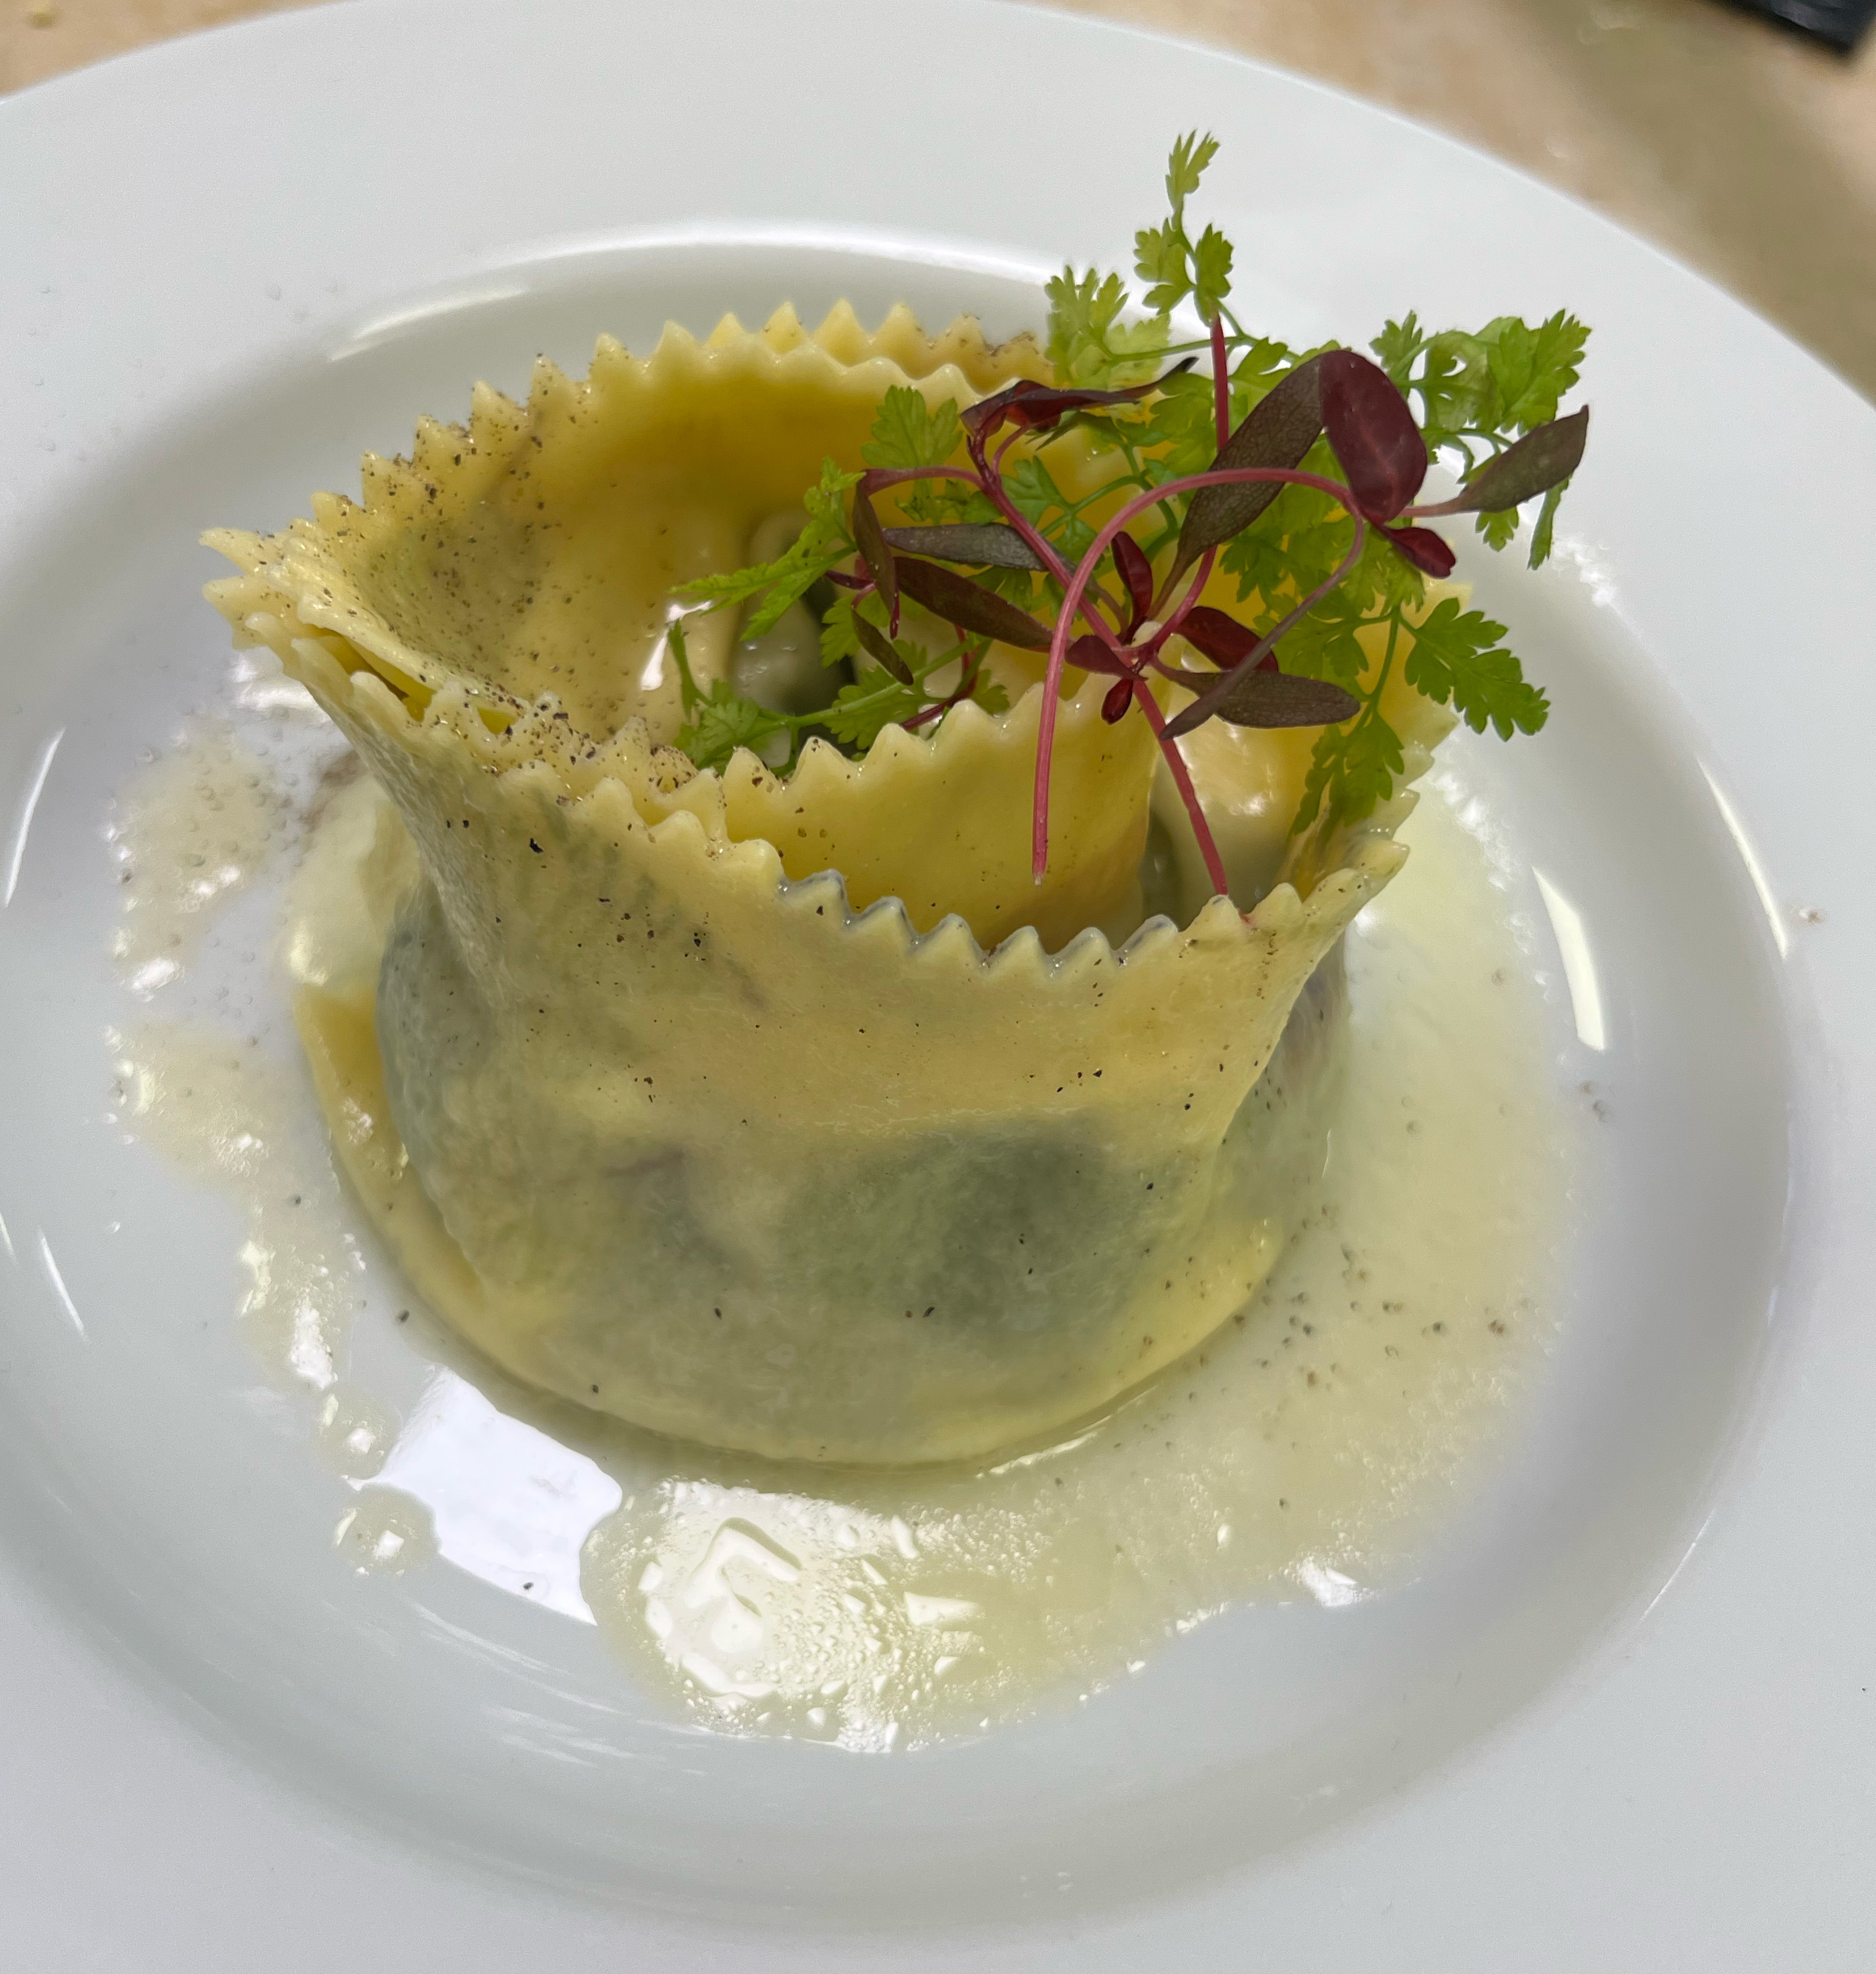
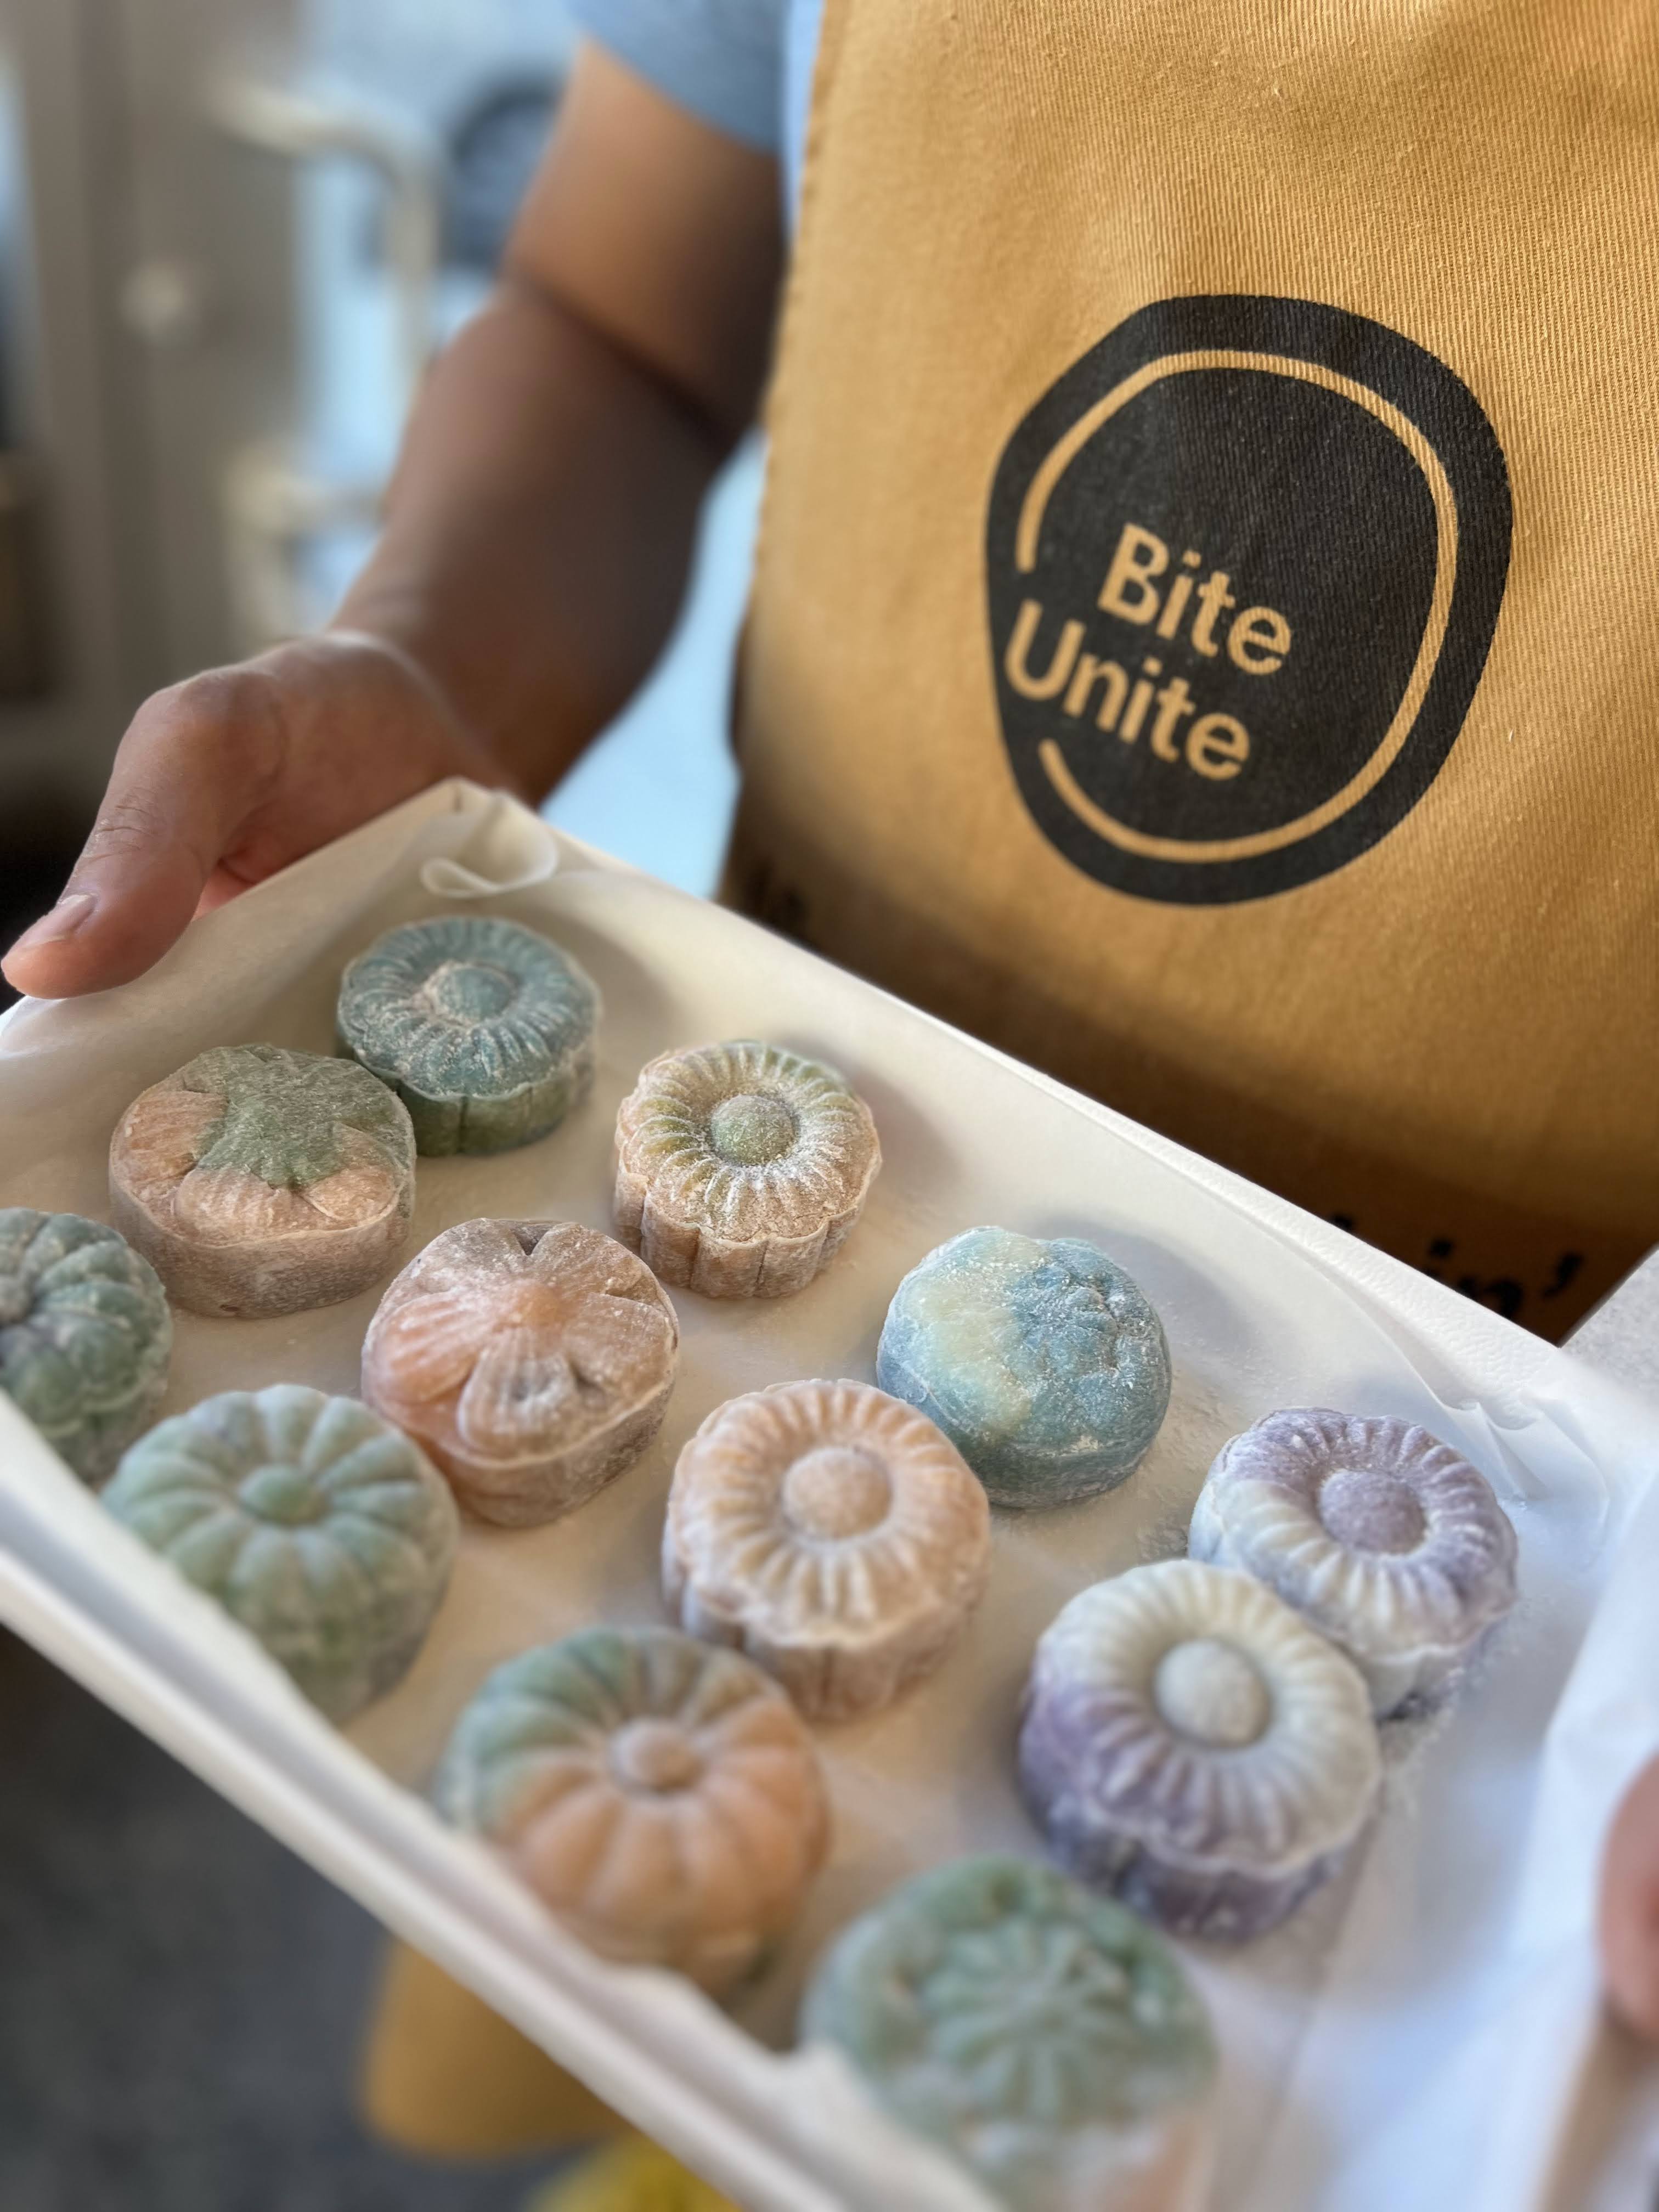
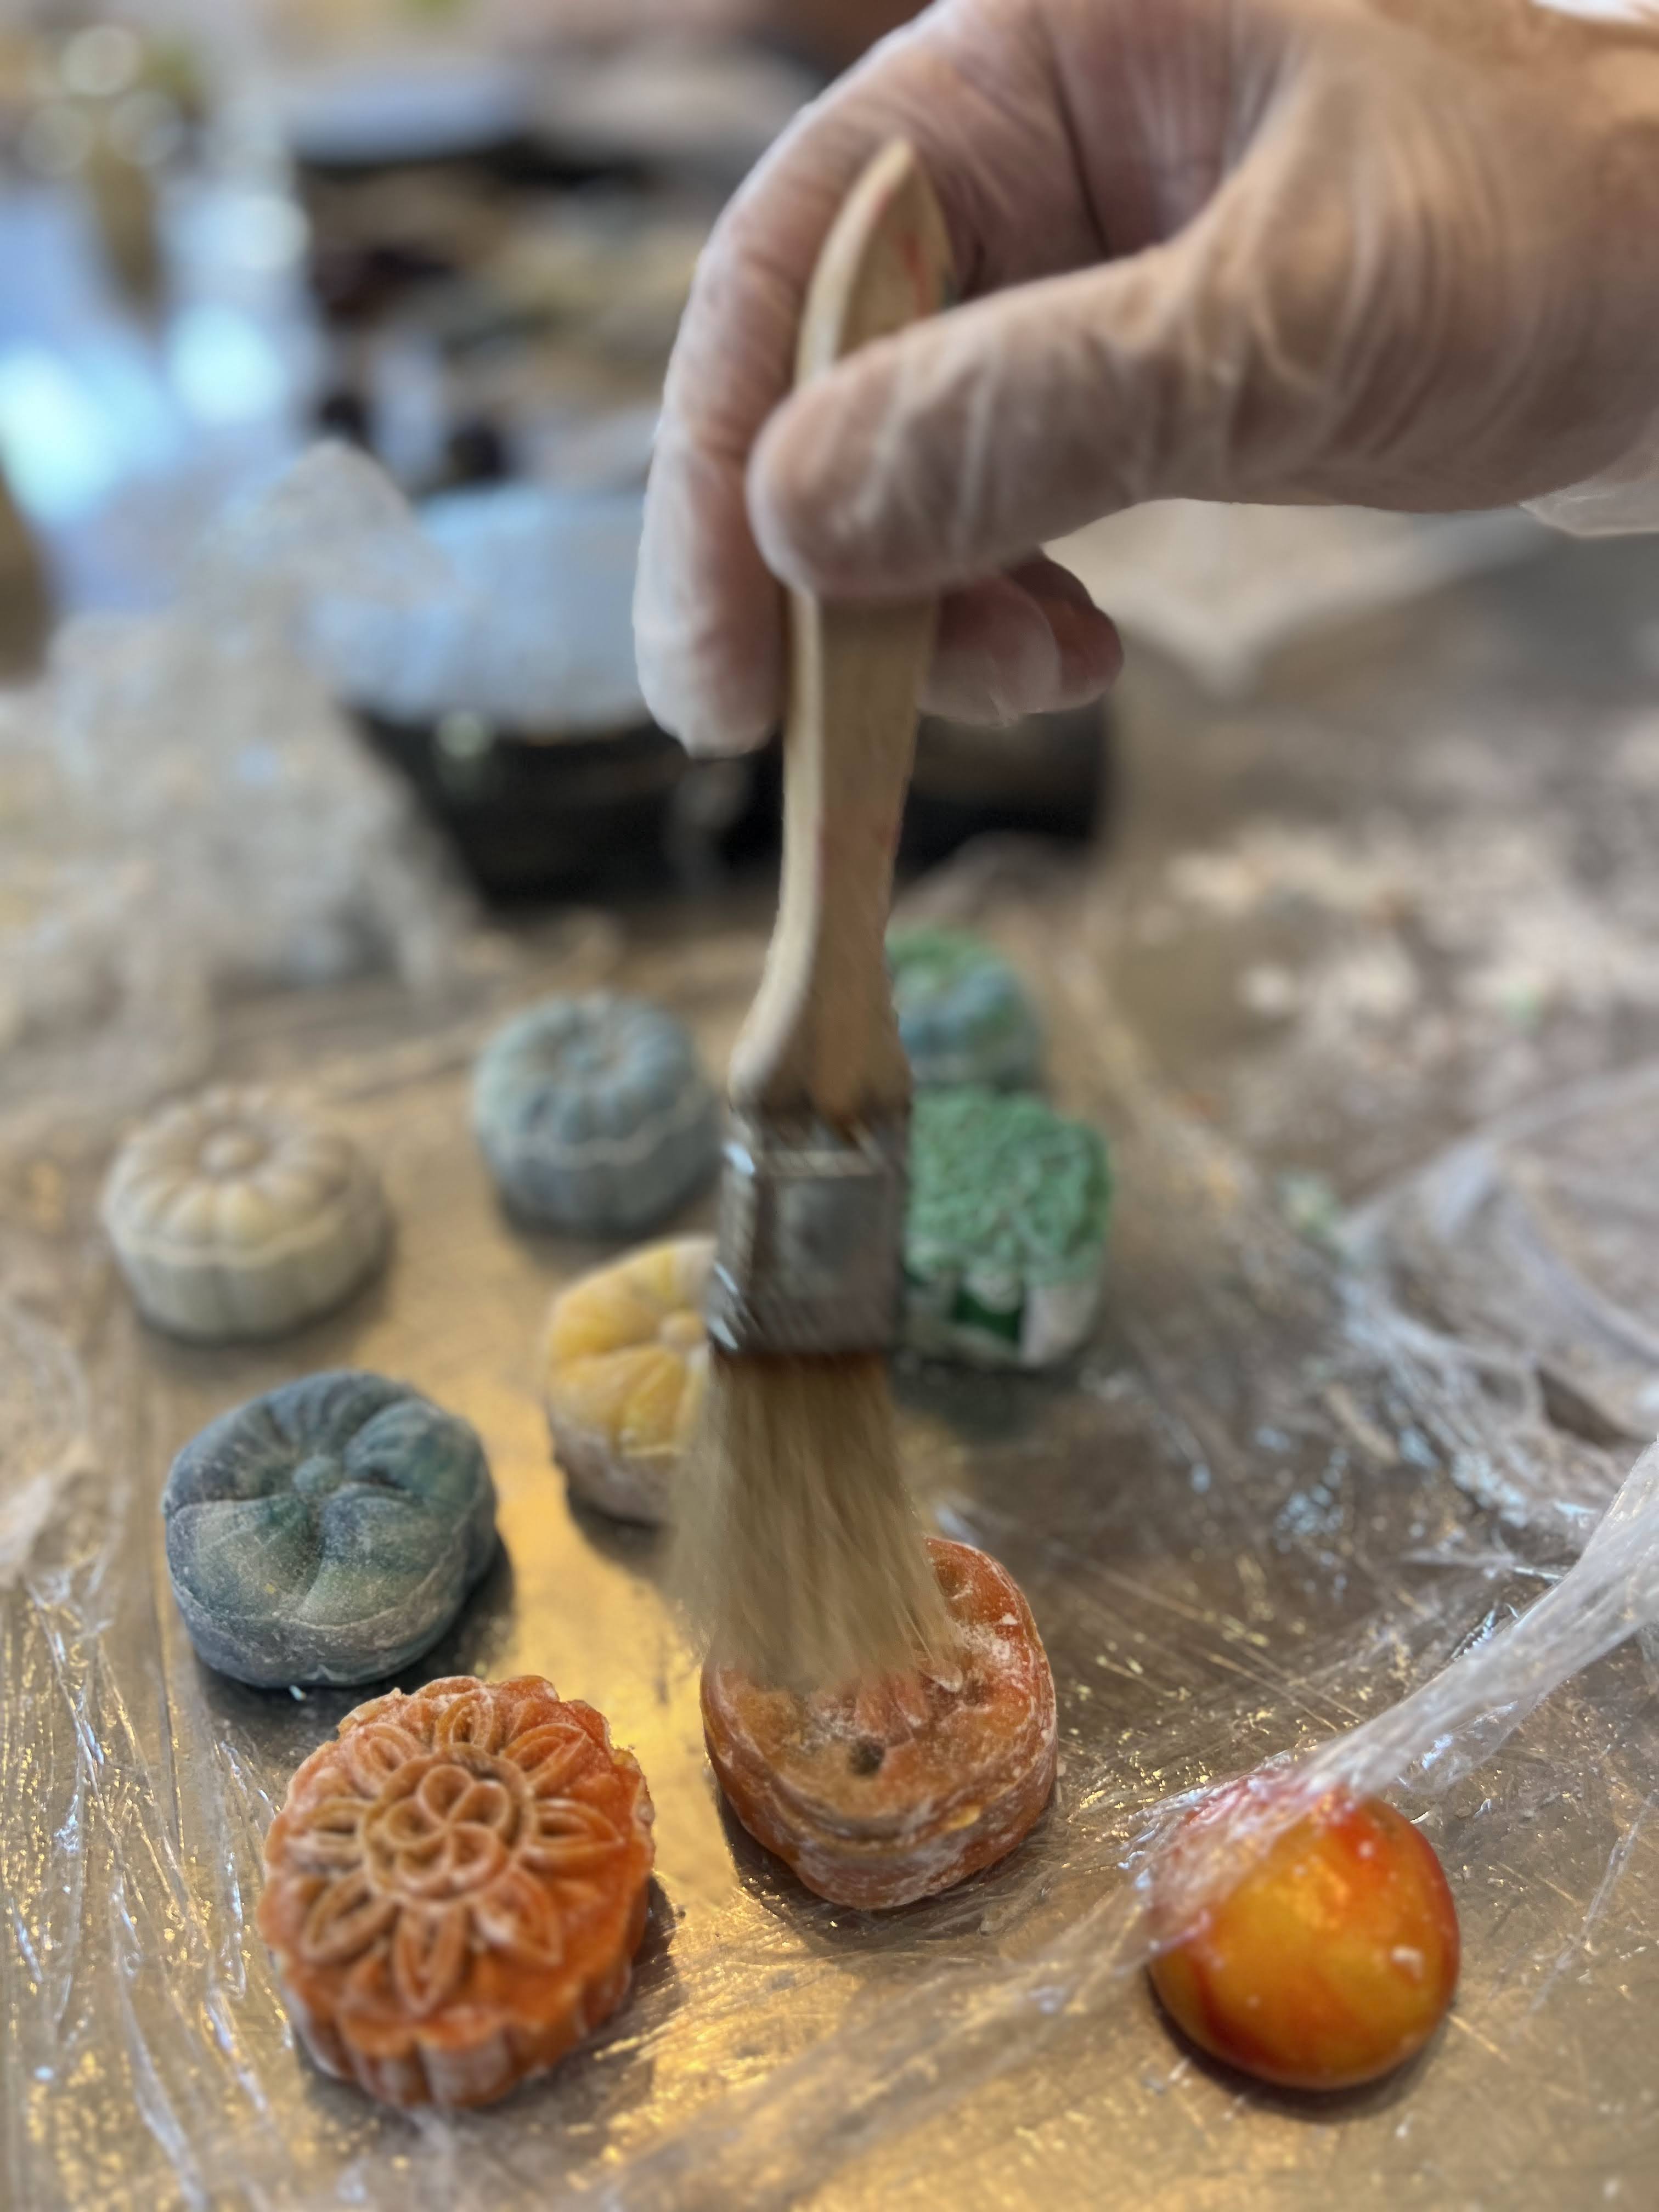
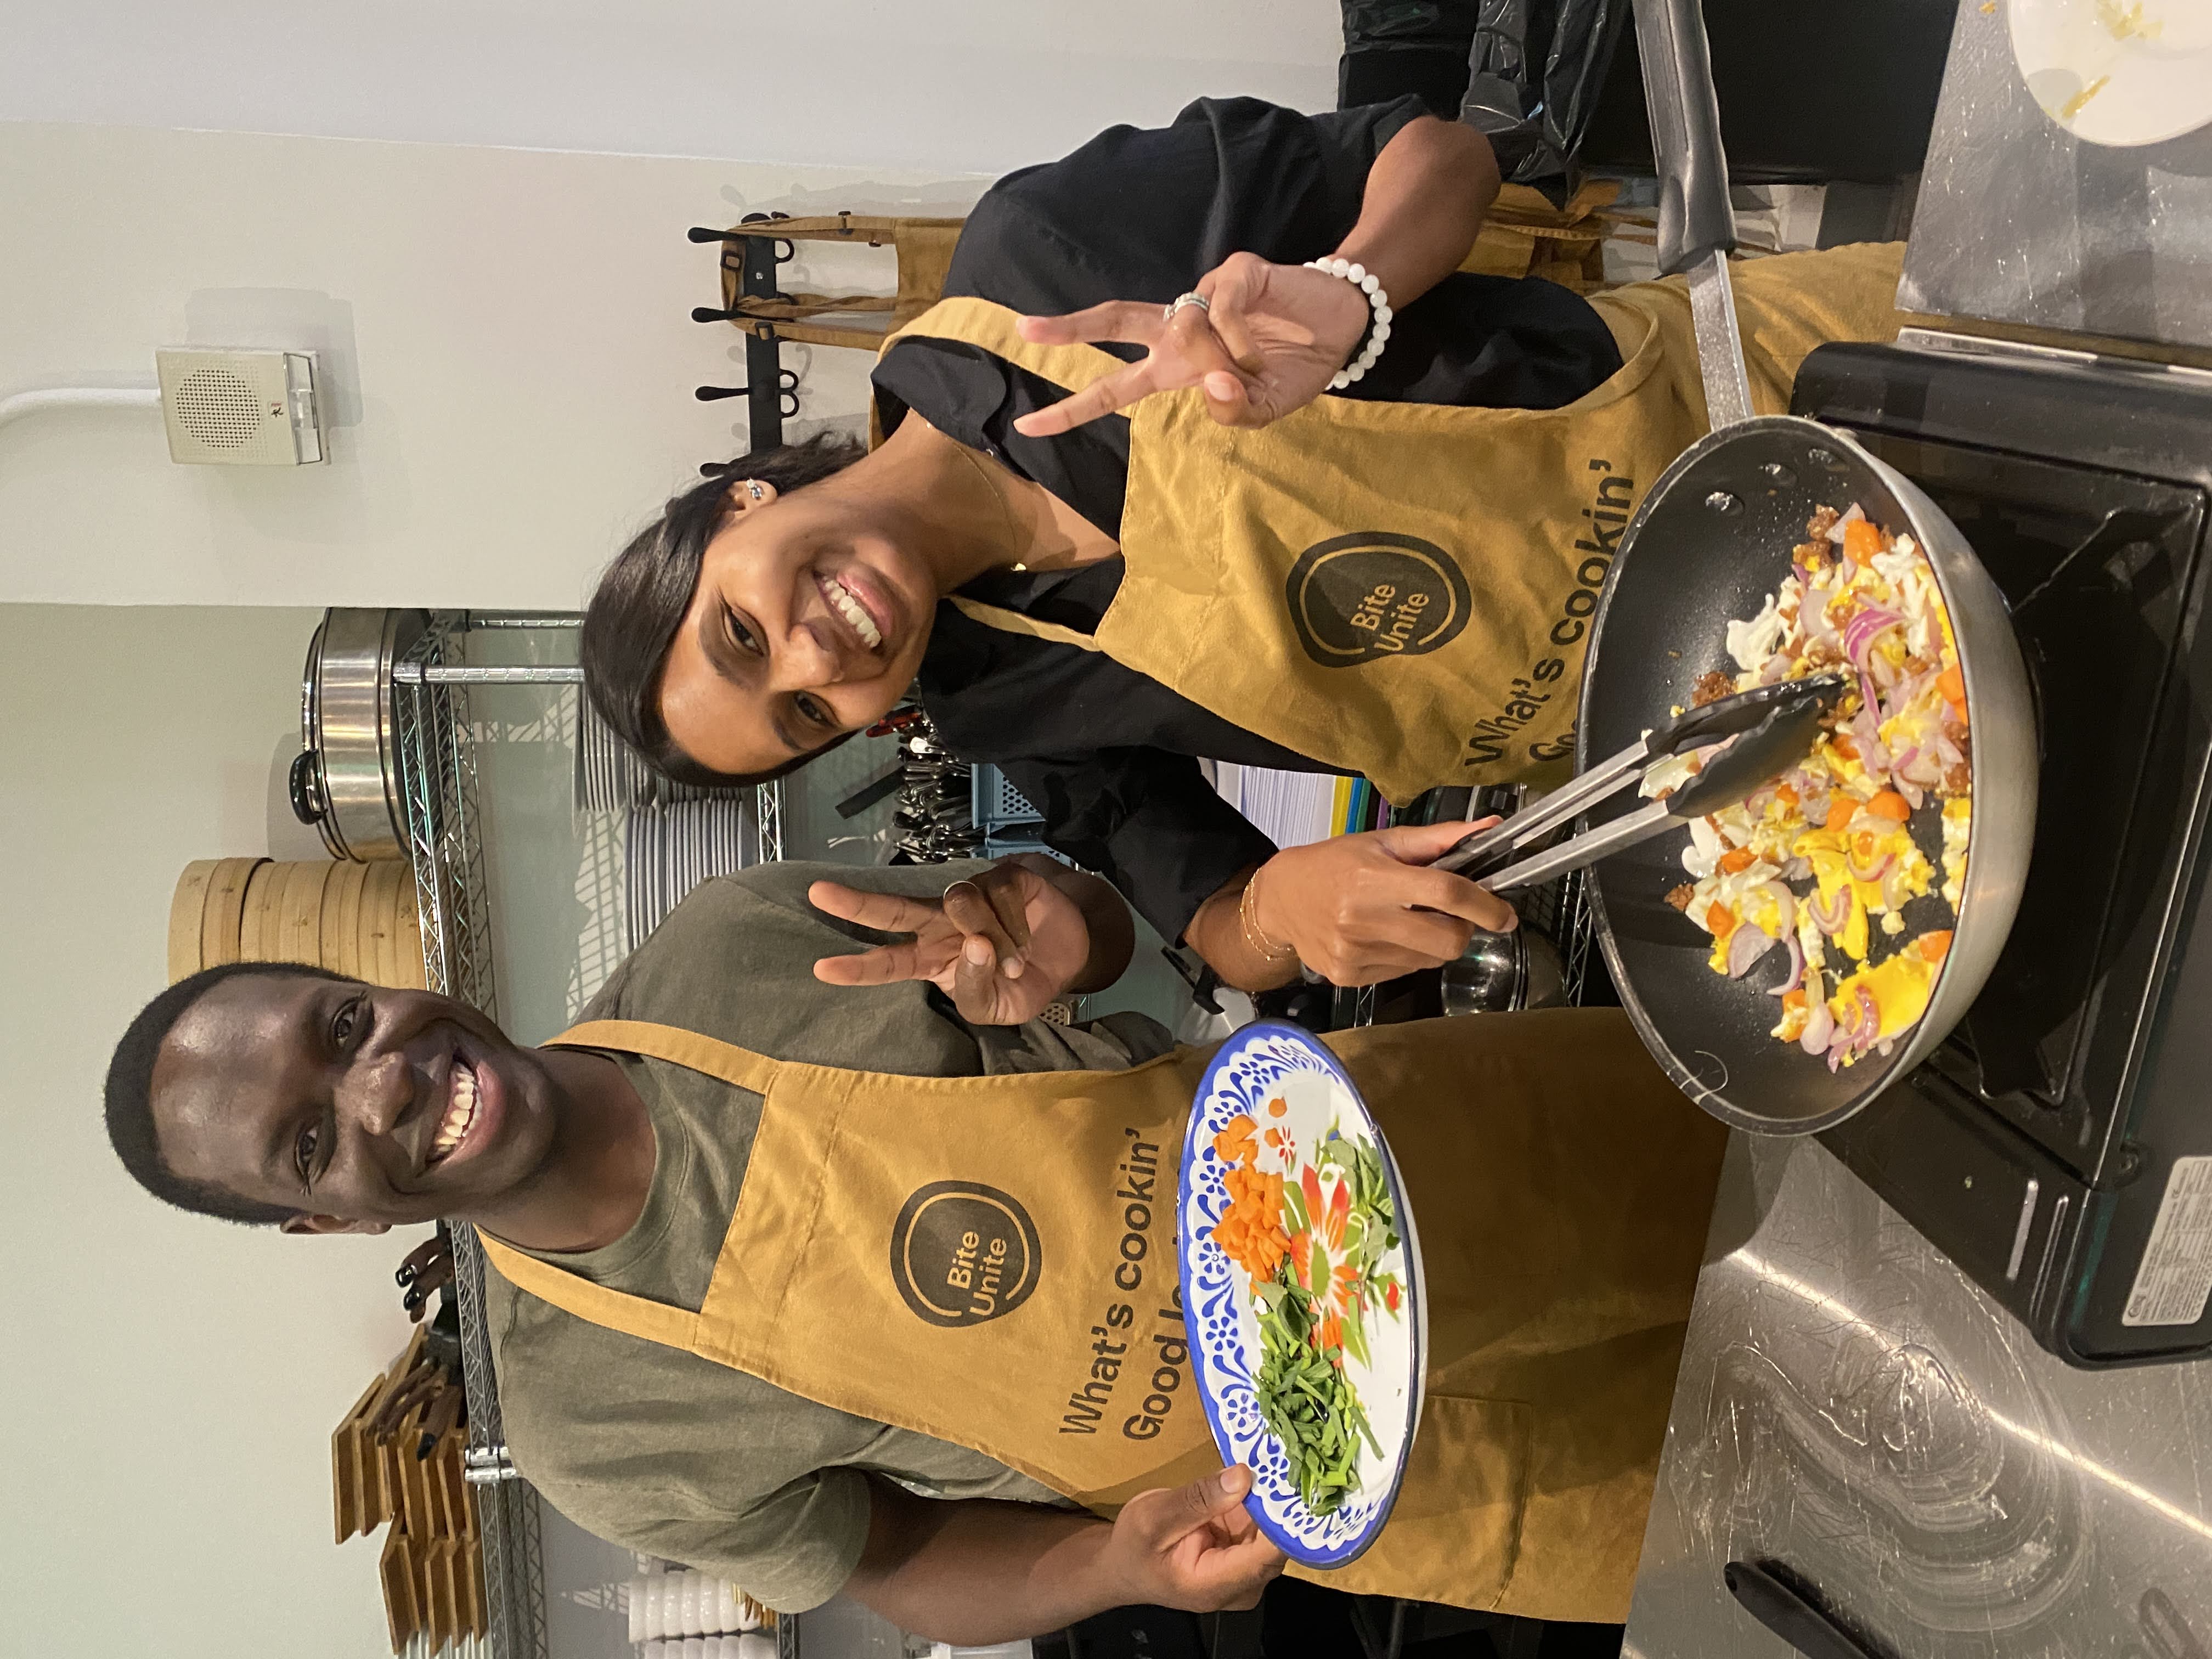
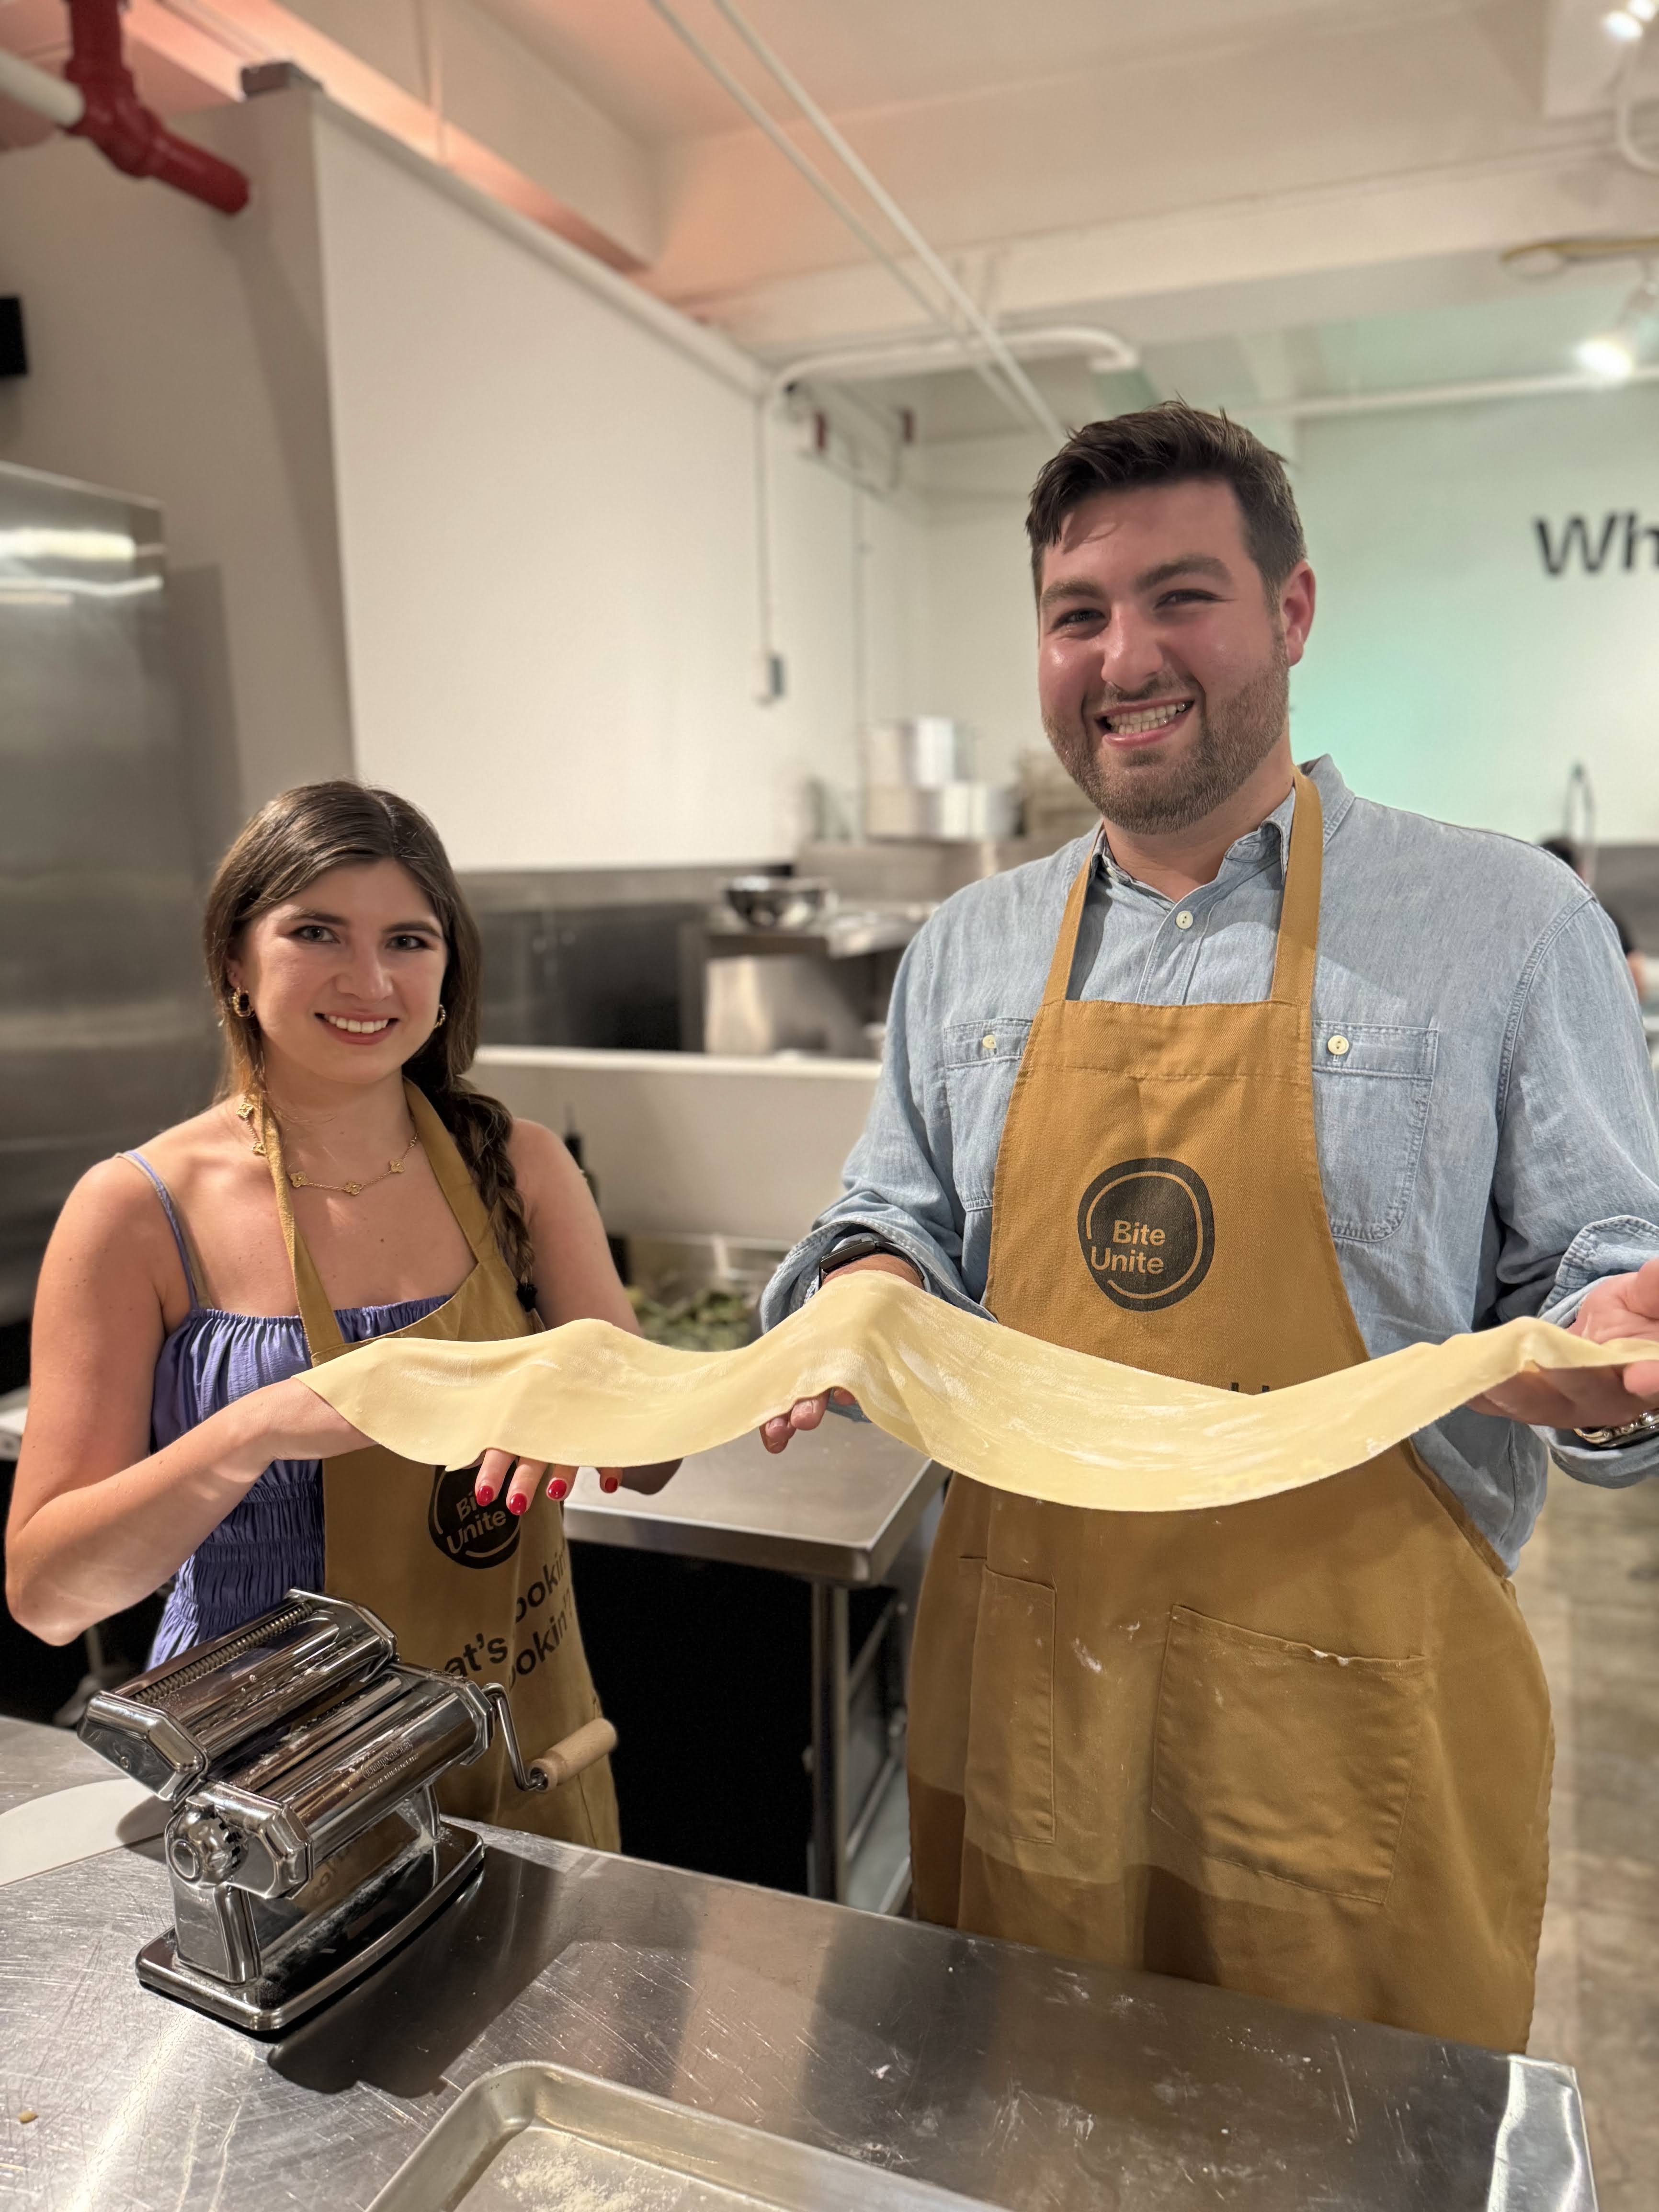
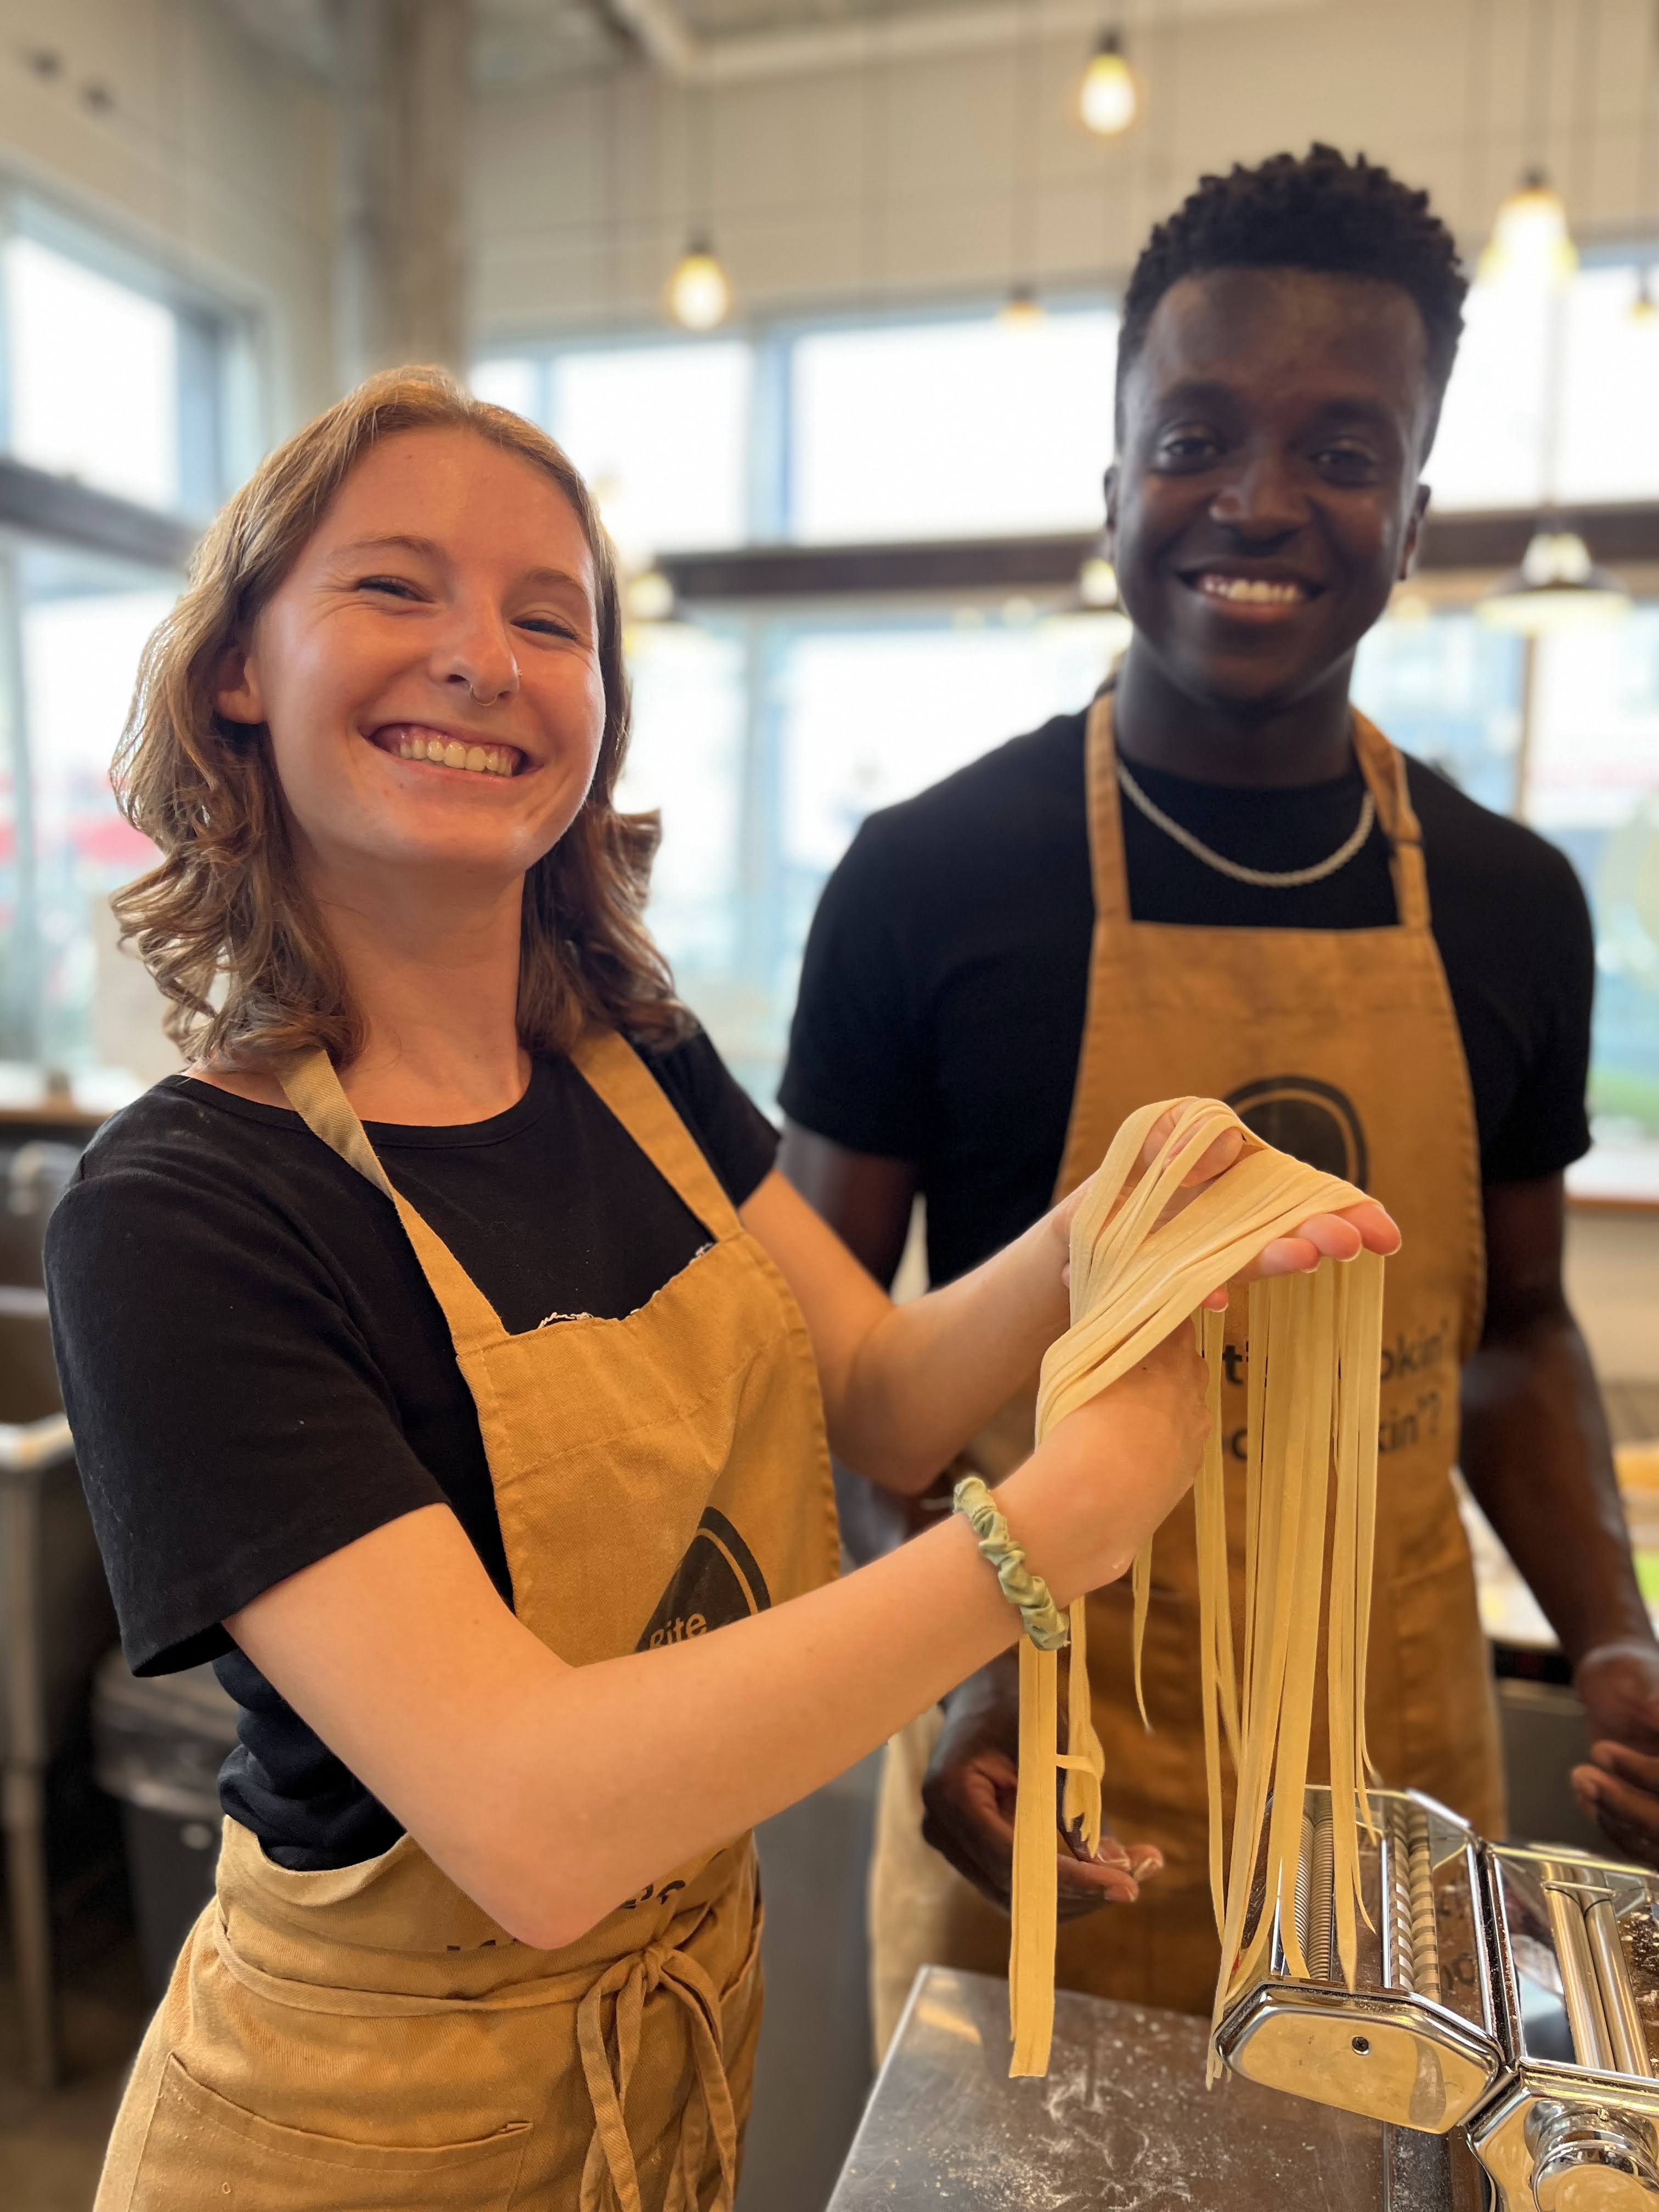
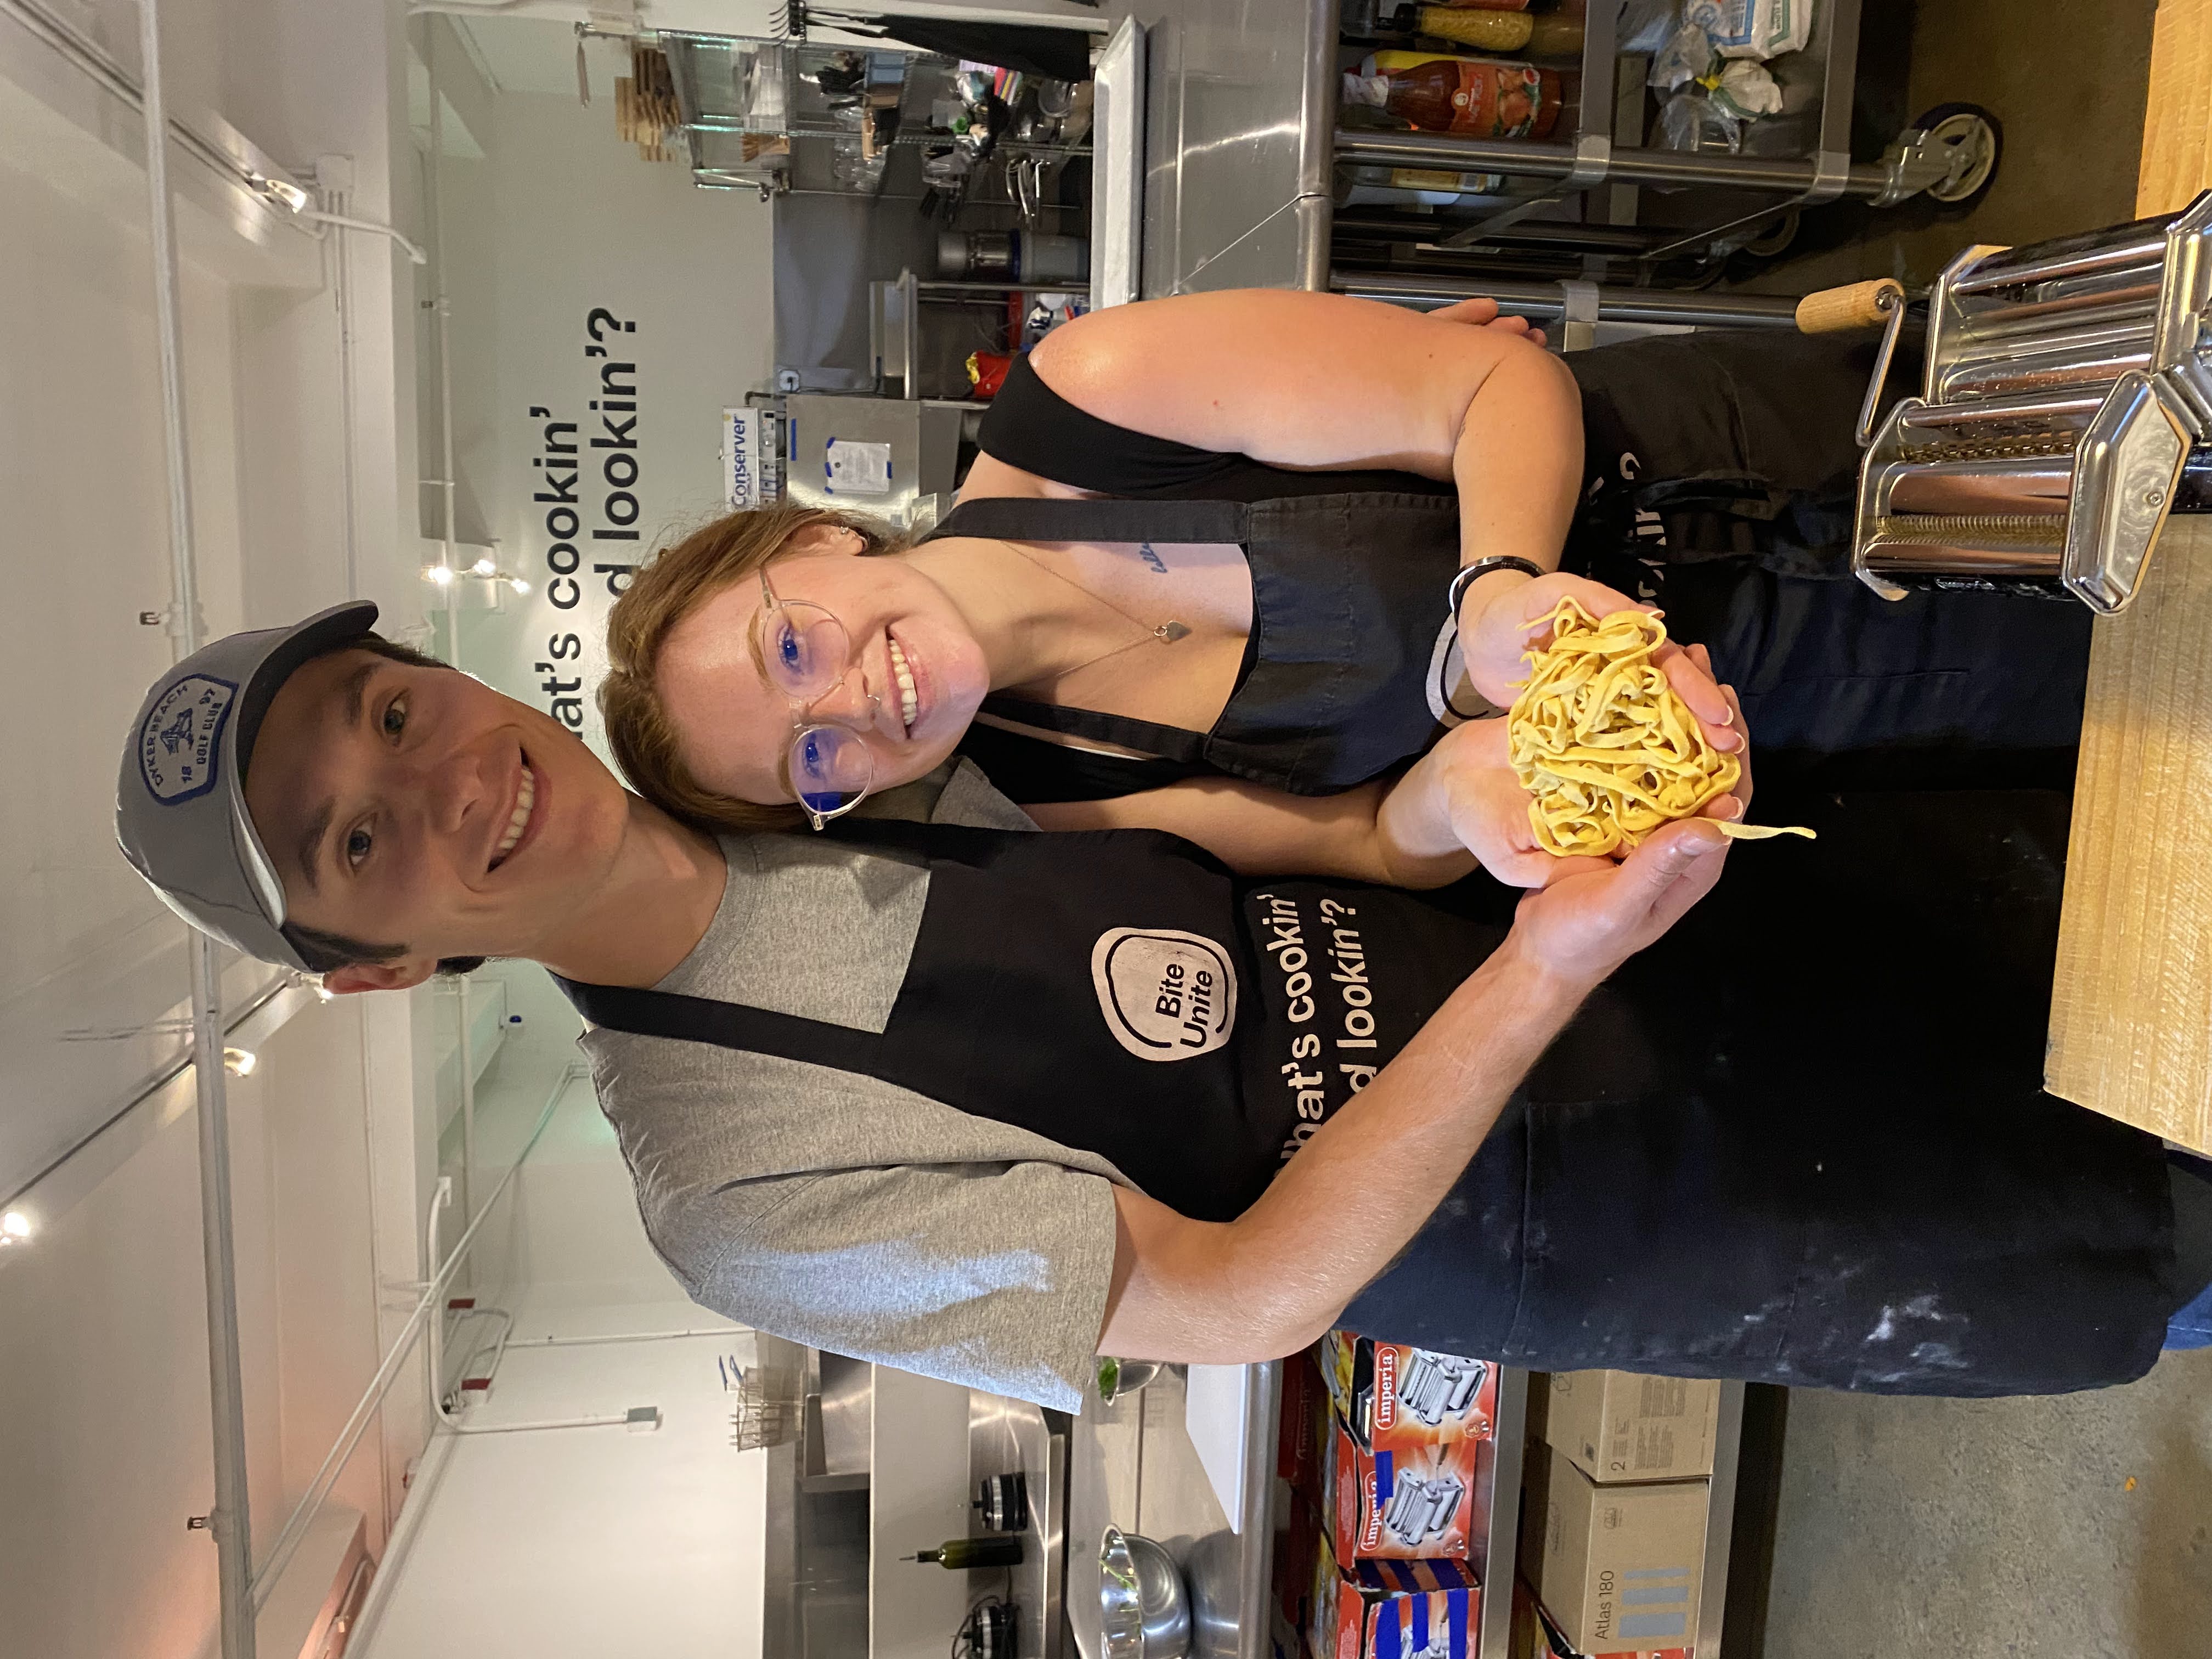
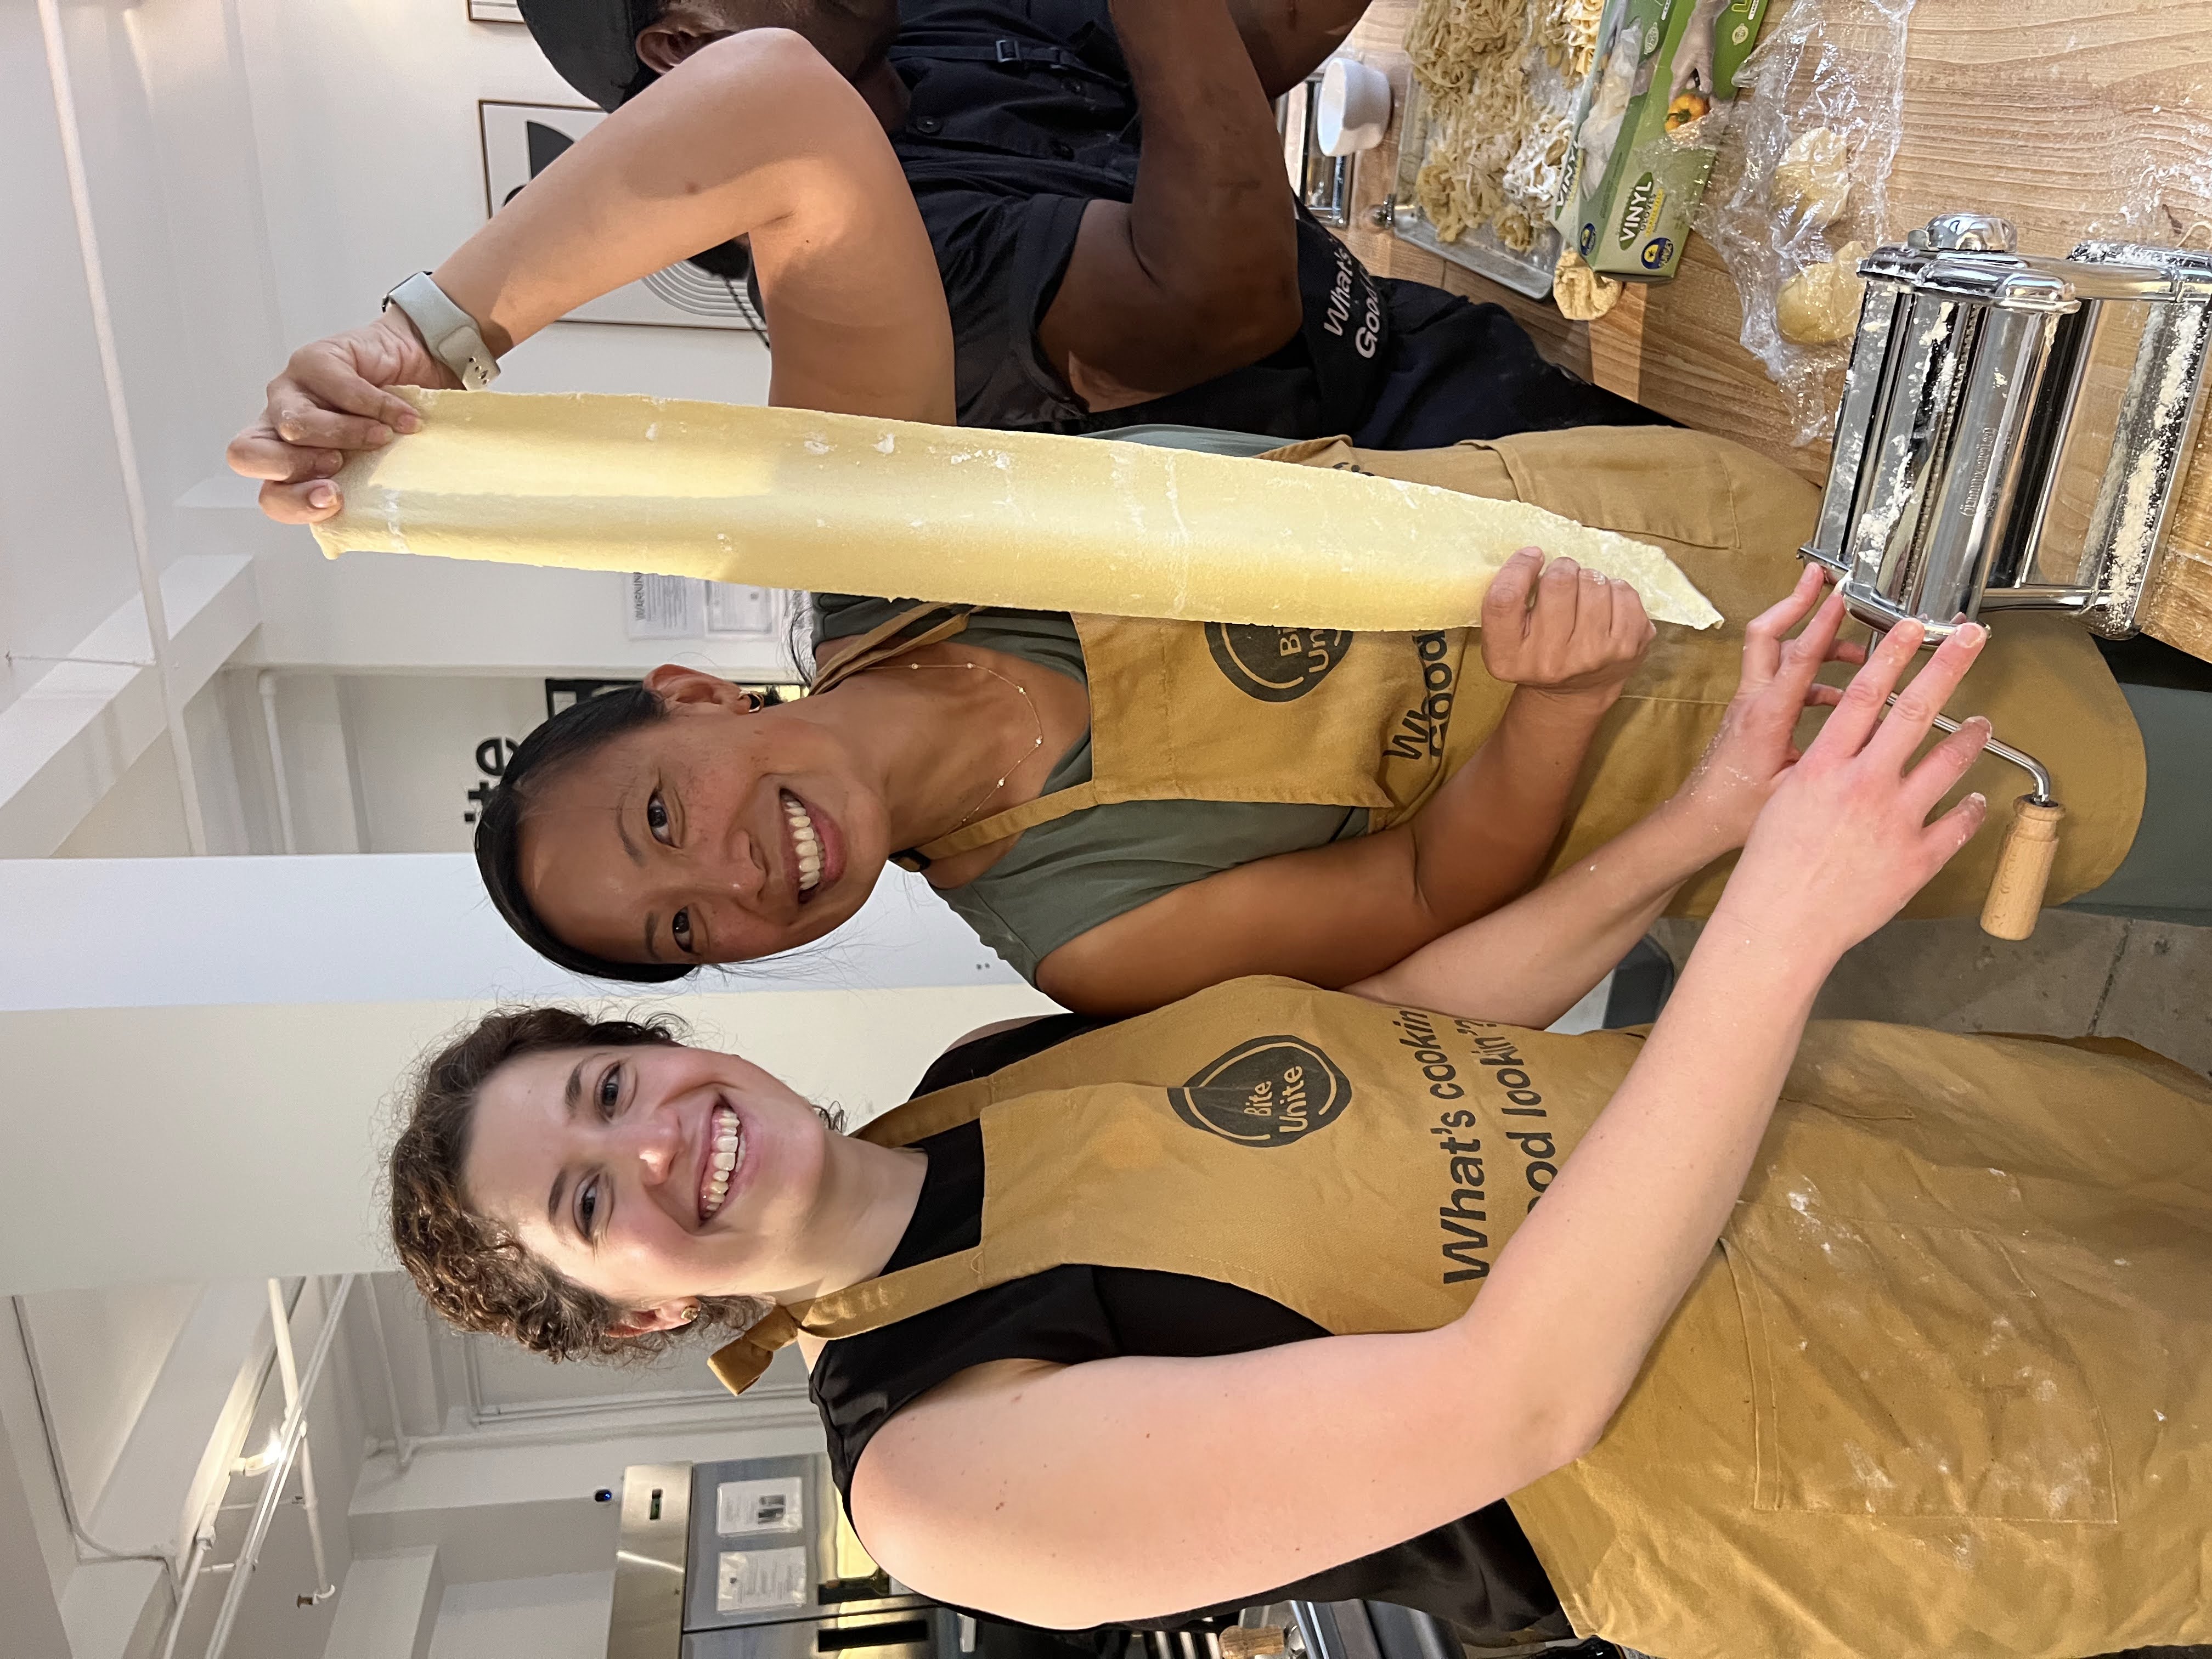
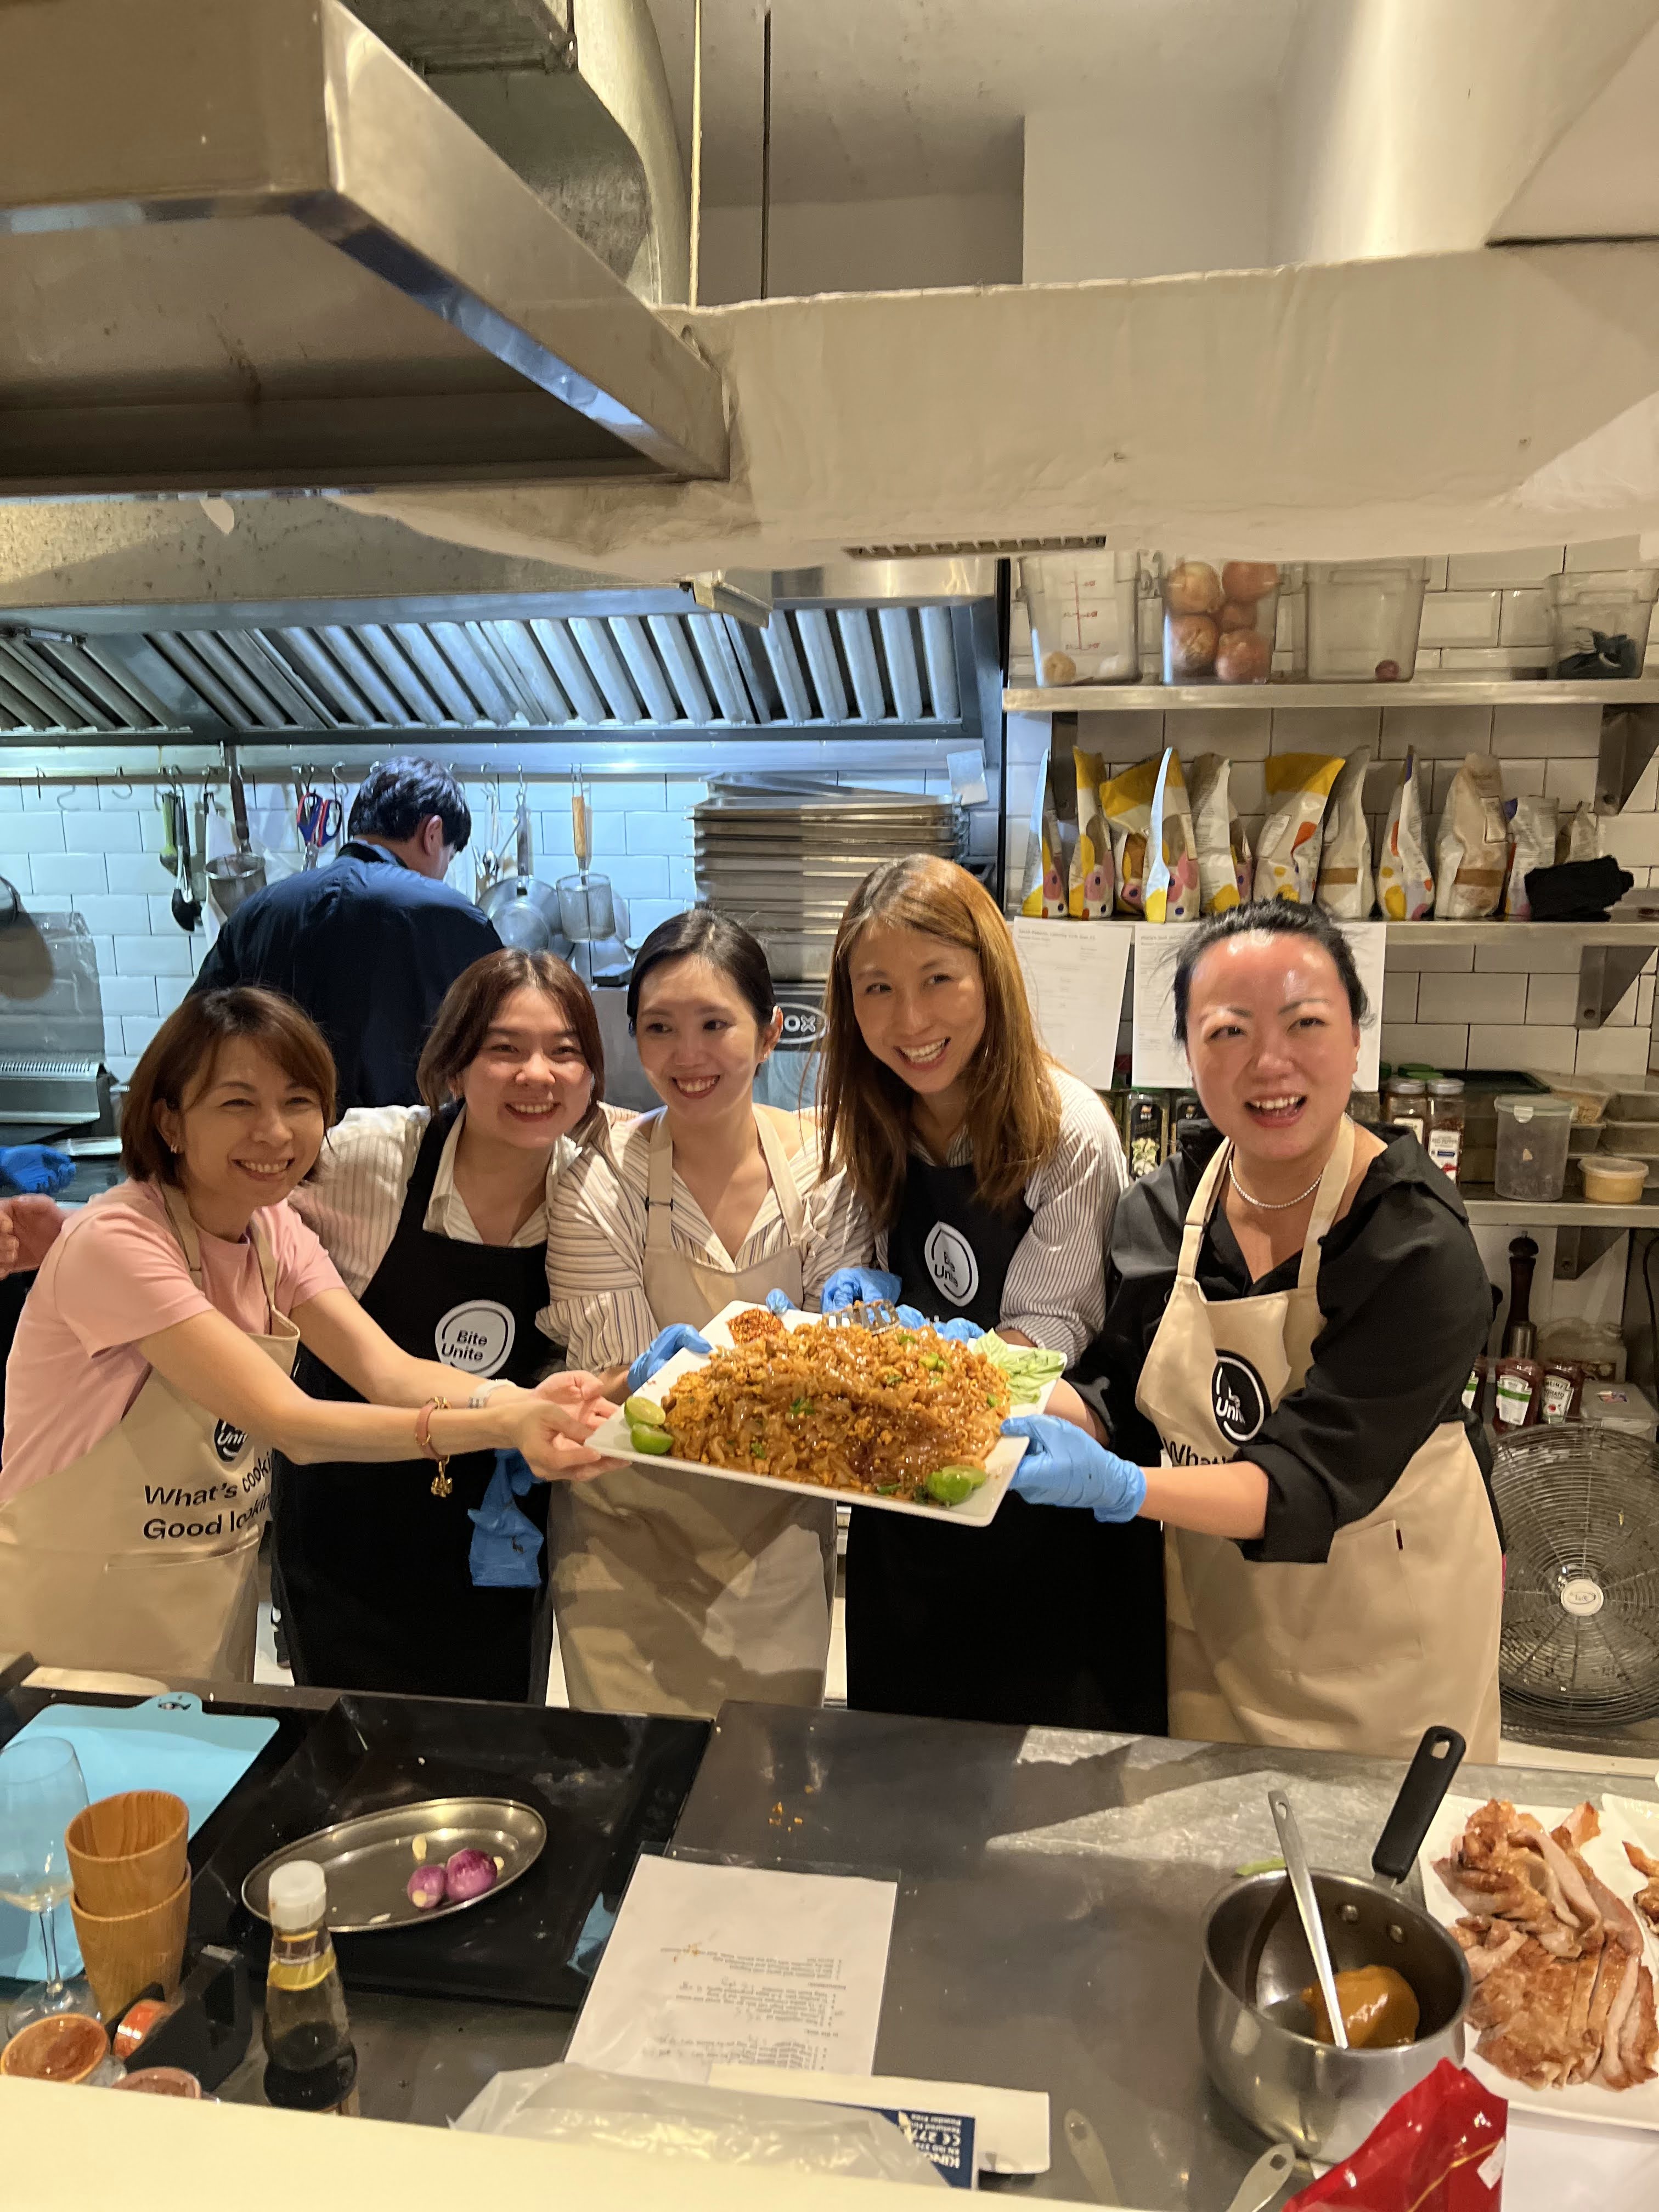
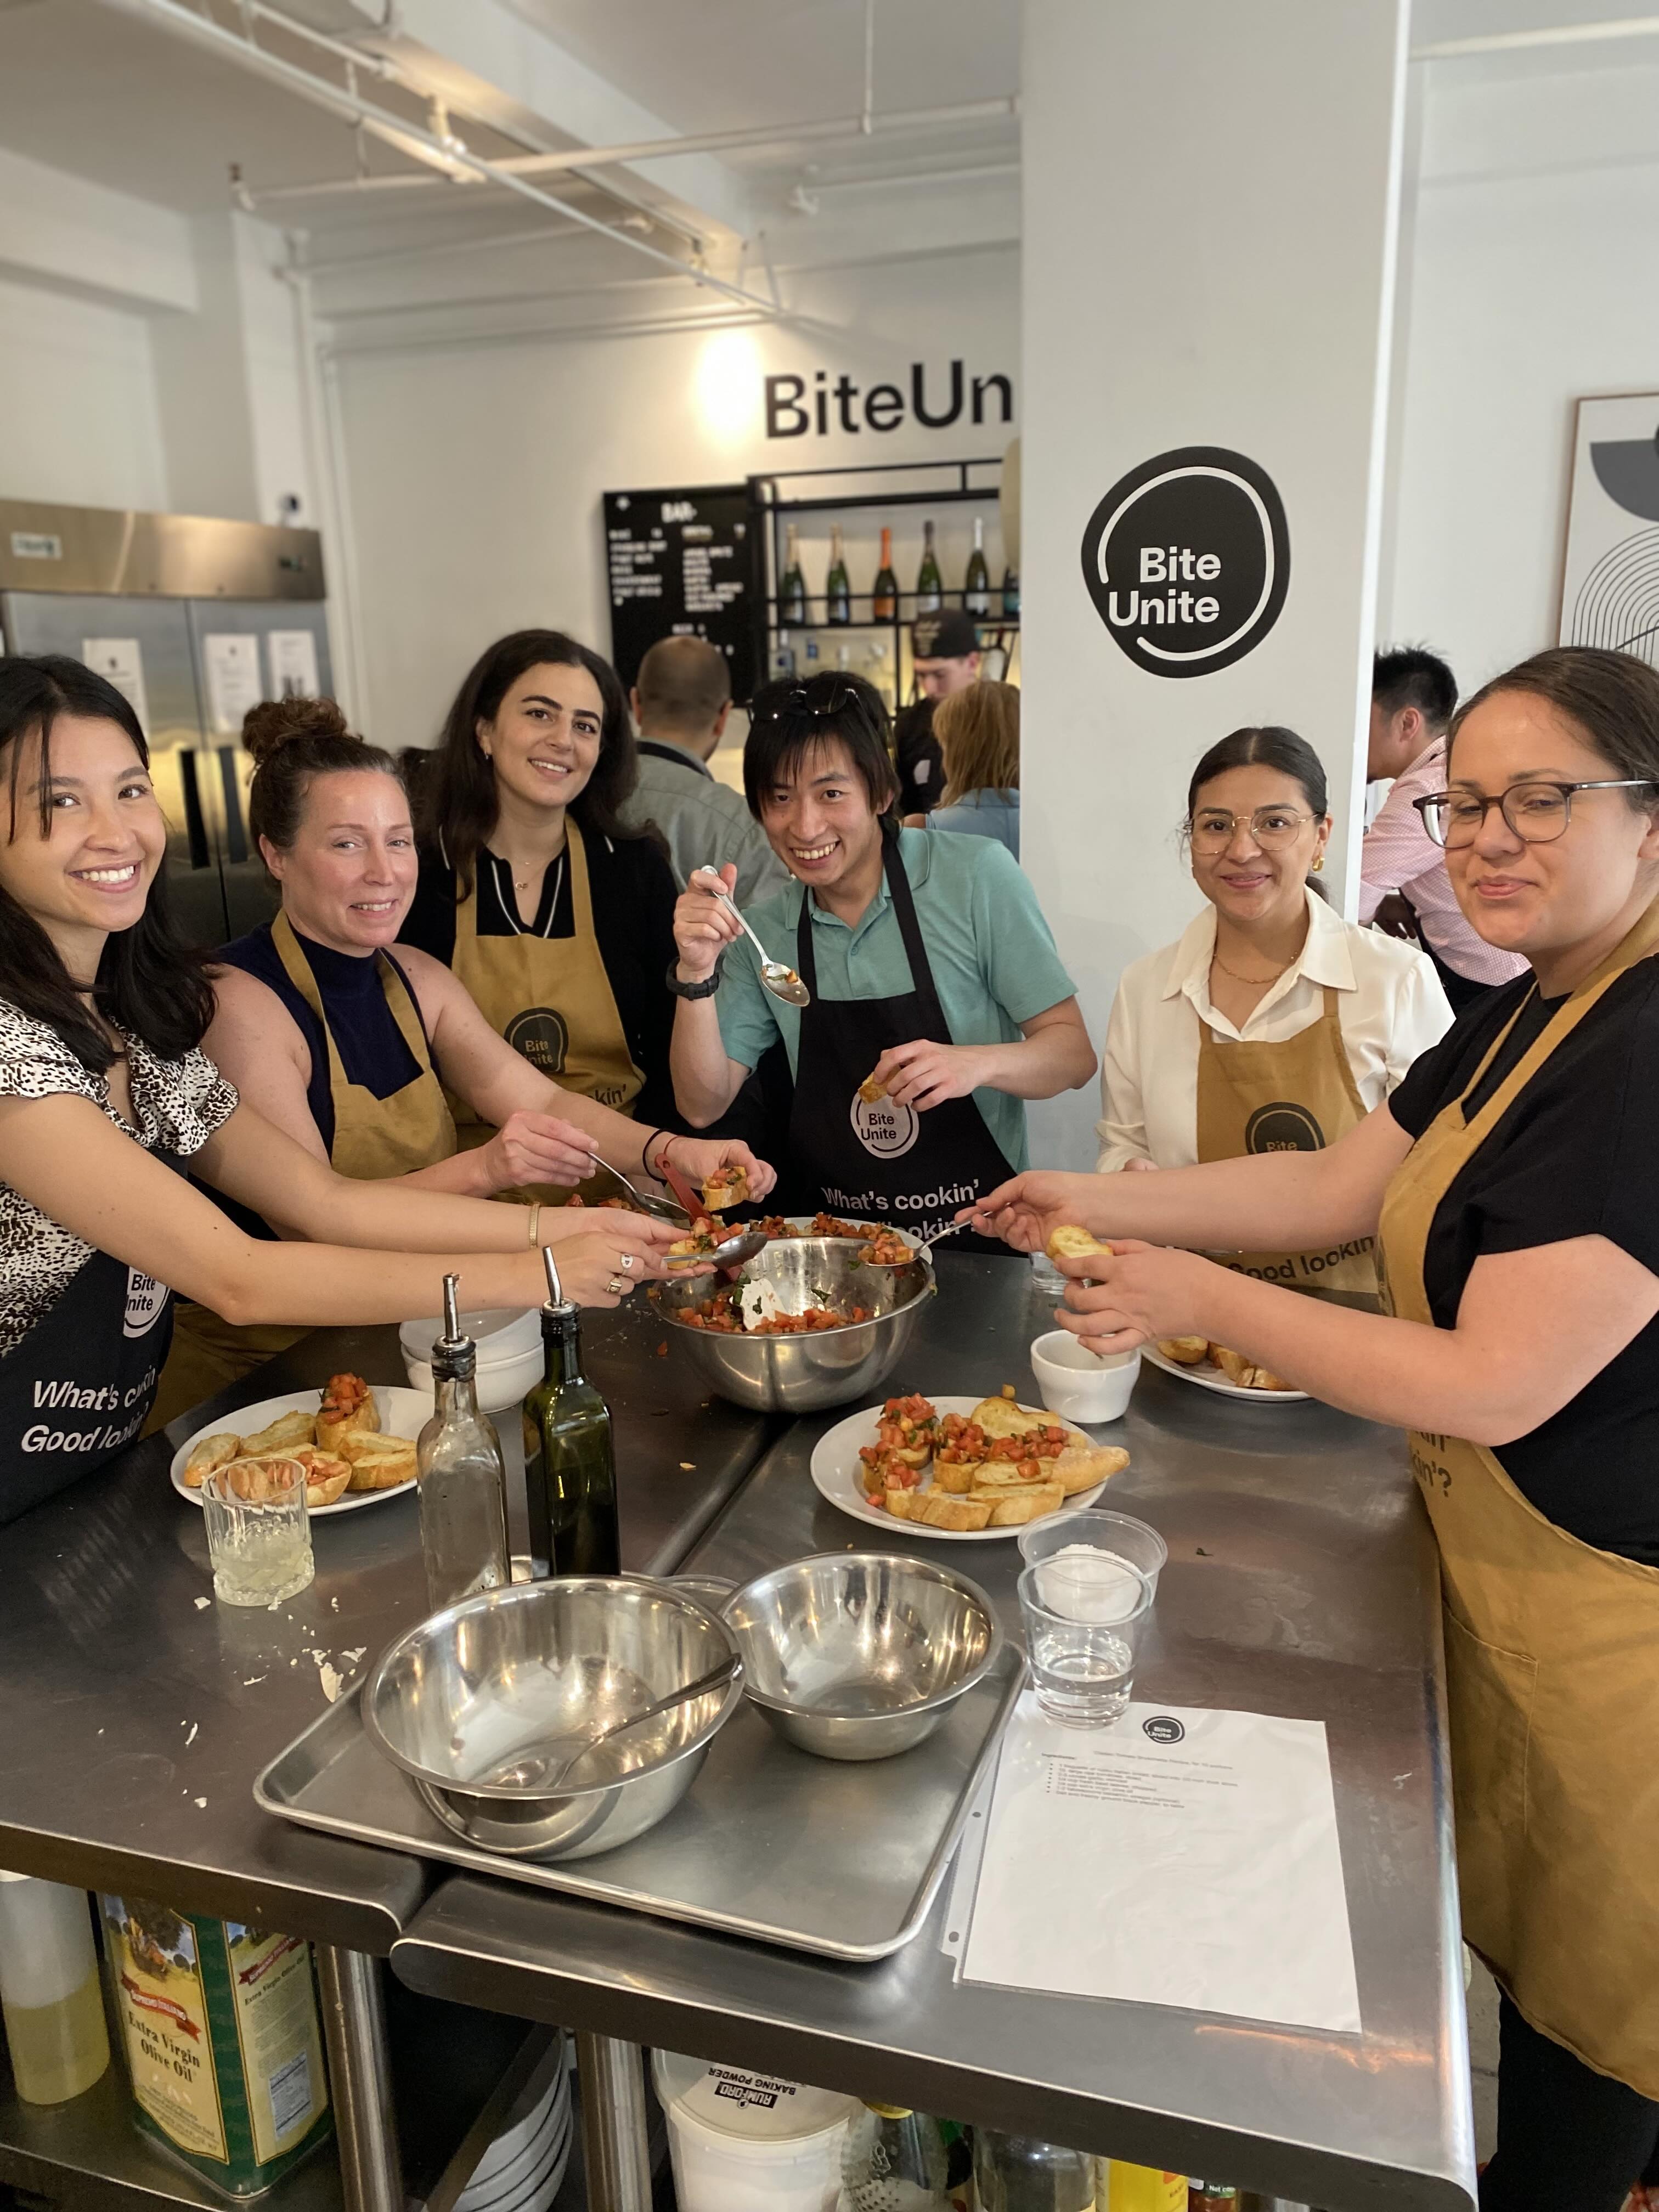
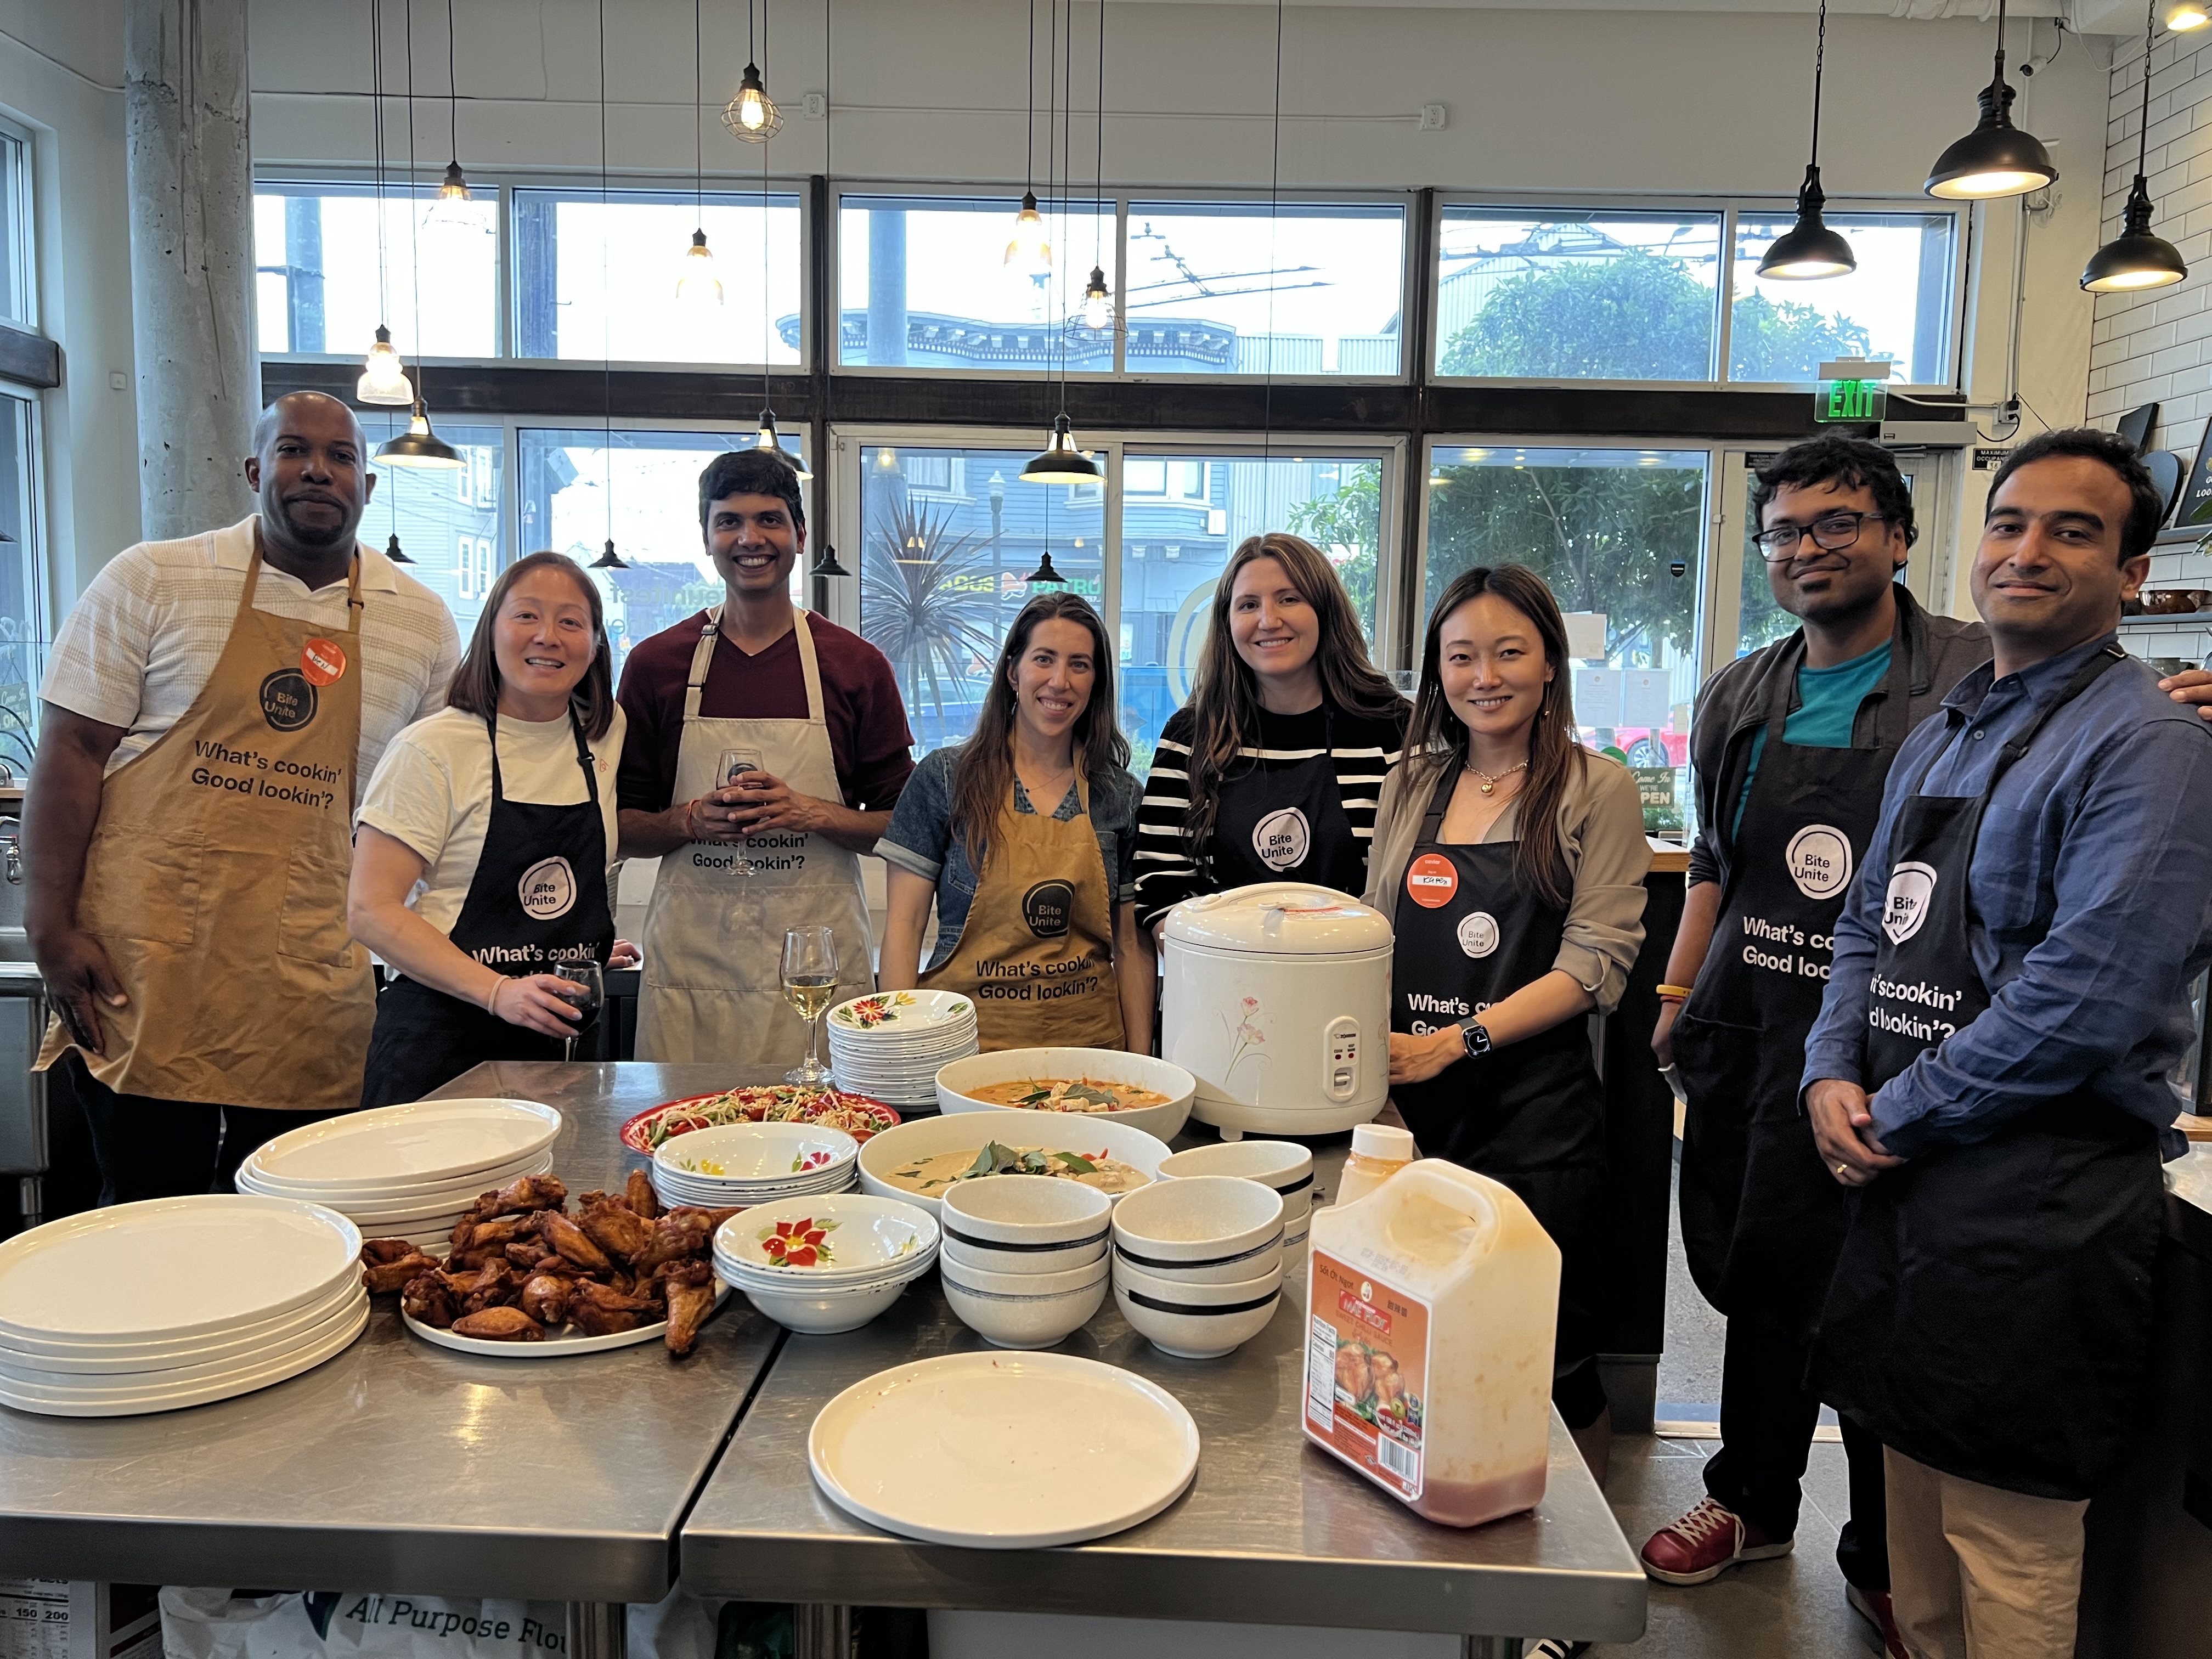
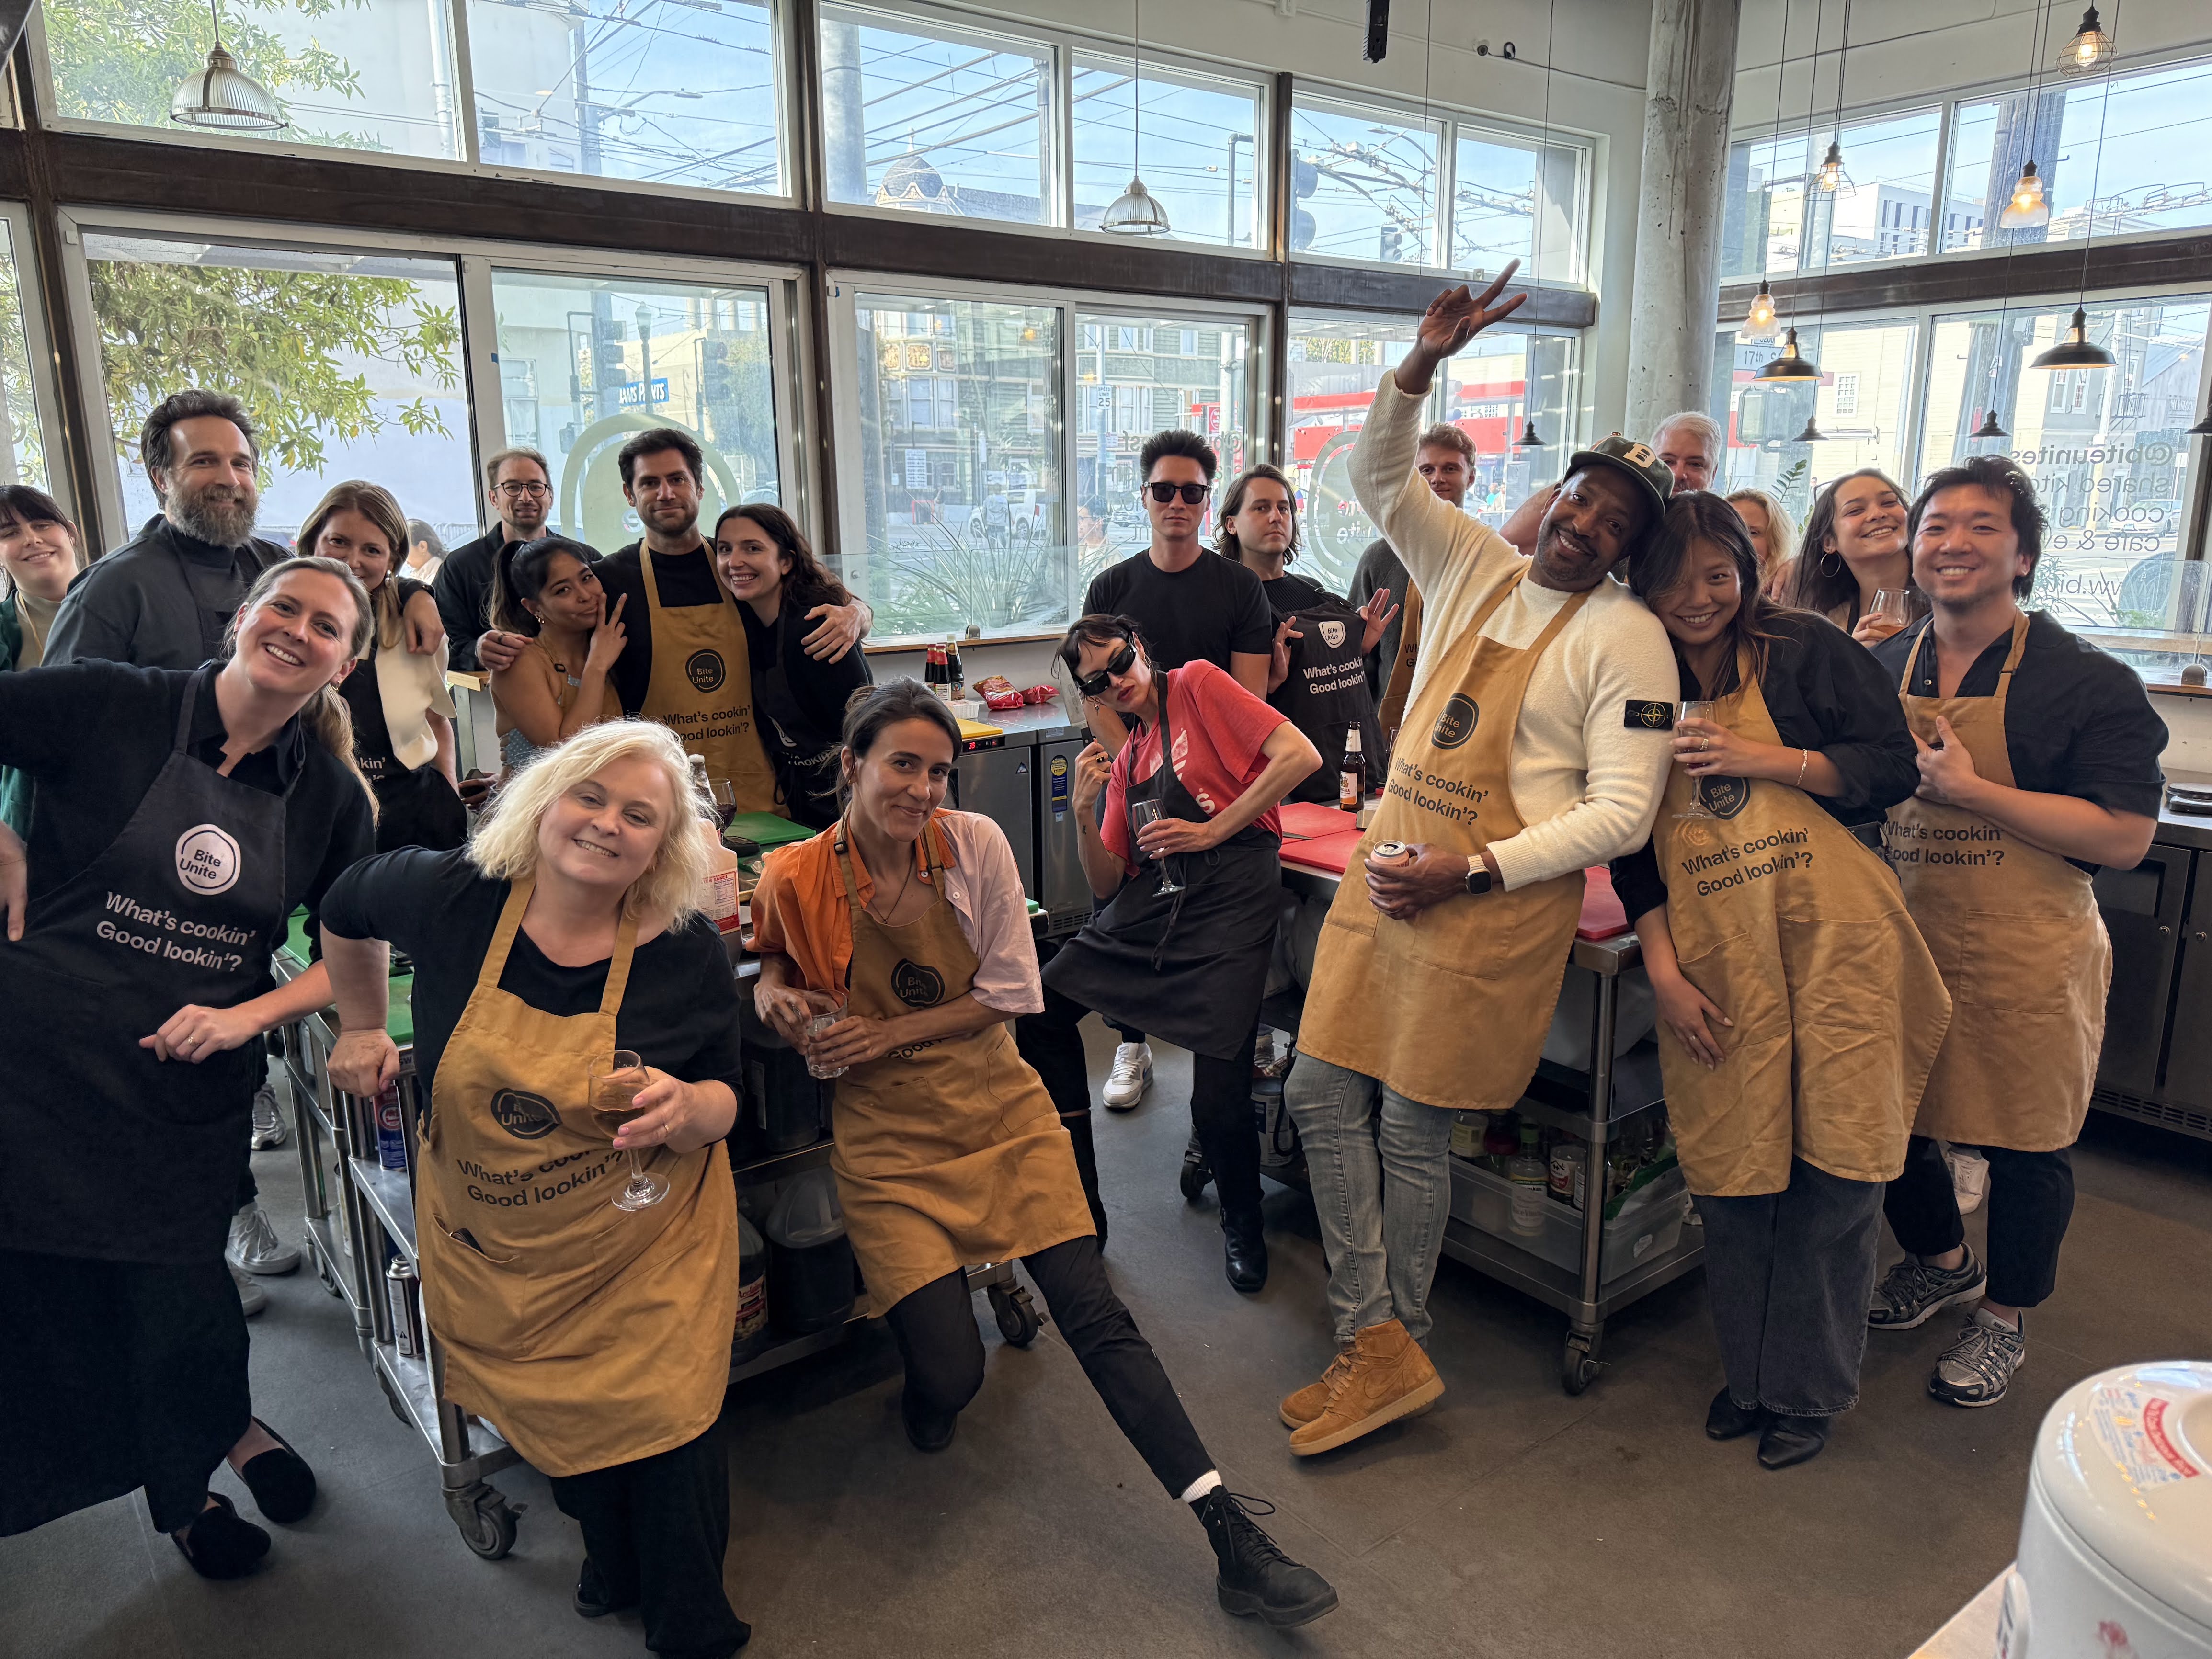
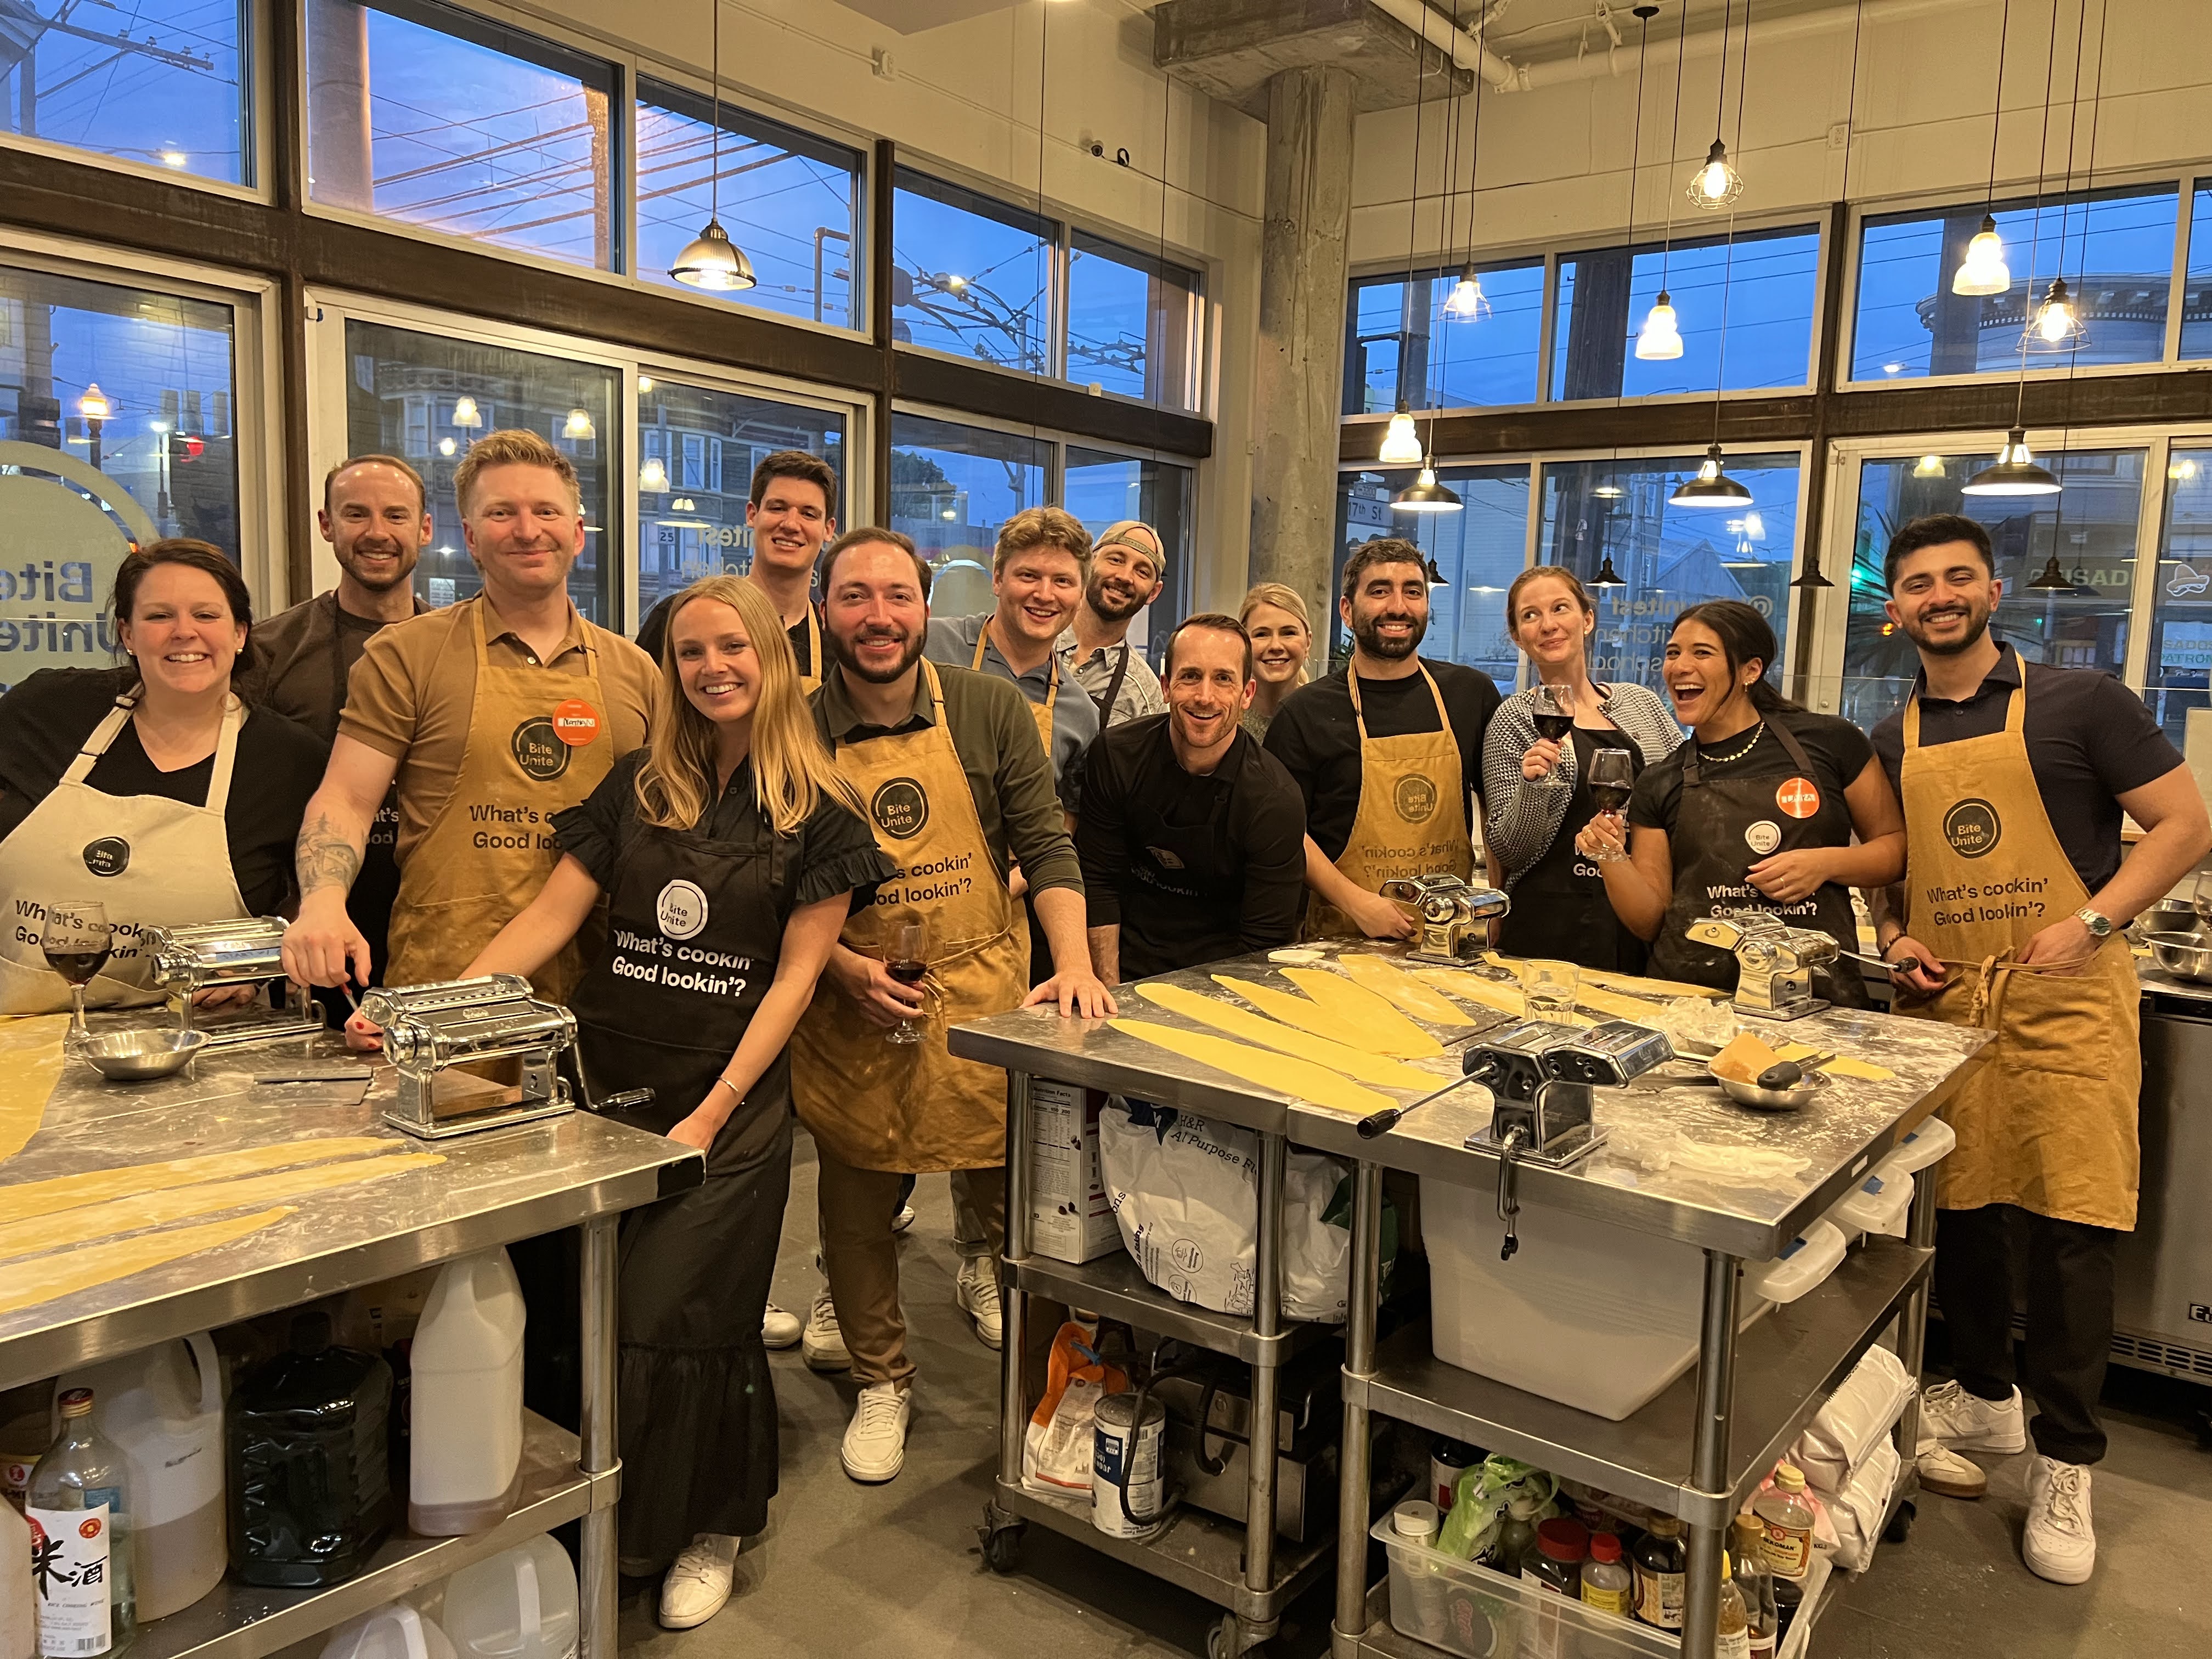
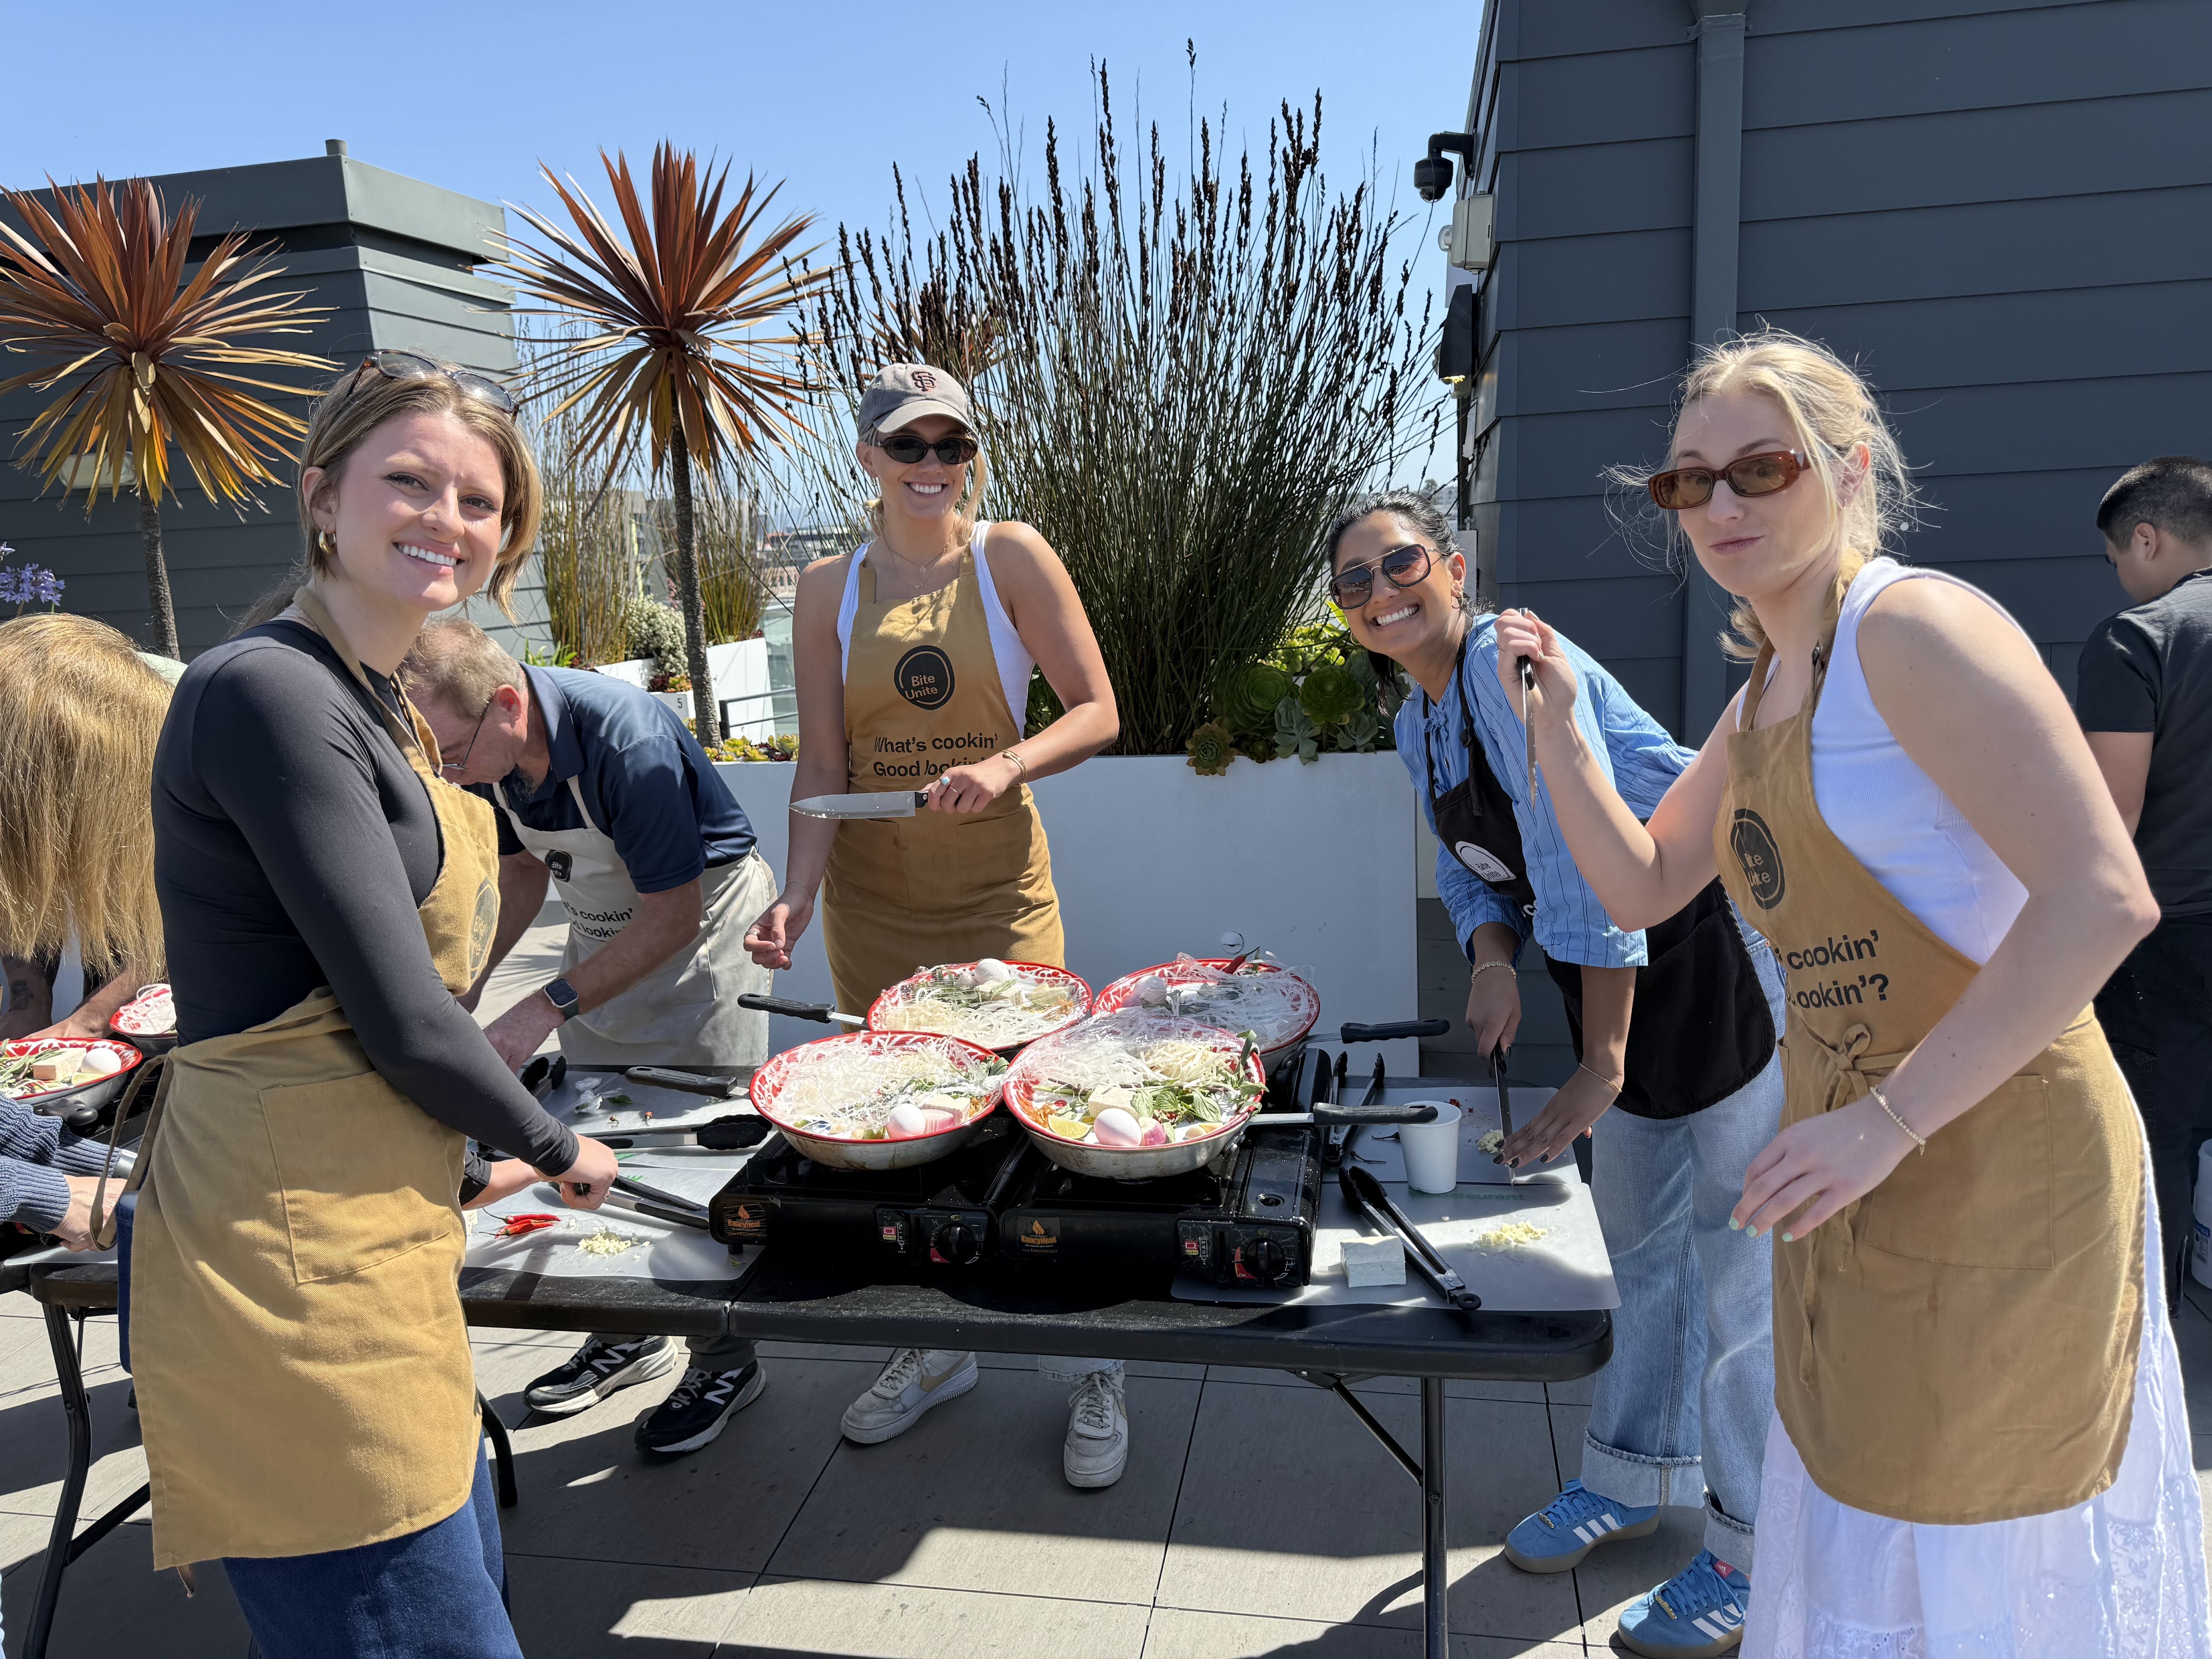
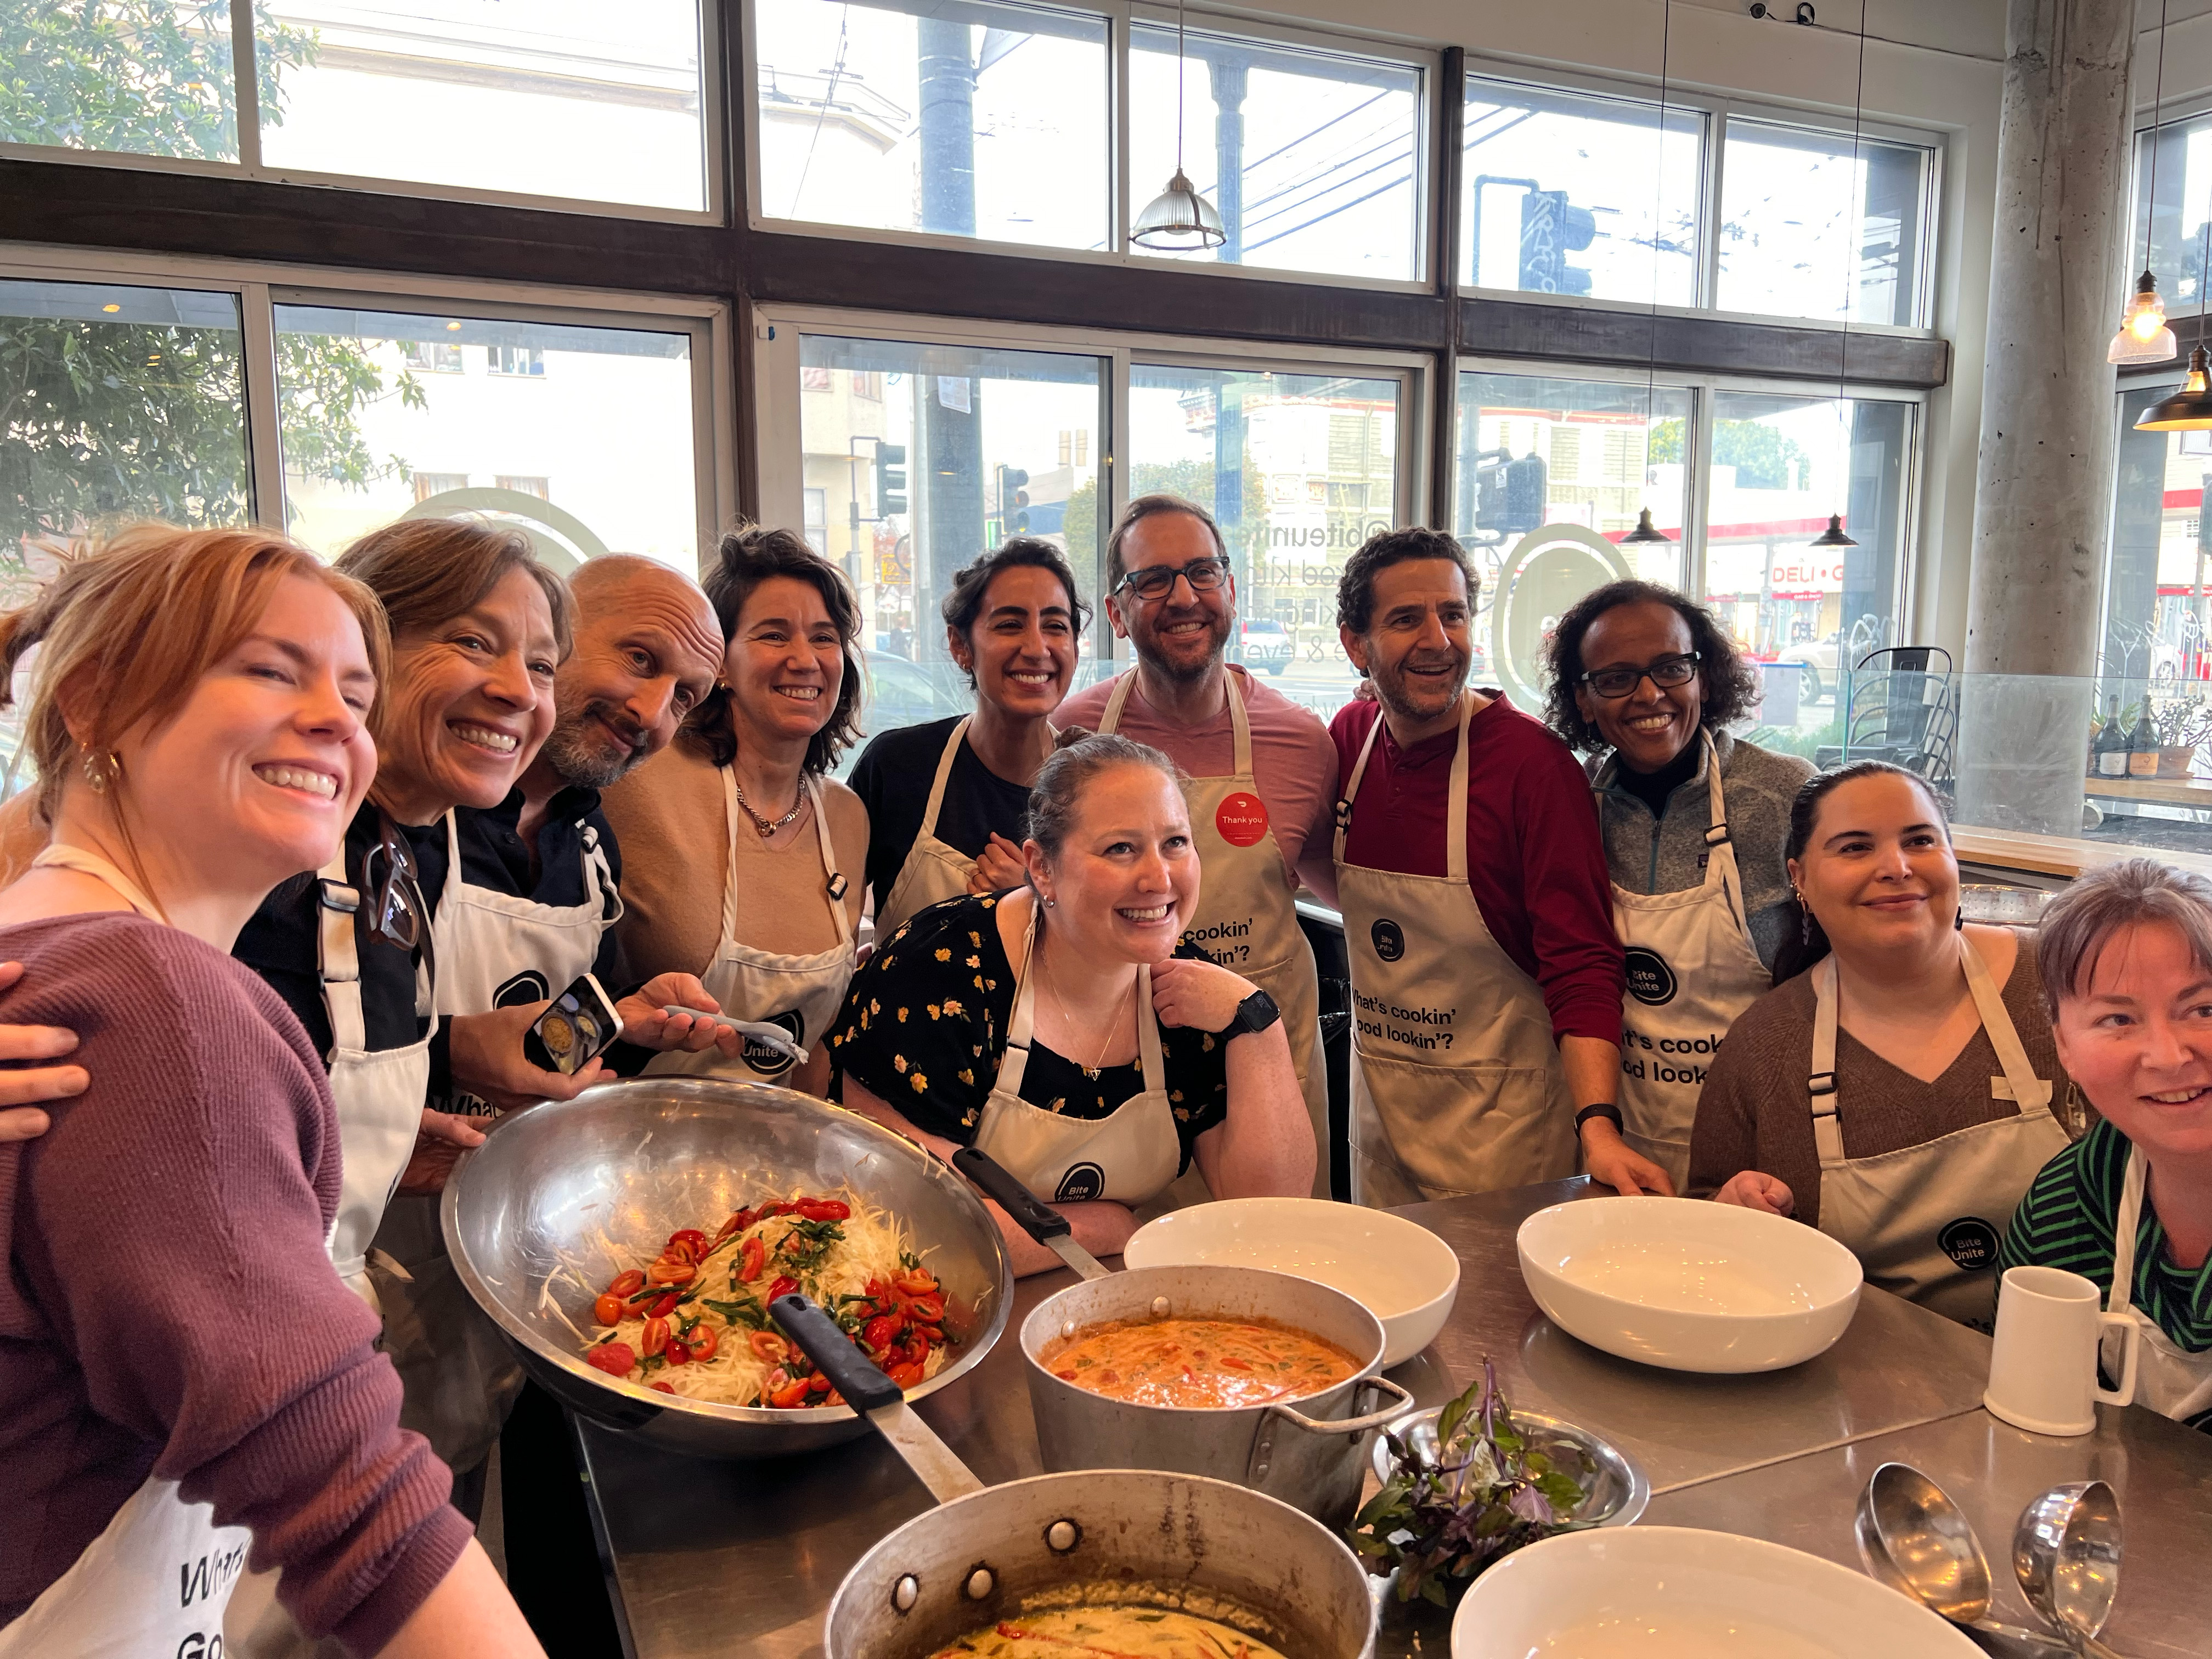
- White label kitchen spaces like BiteUnite
BiteUnite is especially great if you want a professional, health-code-approved environment with flexible booking and your own branding. You get a turnkey setup to run your own show — without the overhead of building your own kitchen.
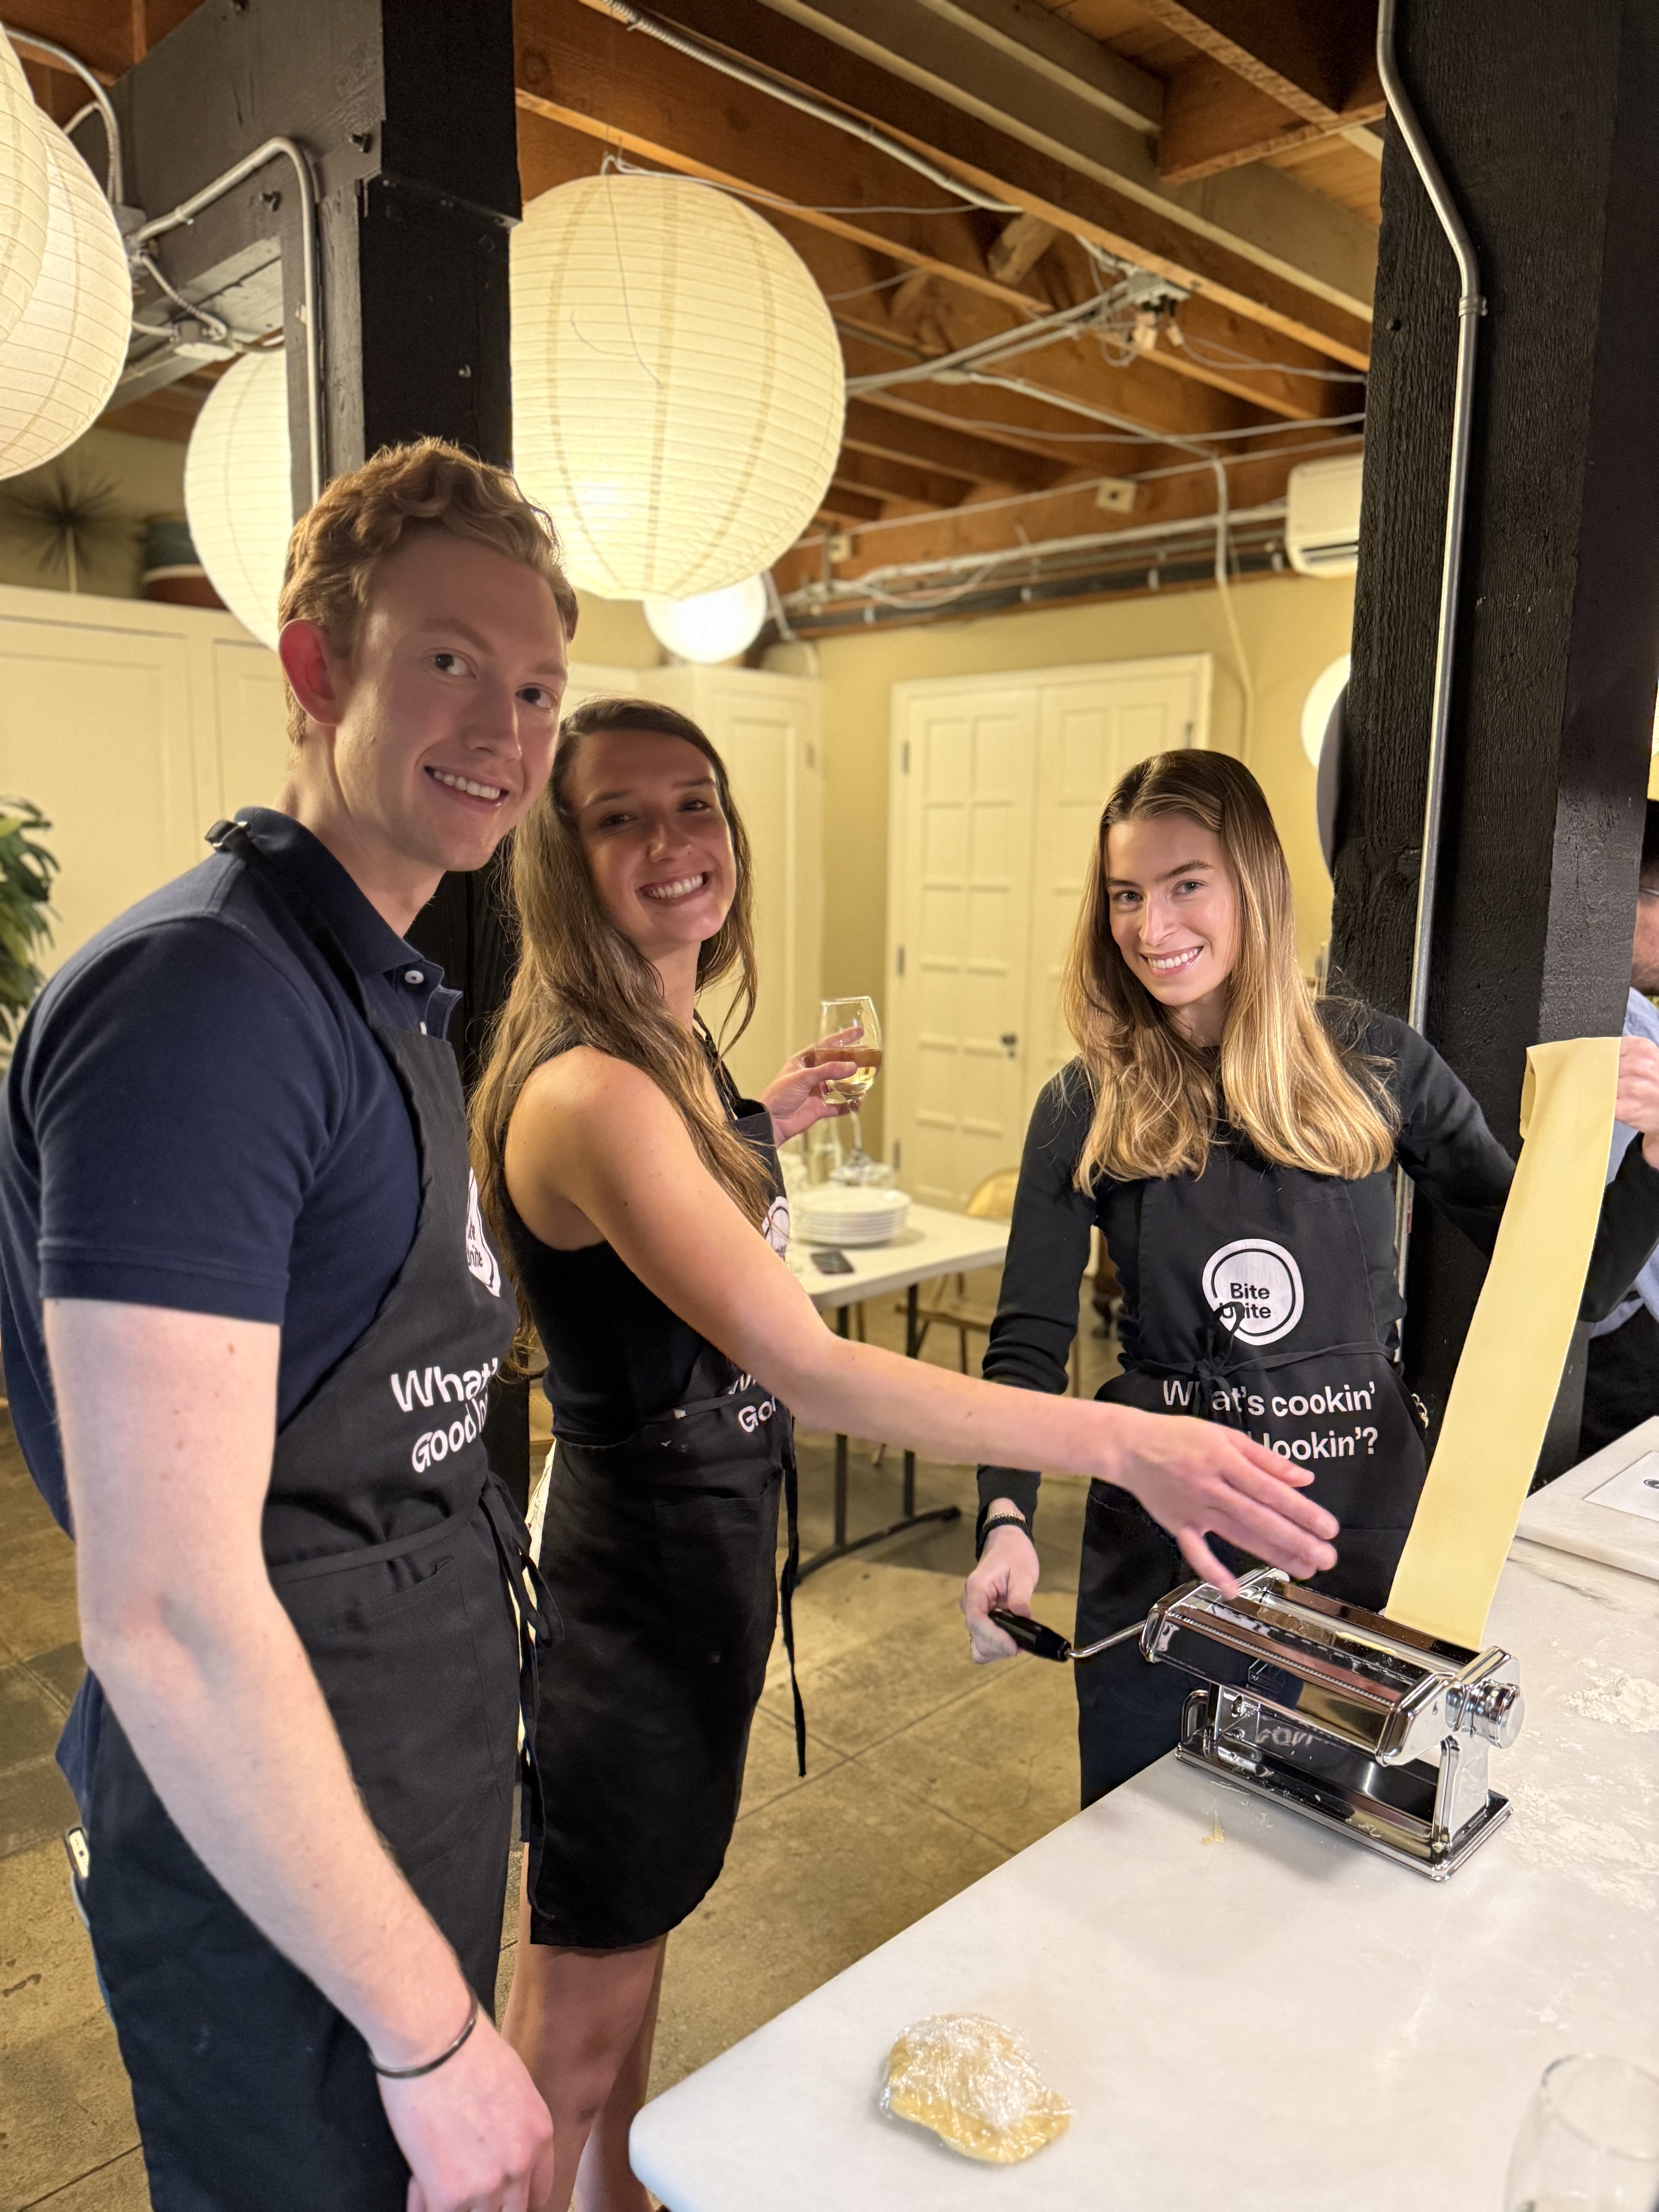
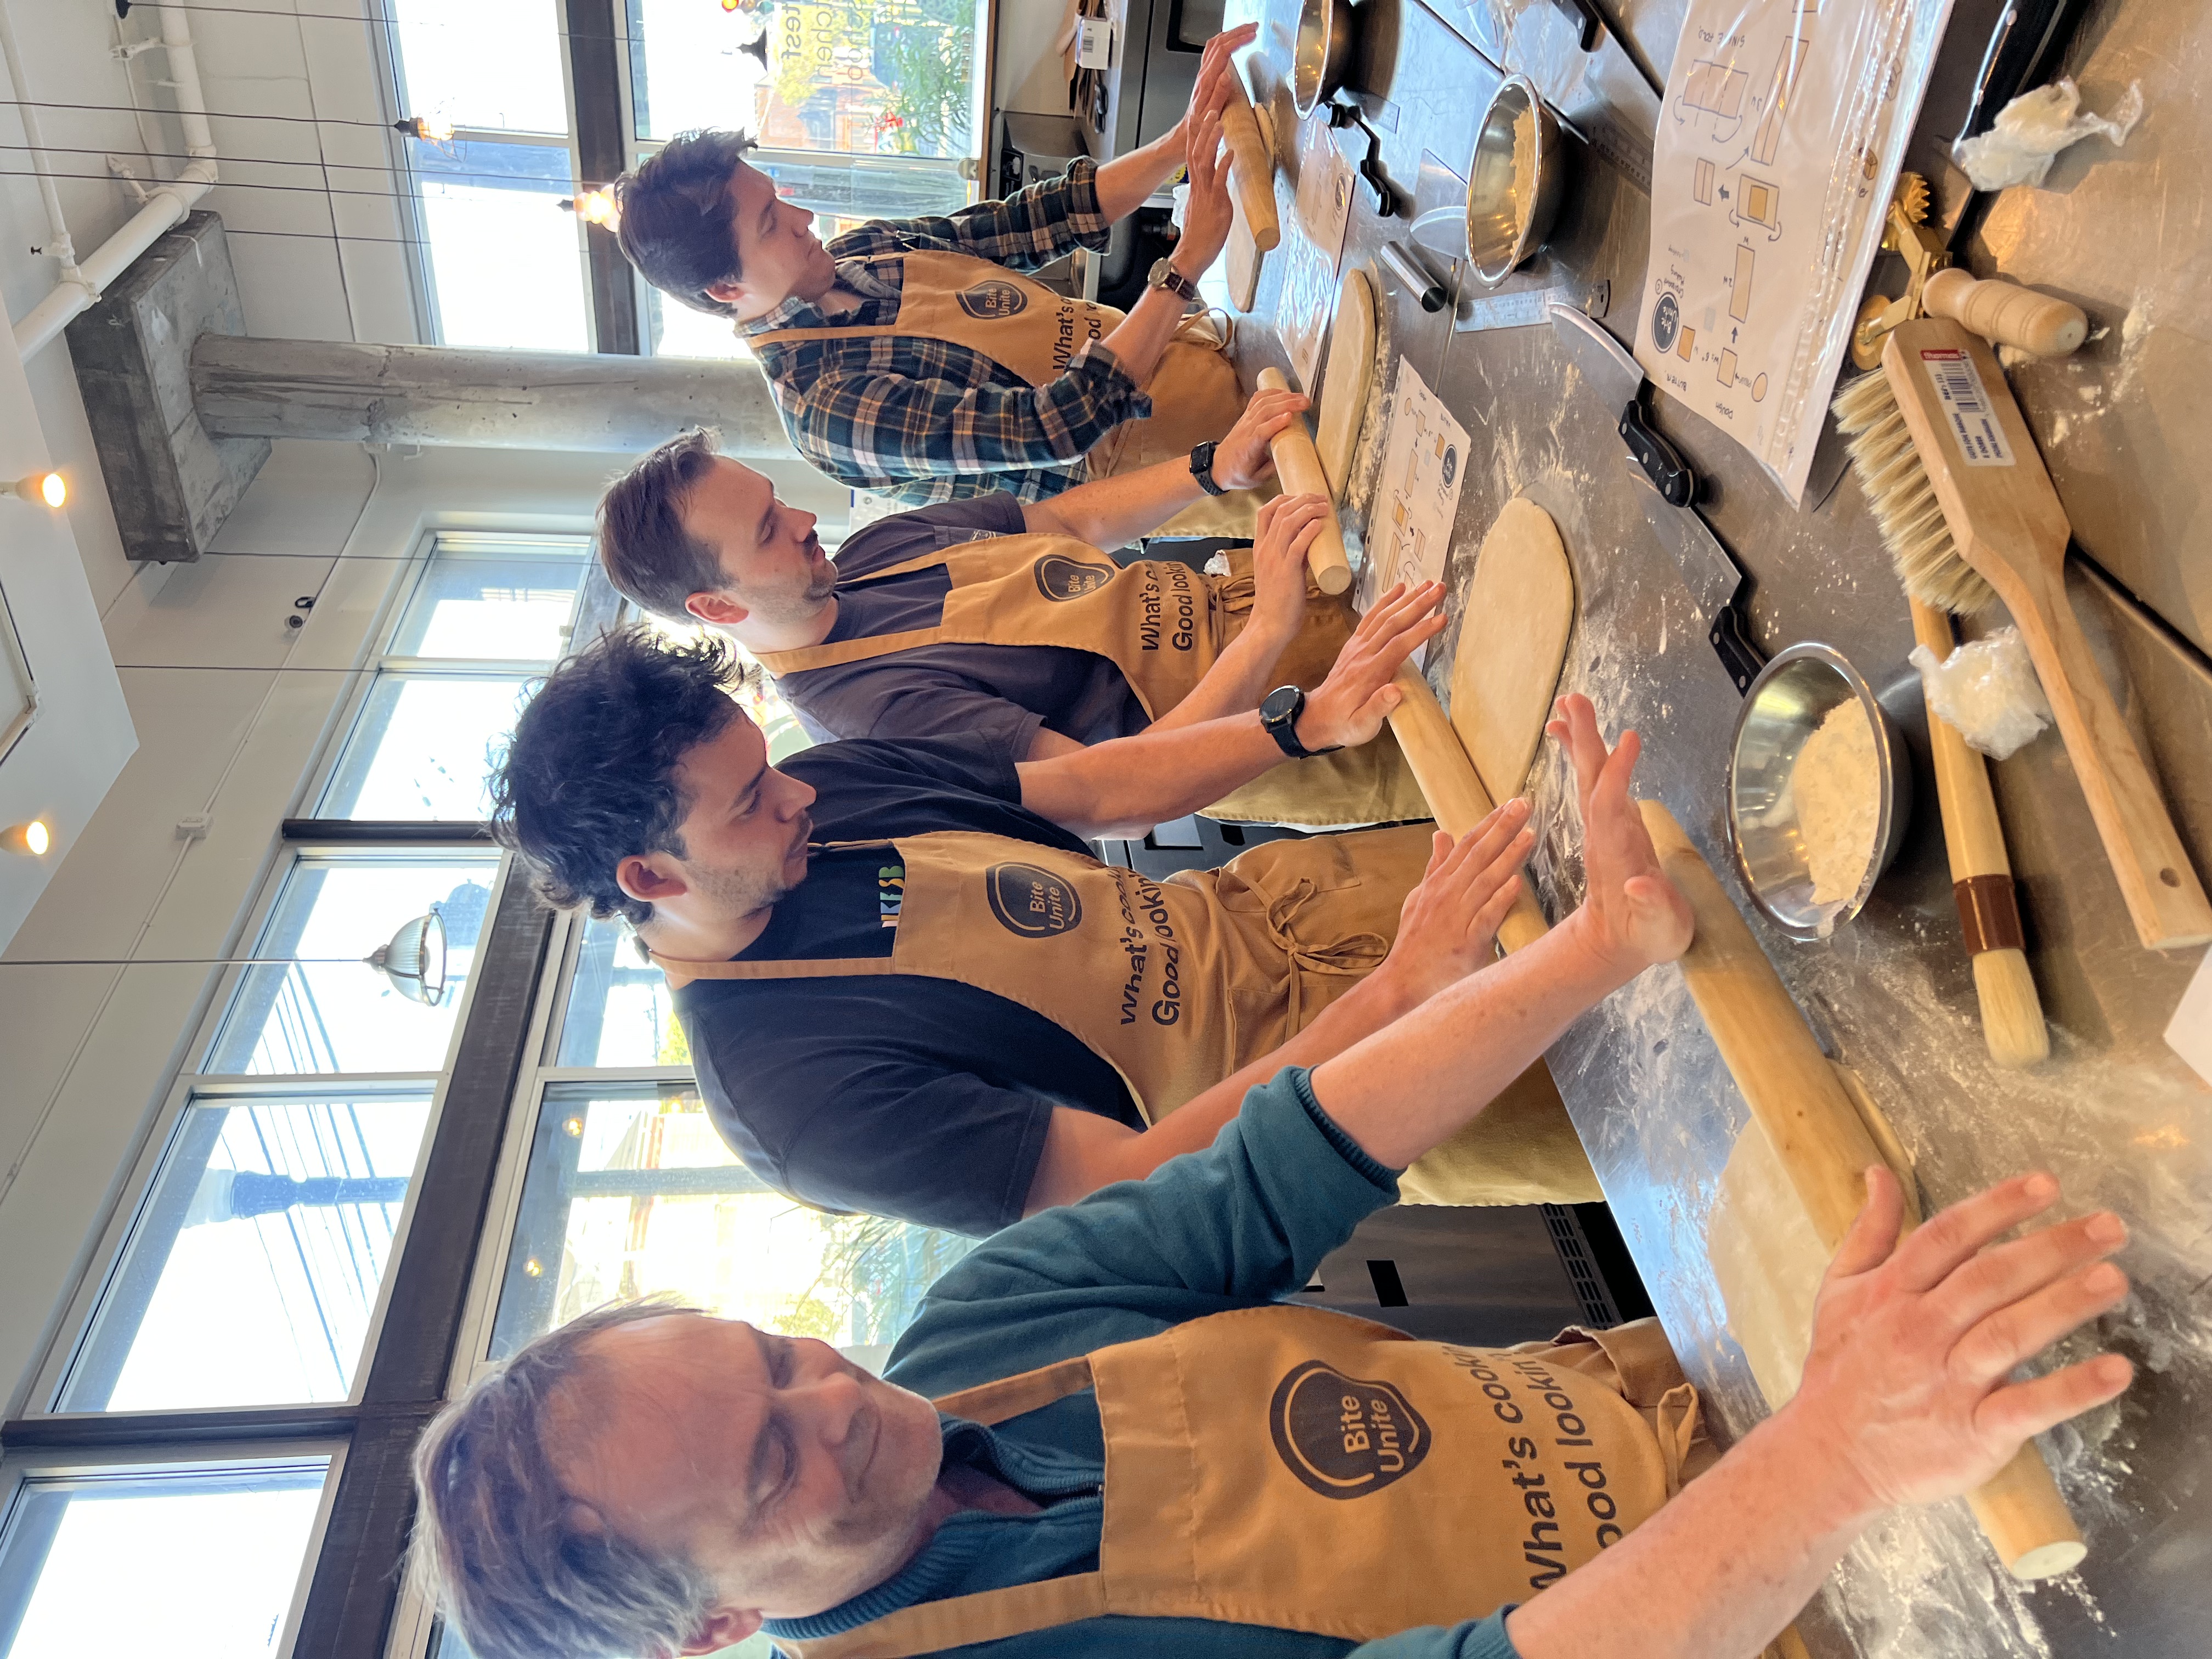
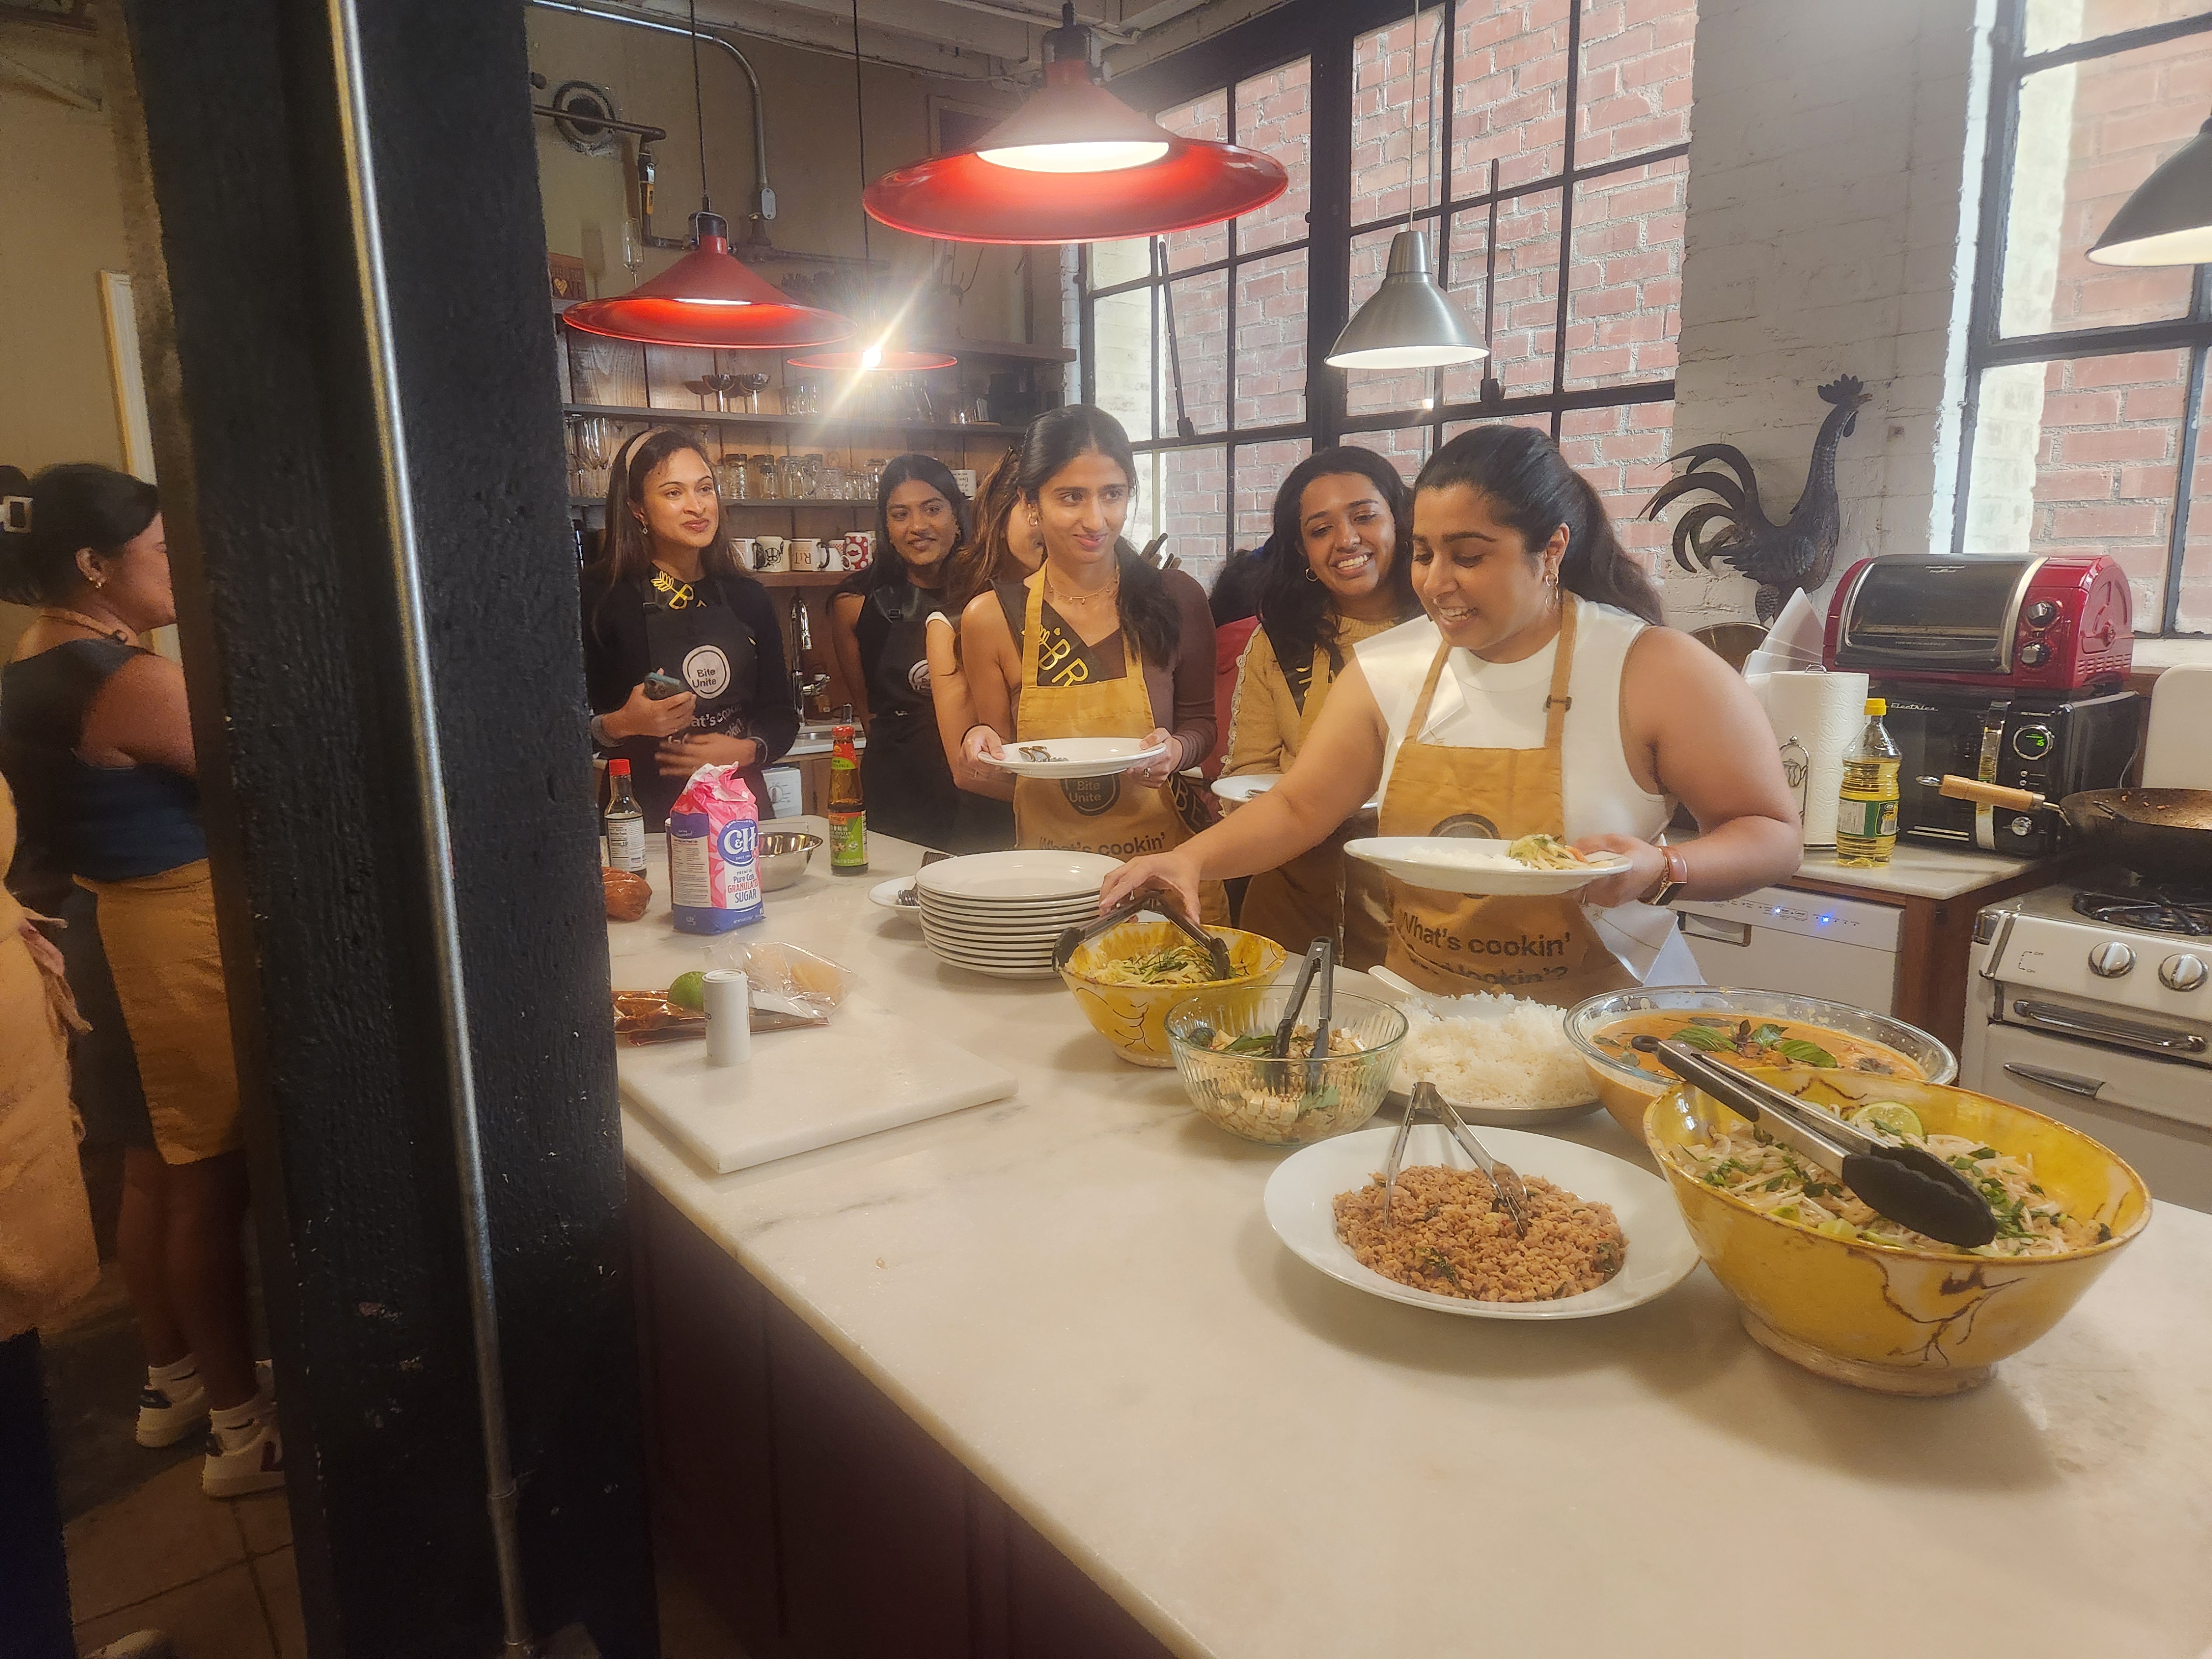
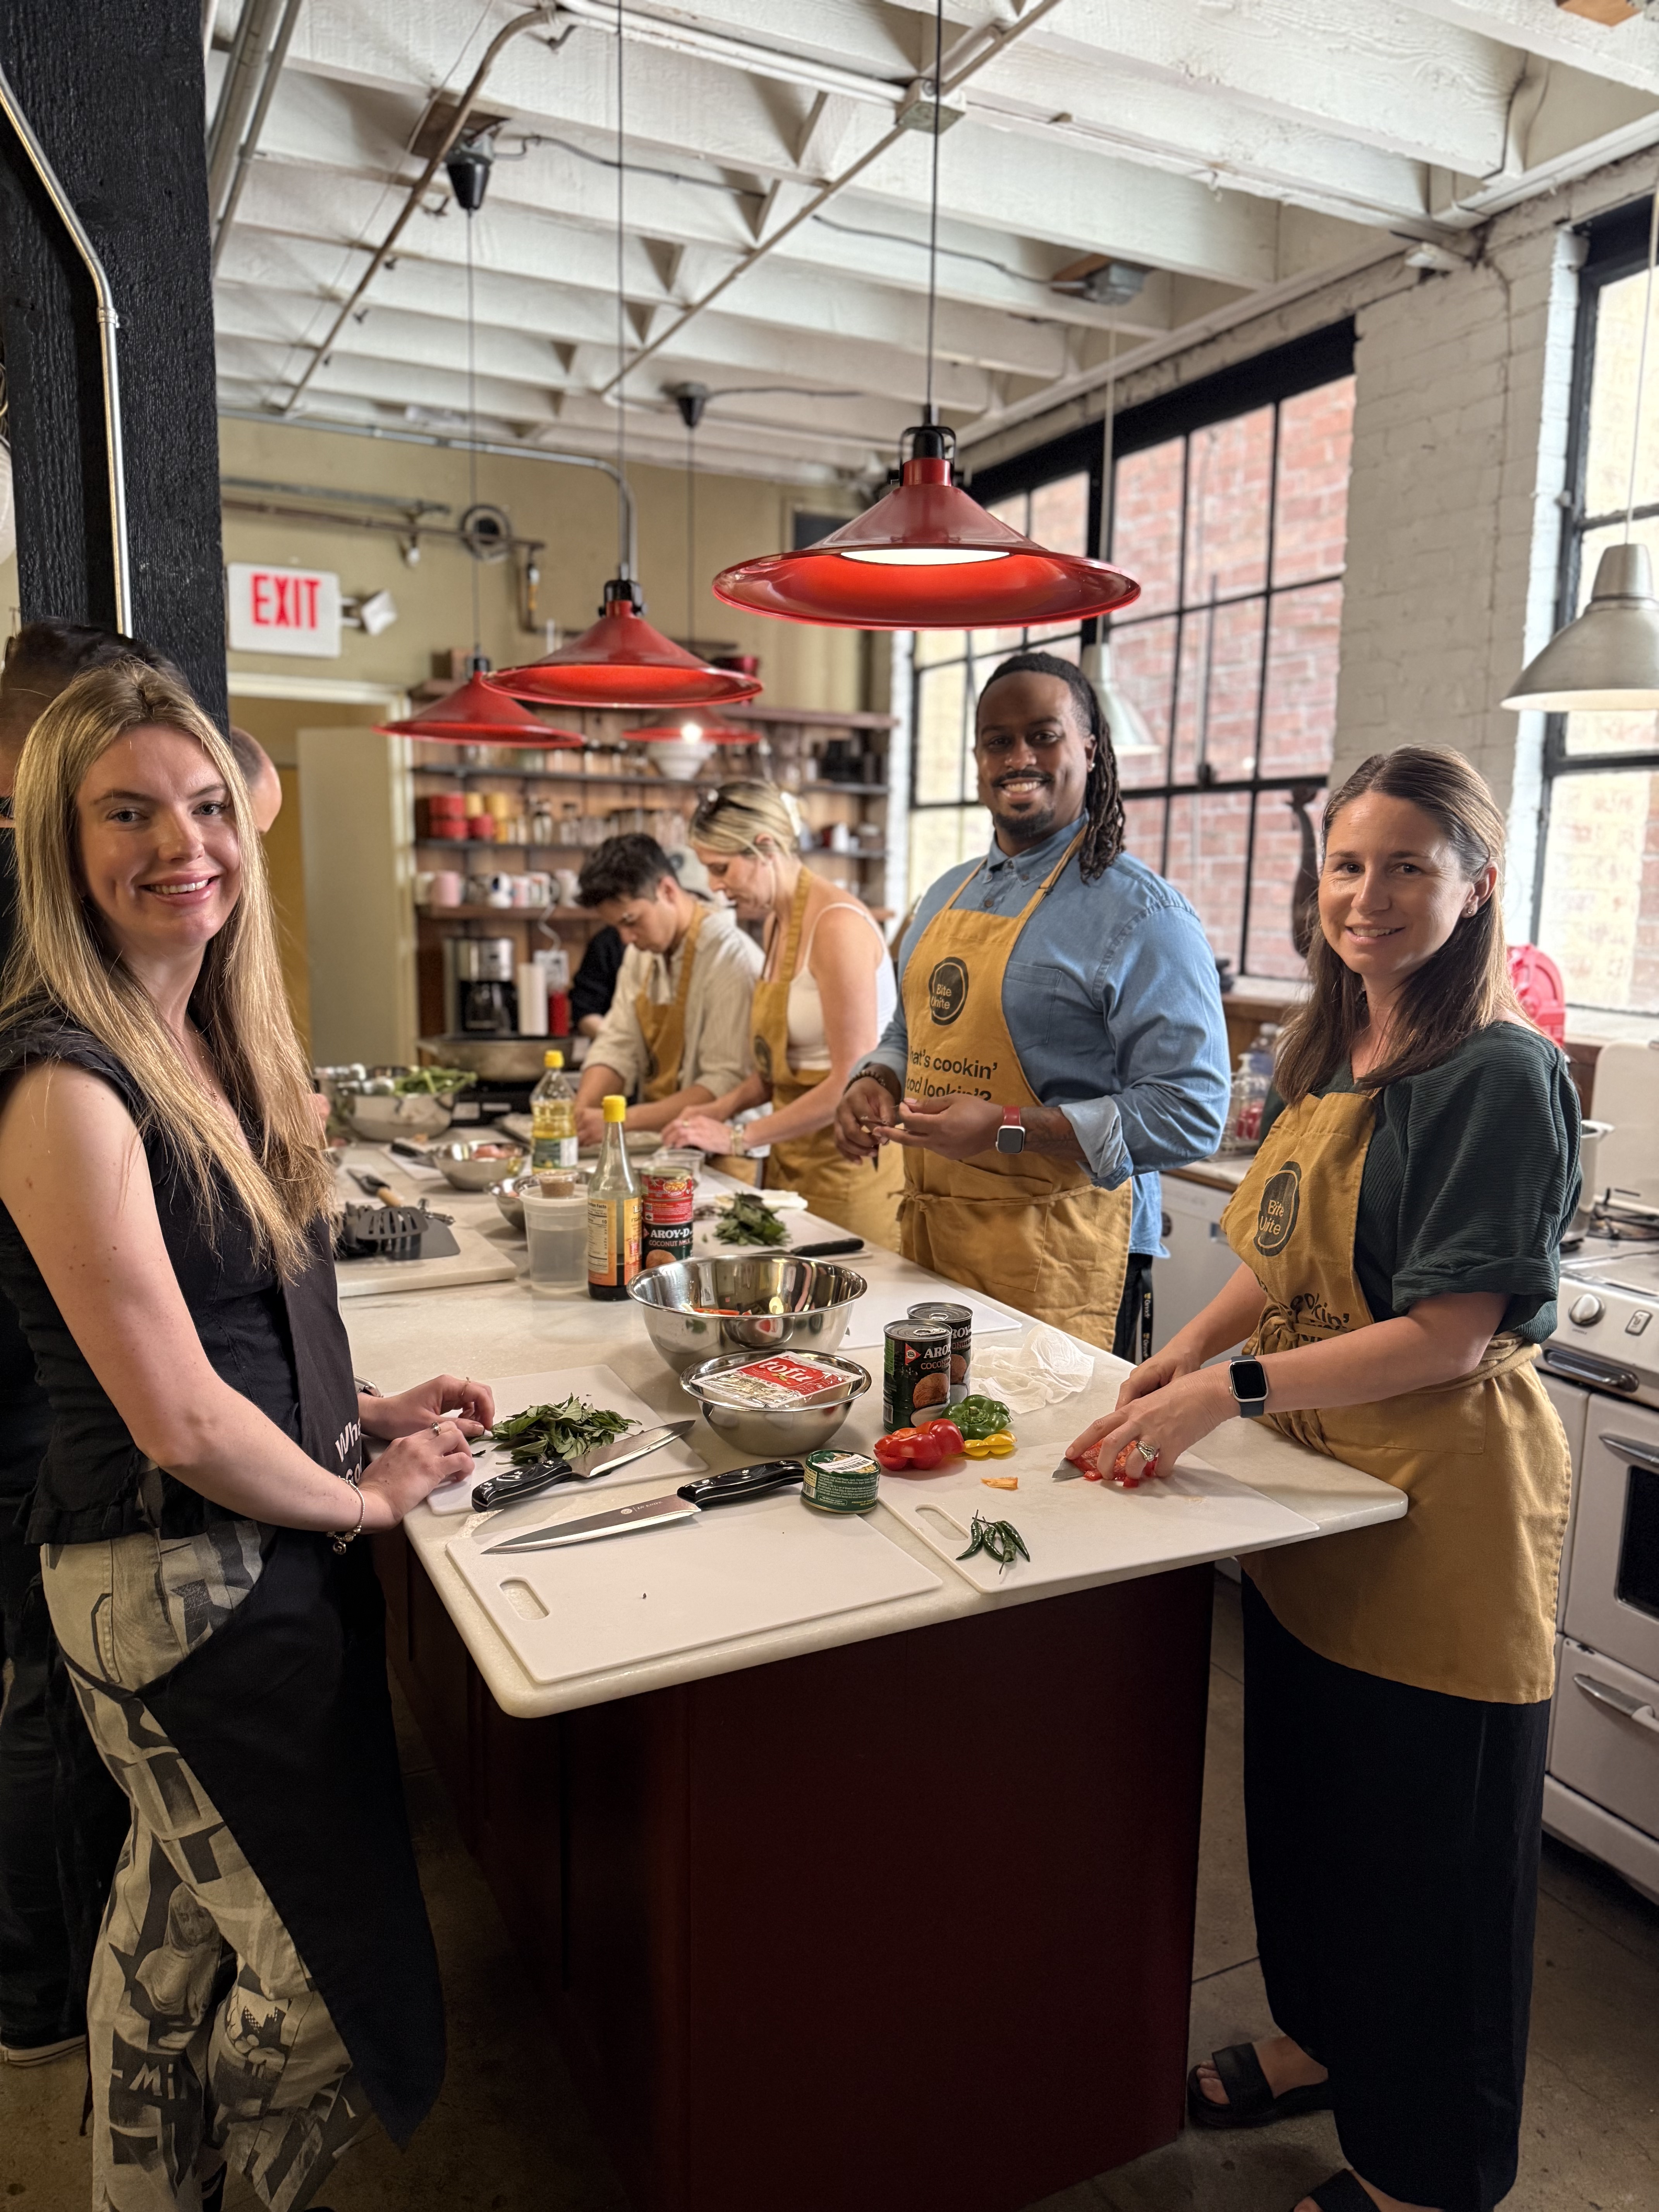
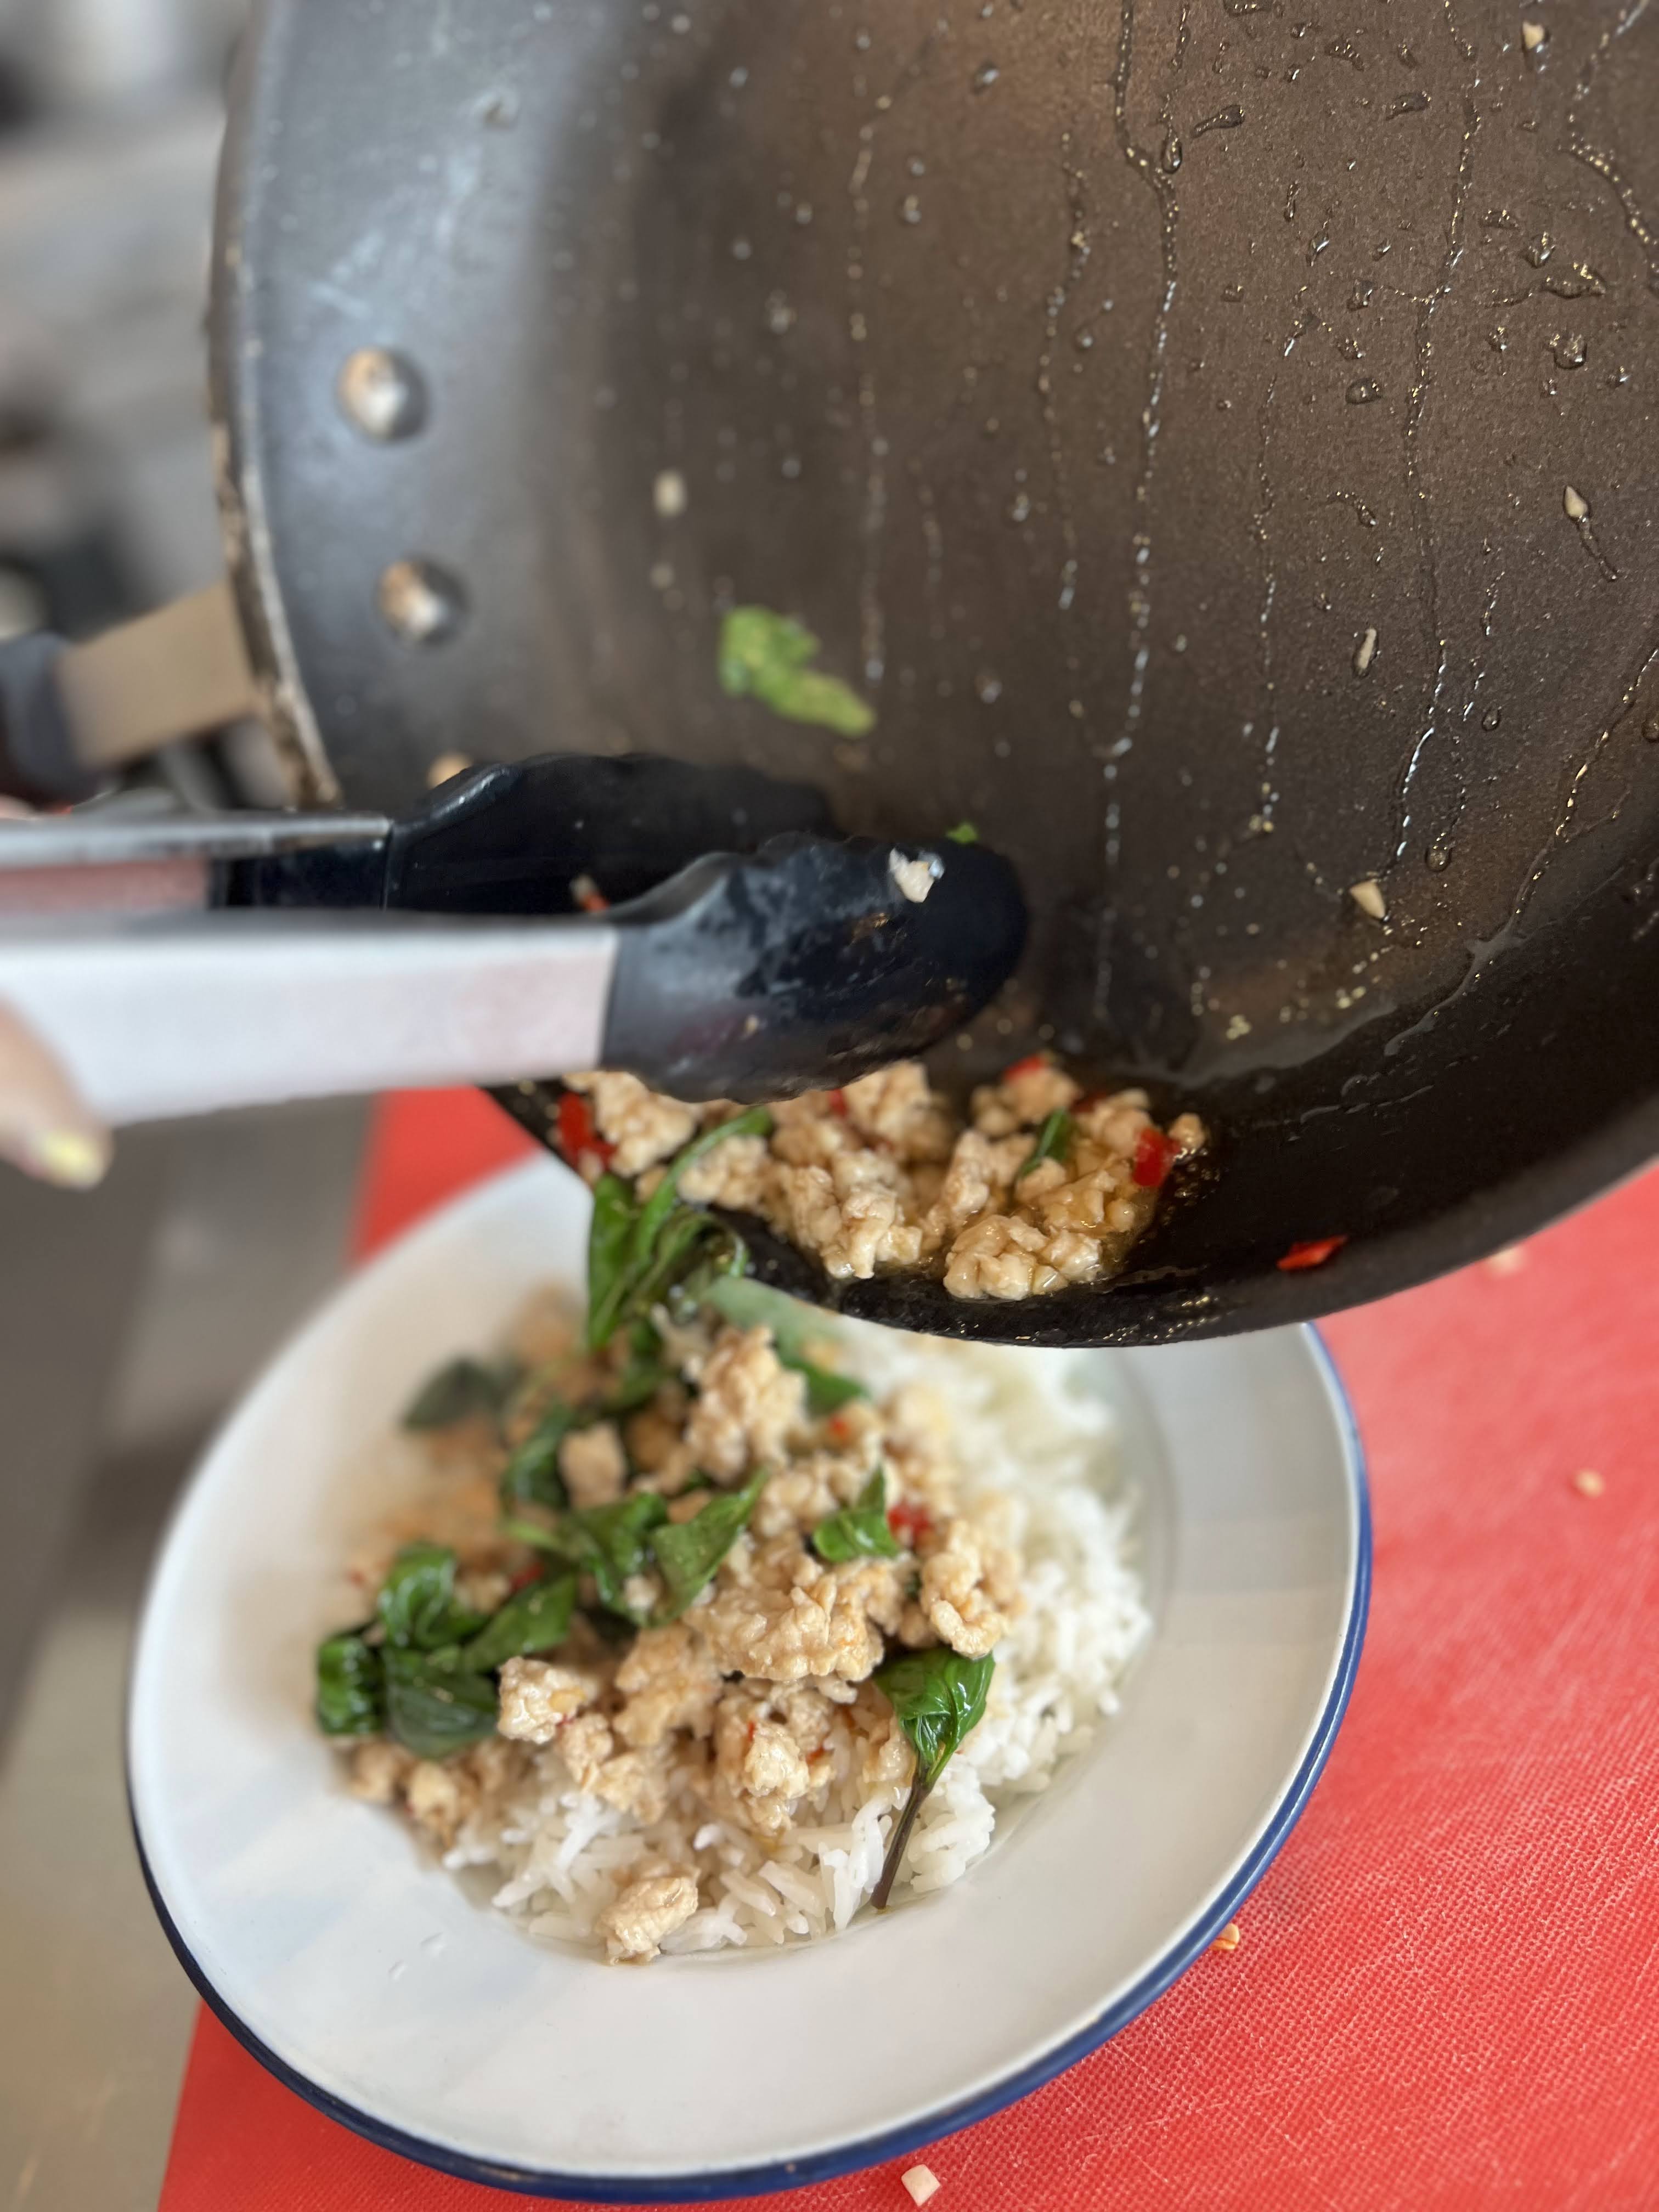
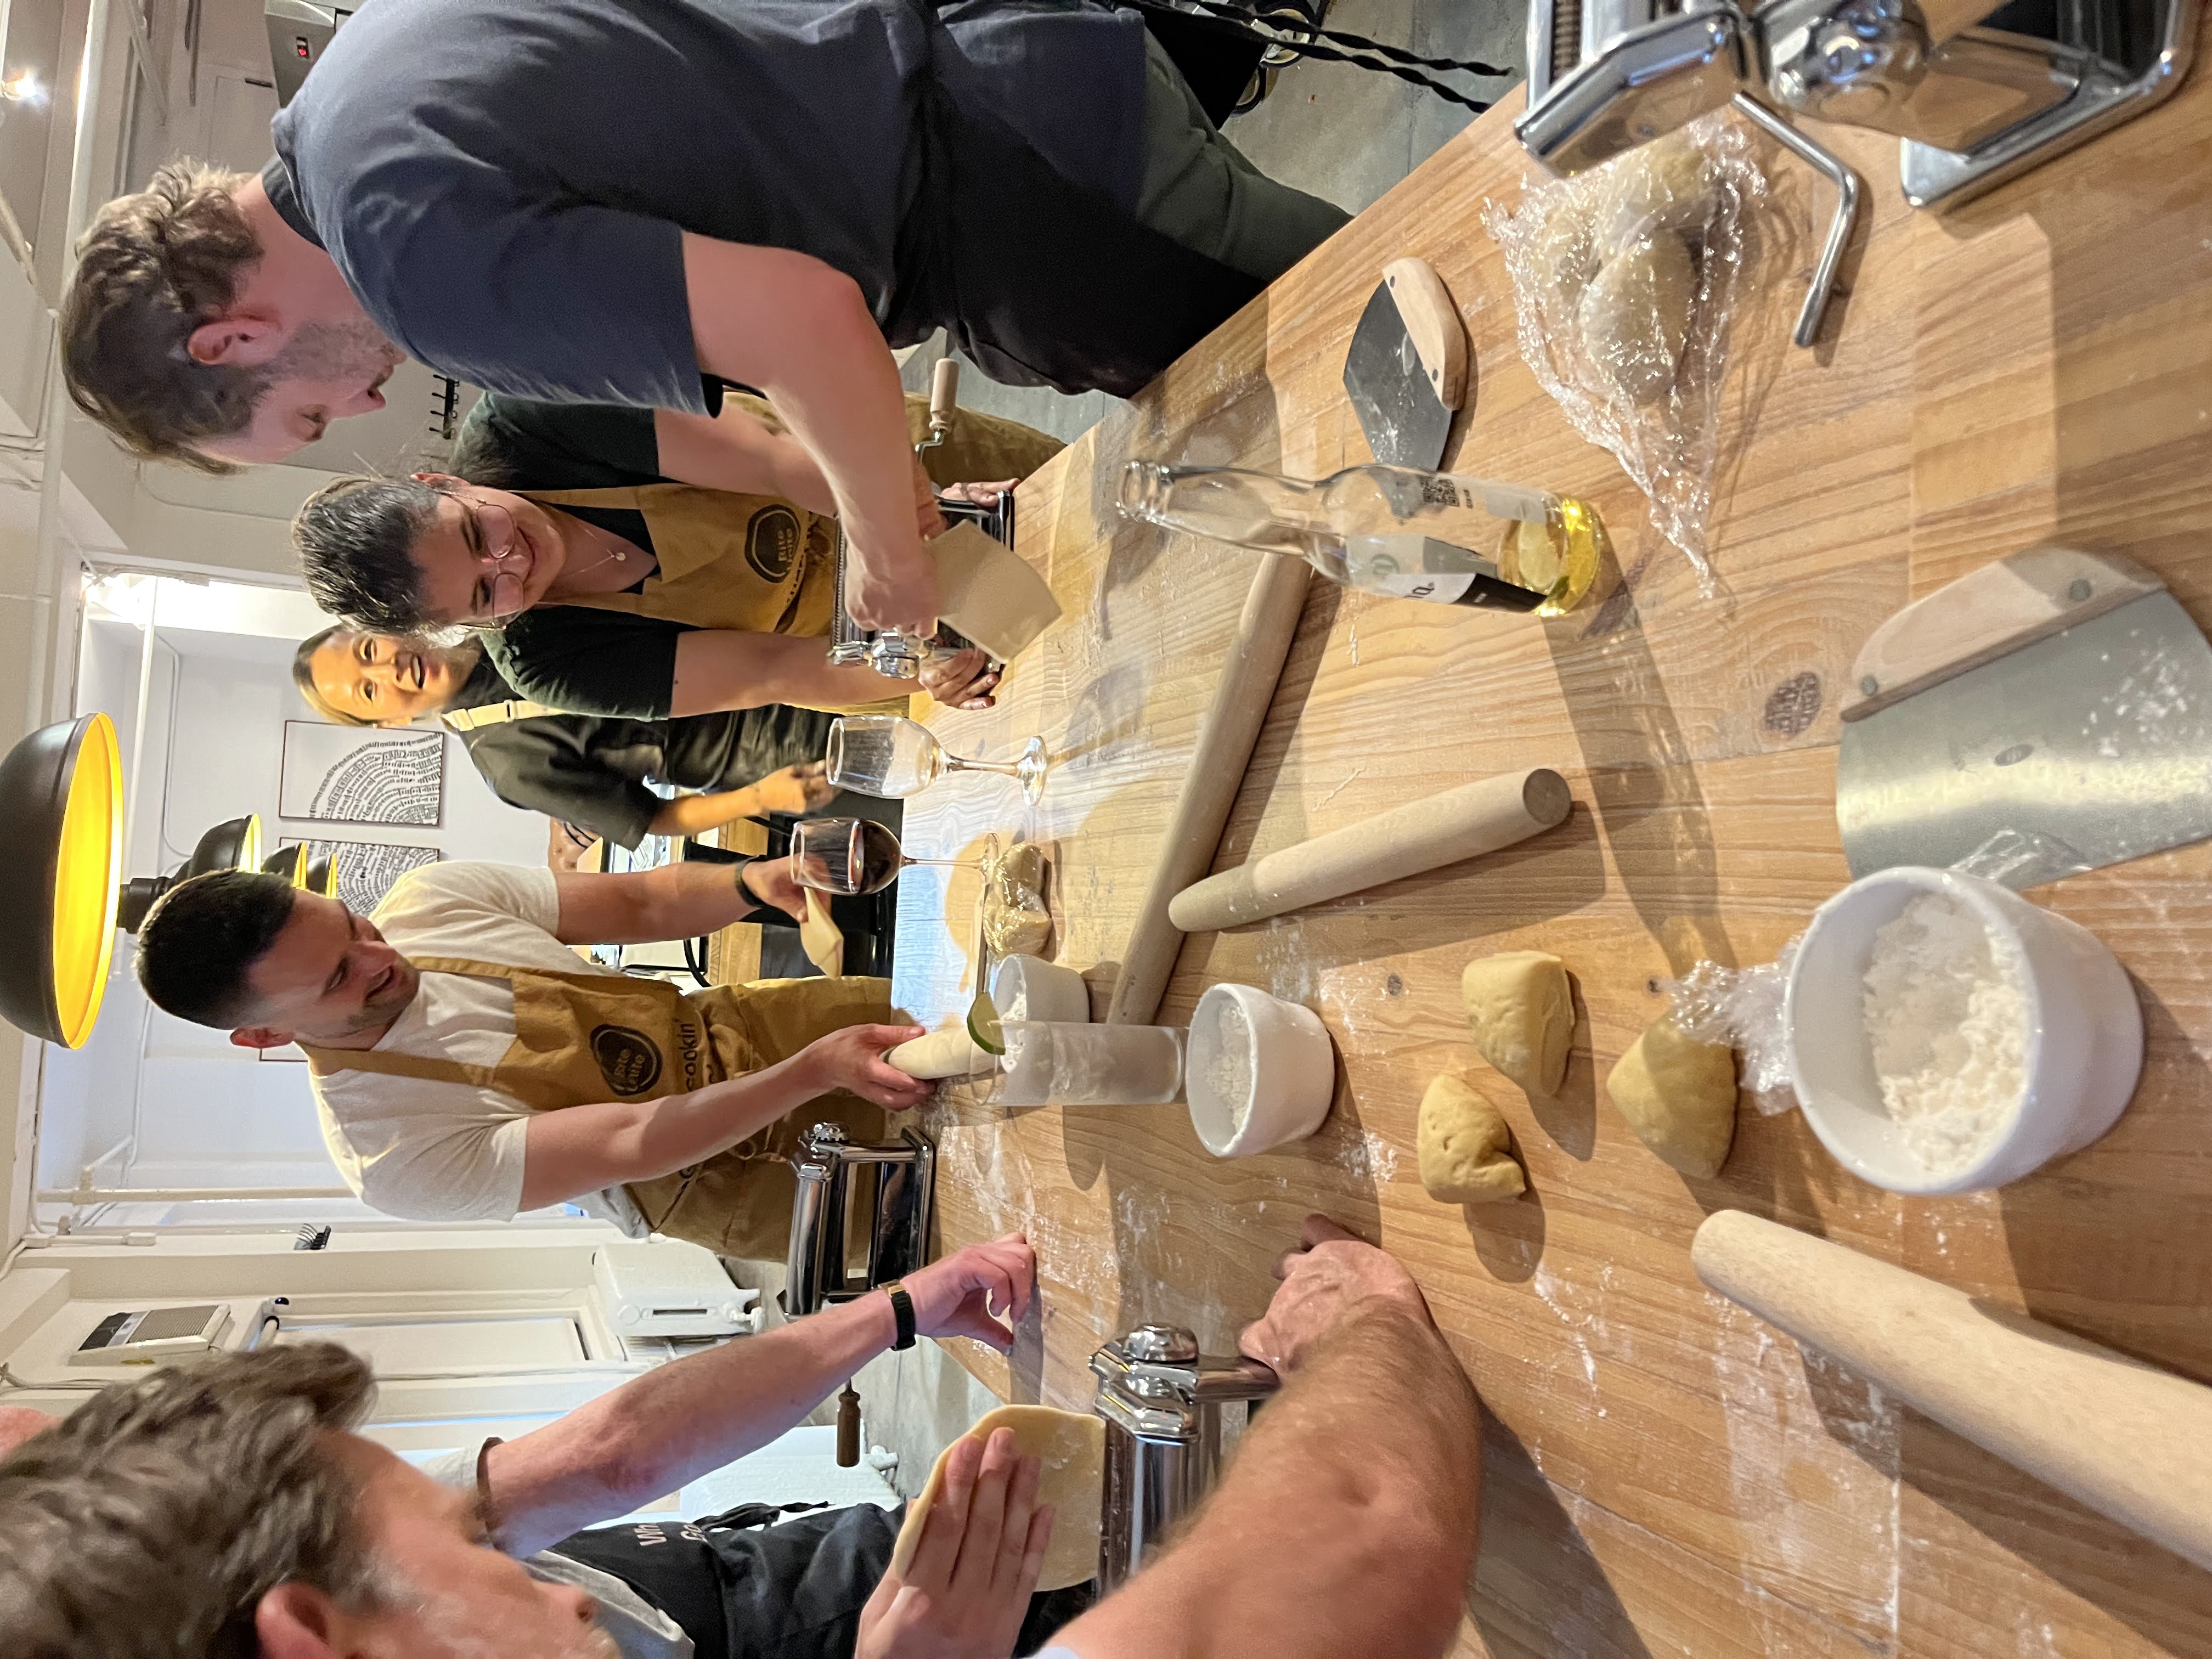
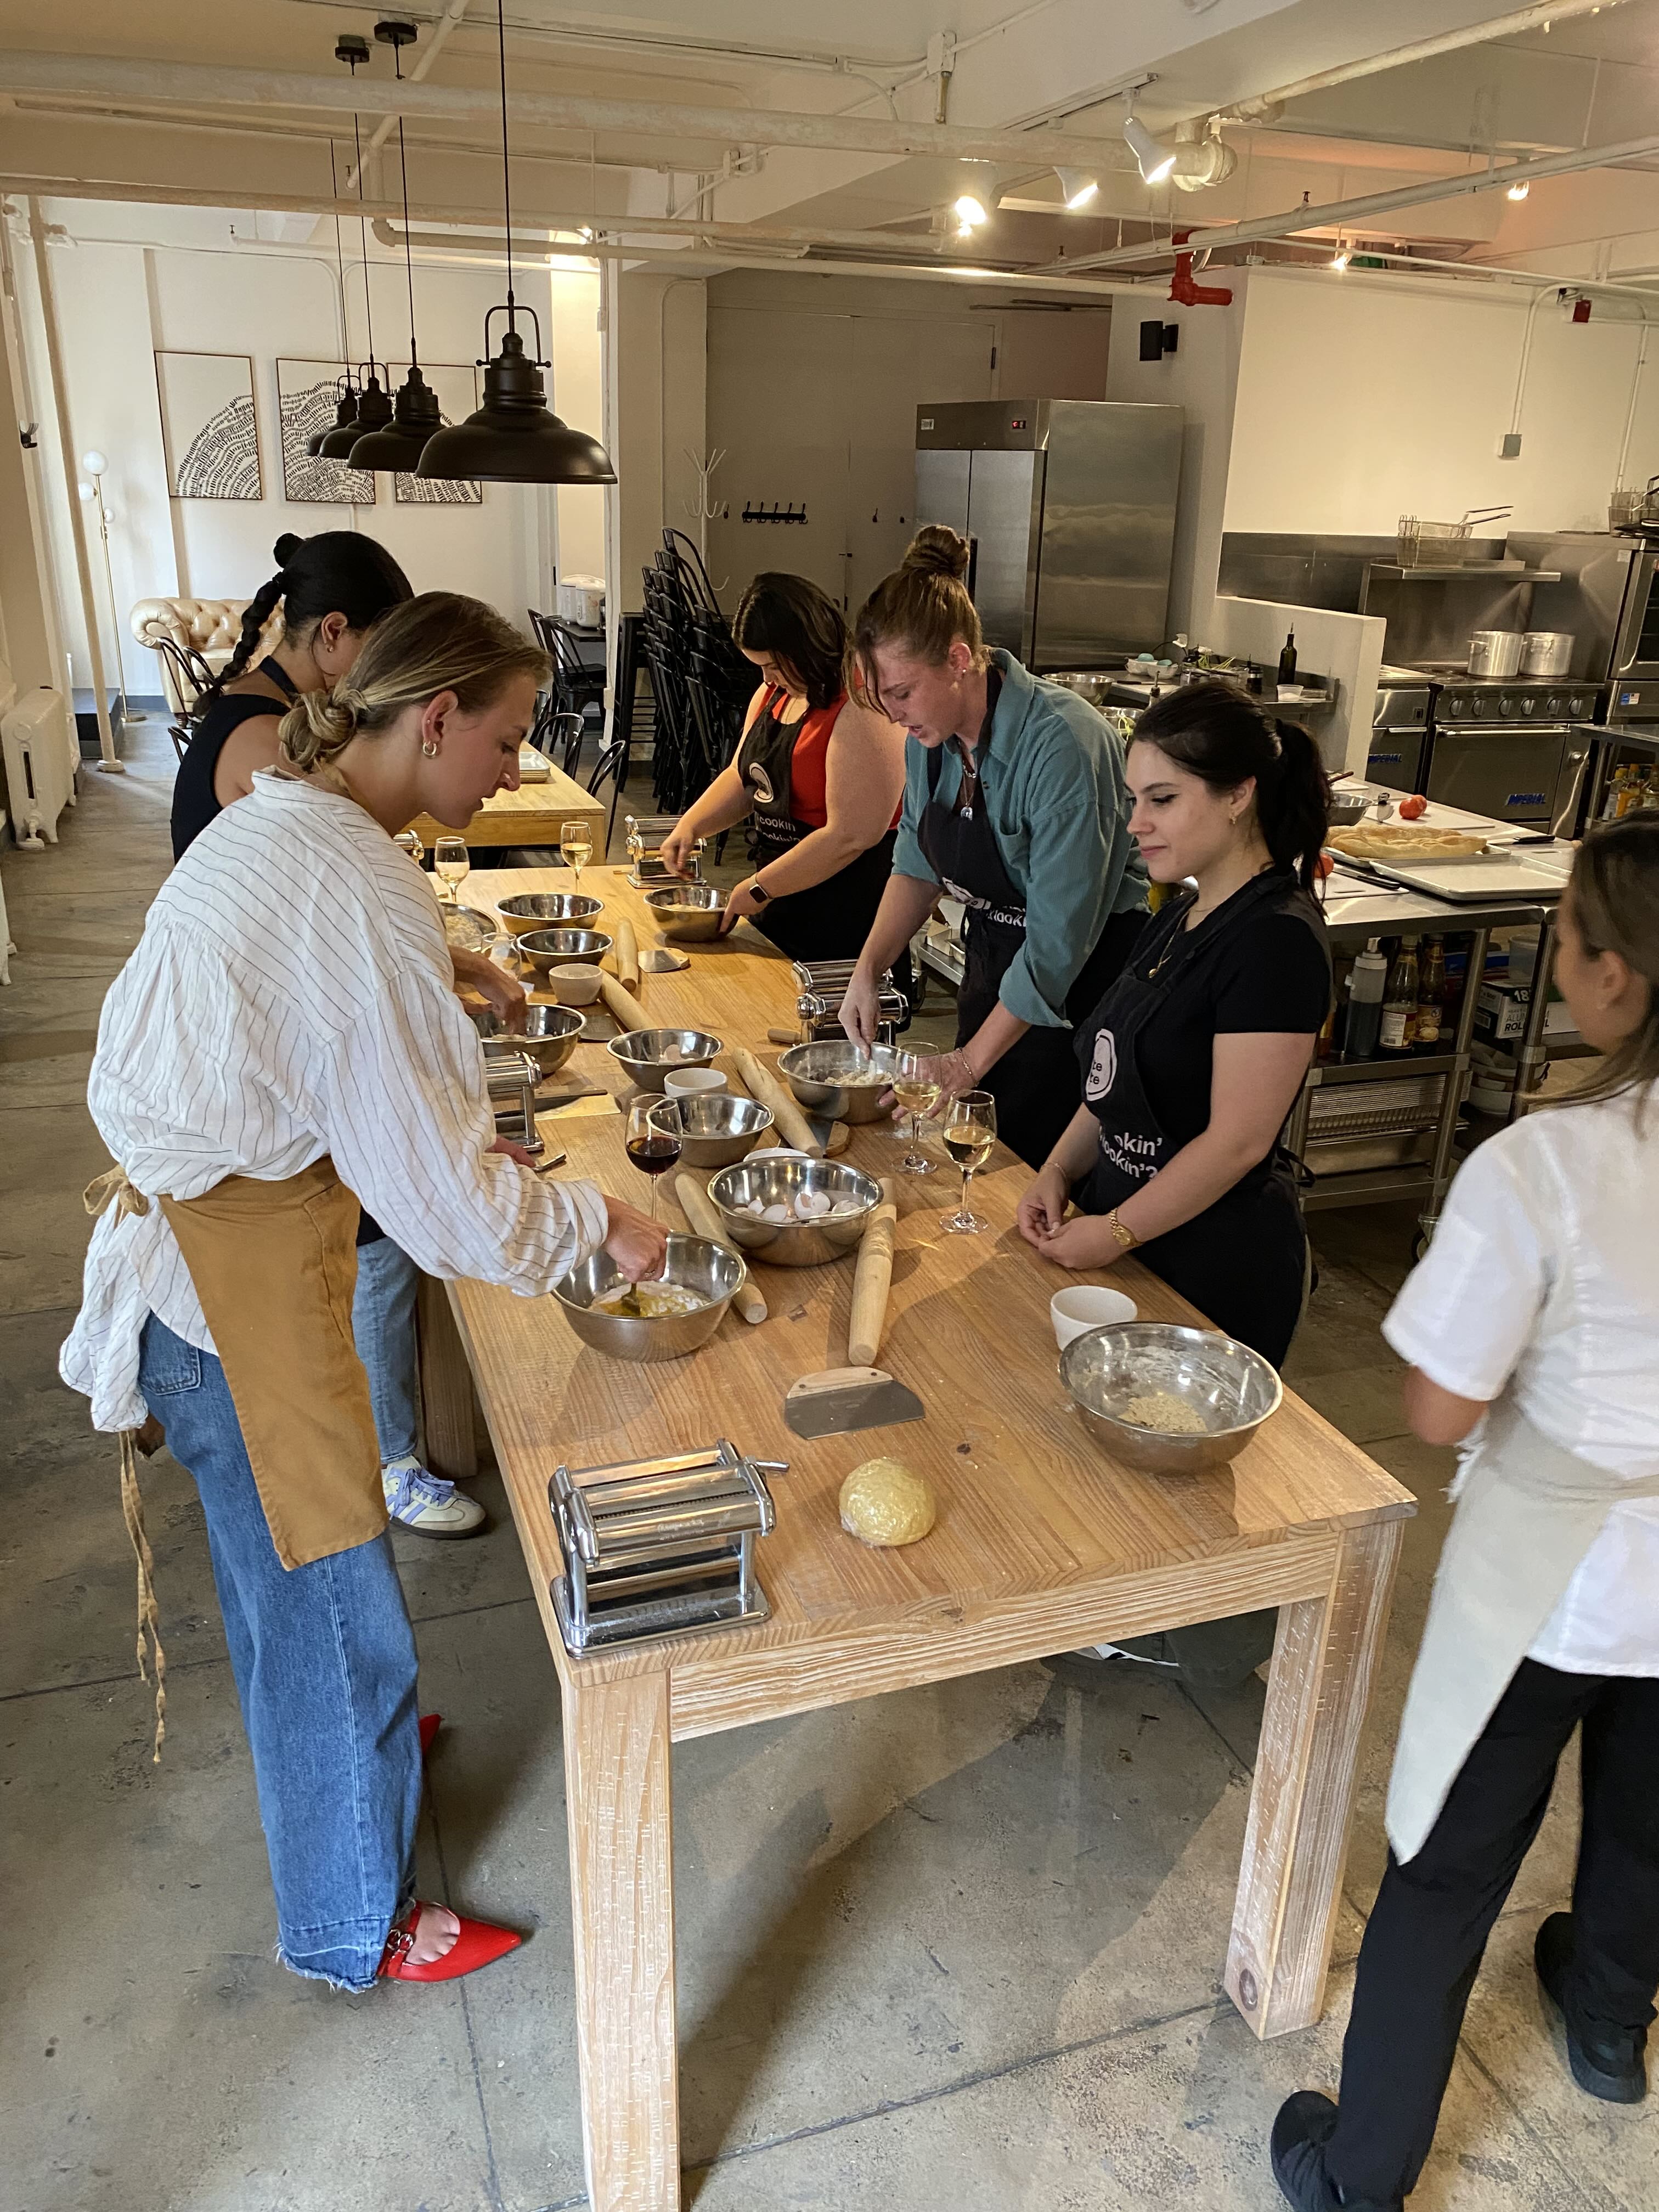
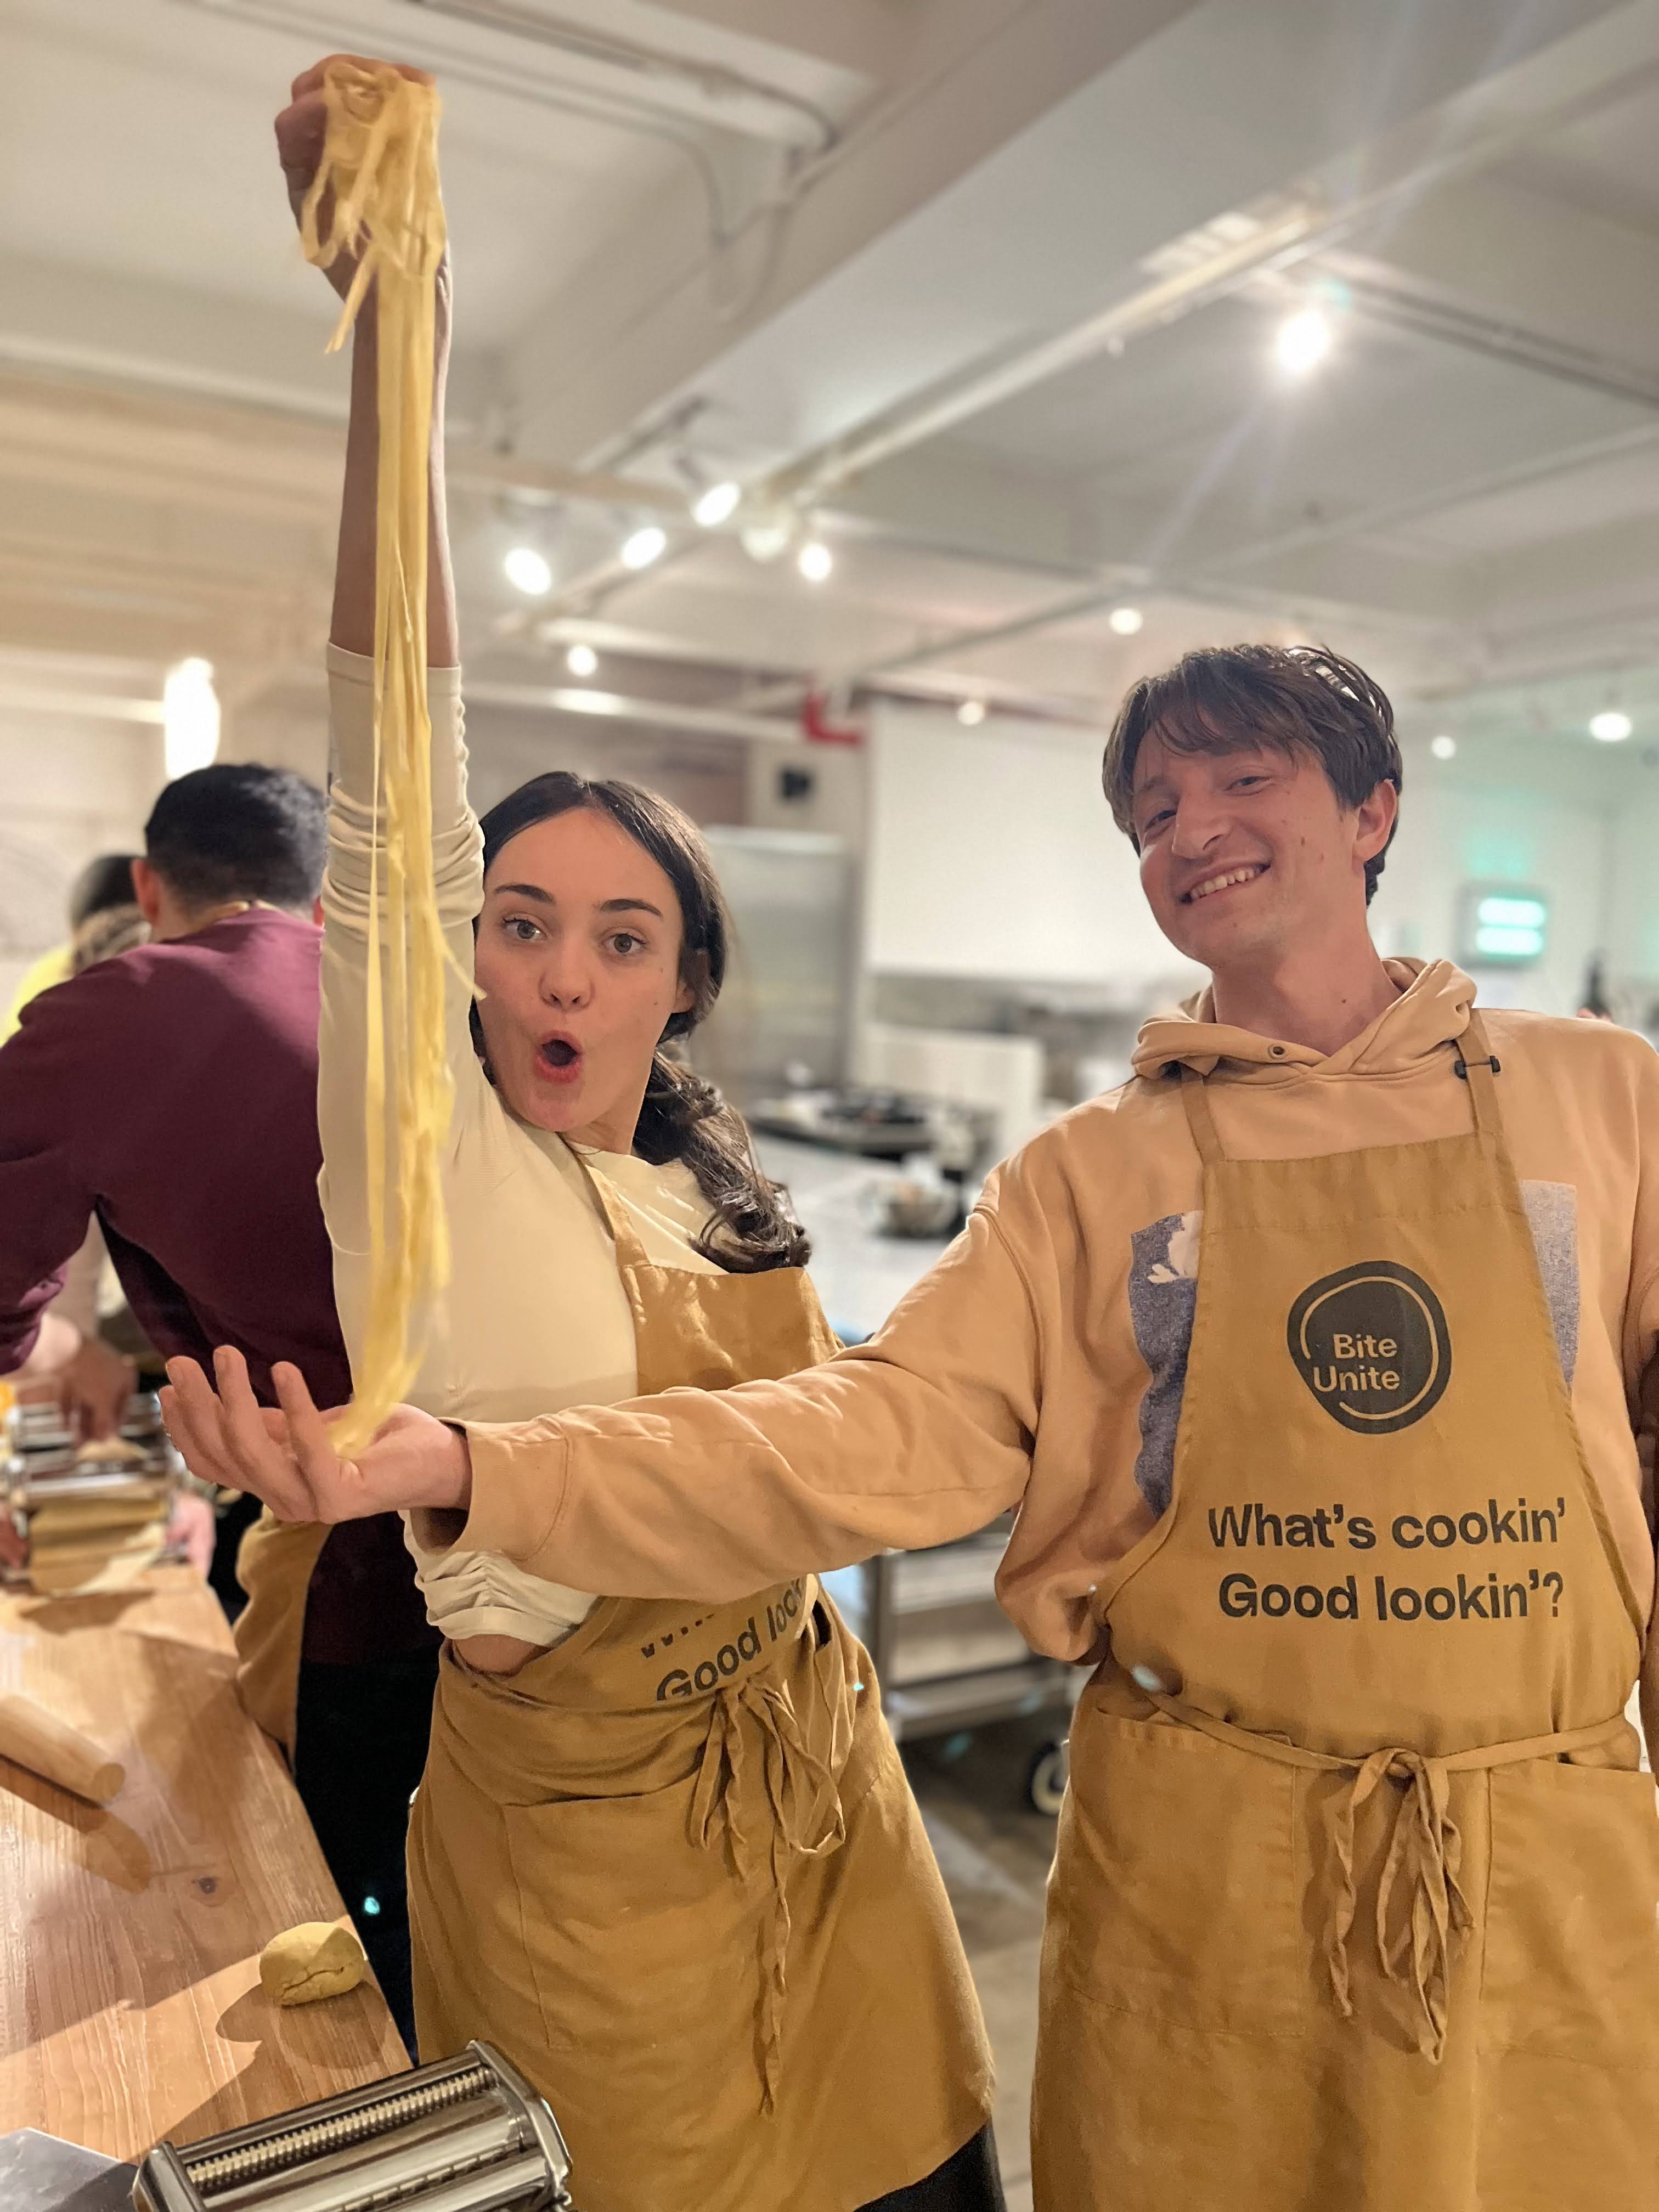
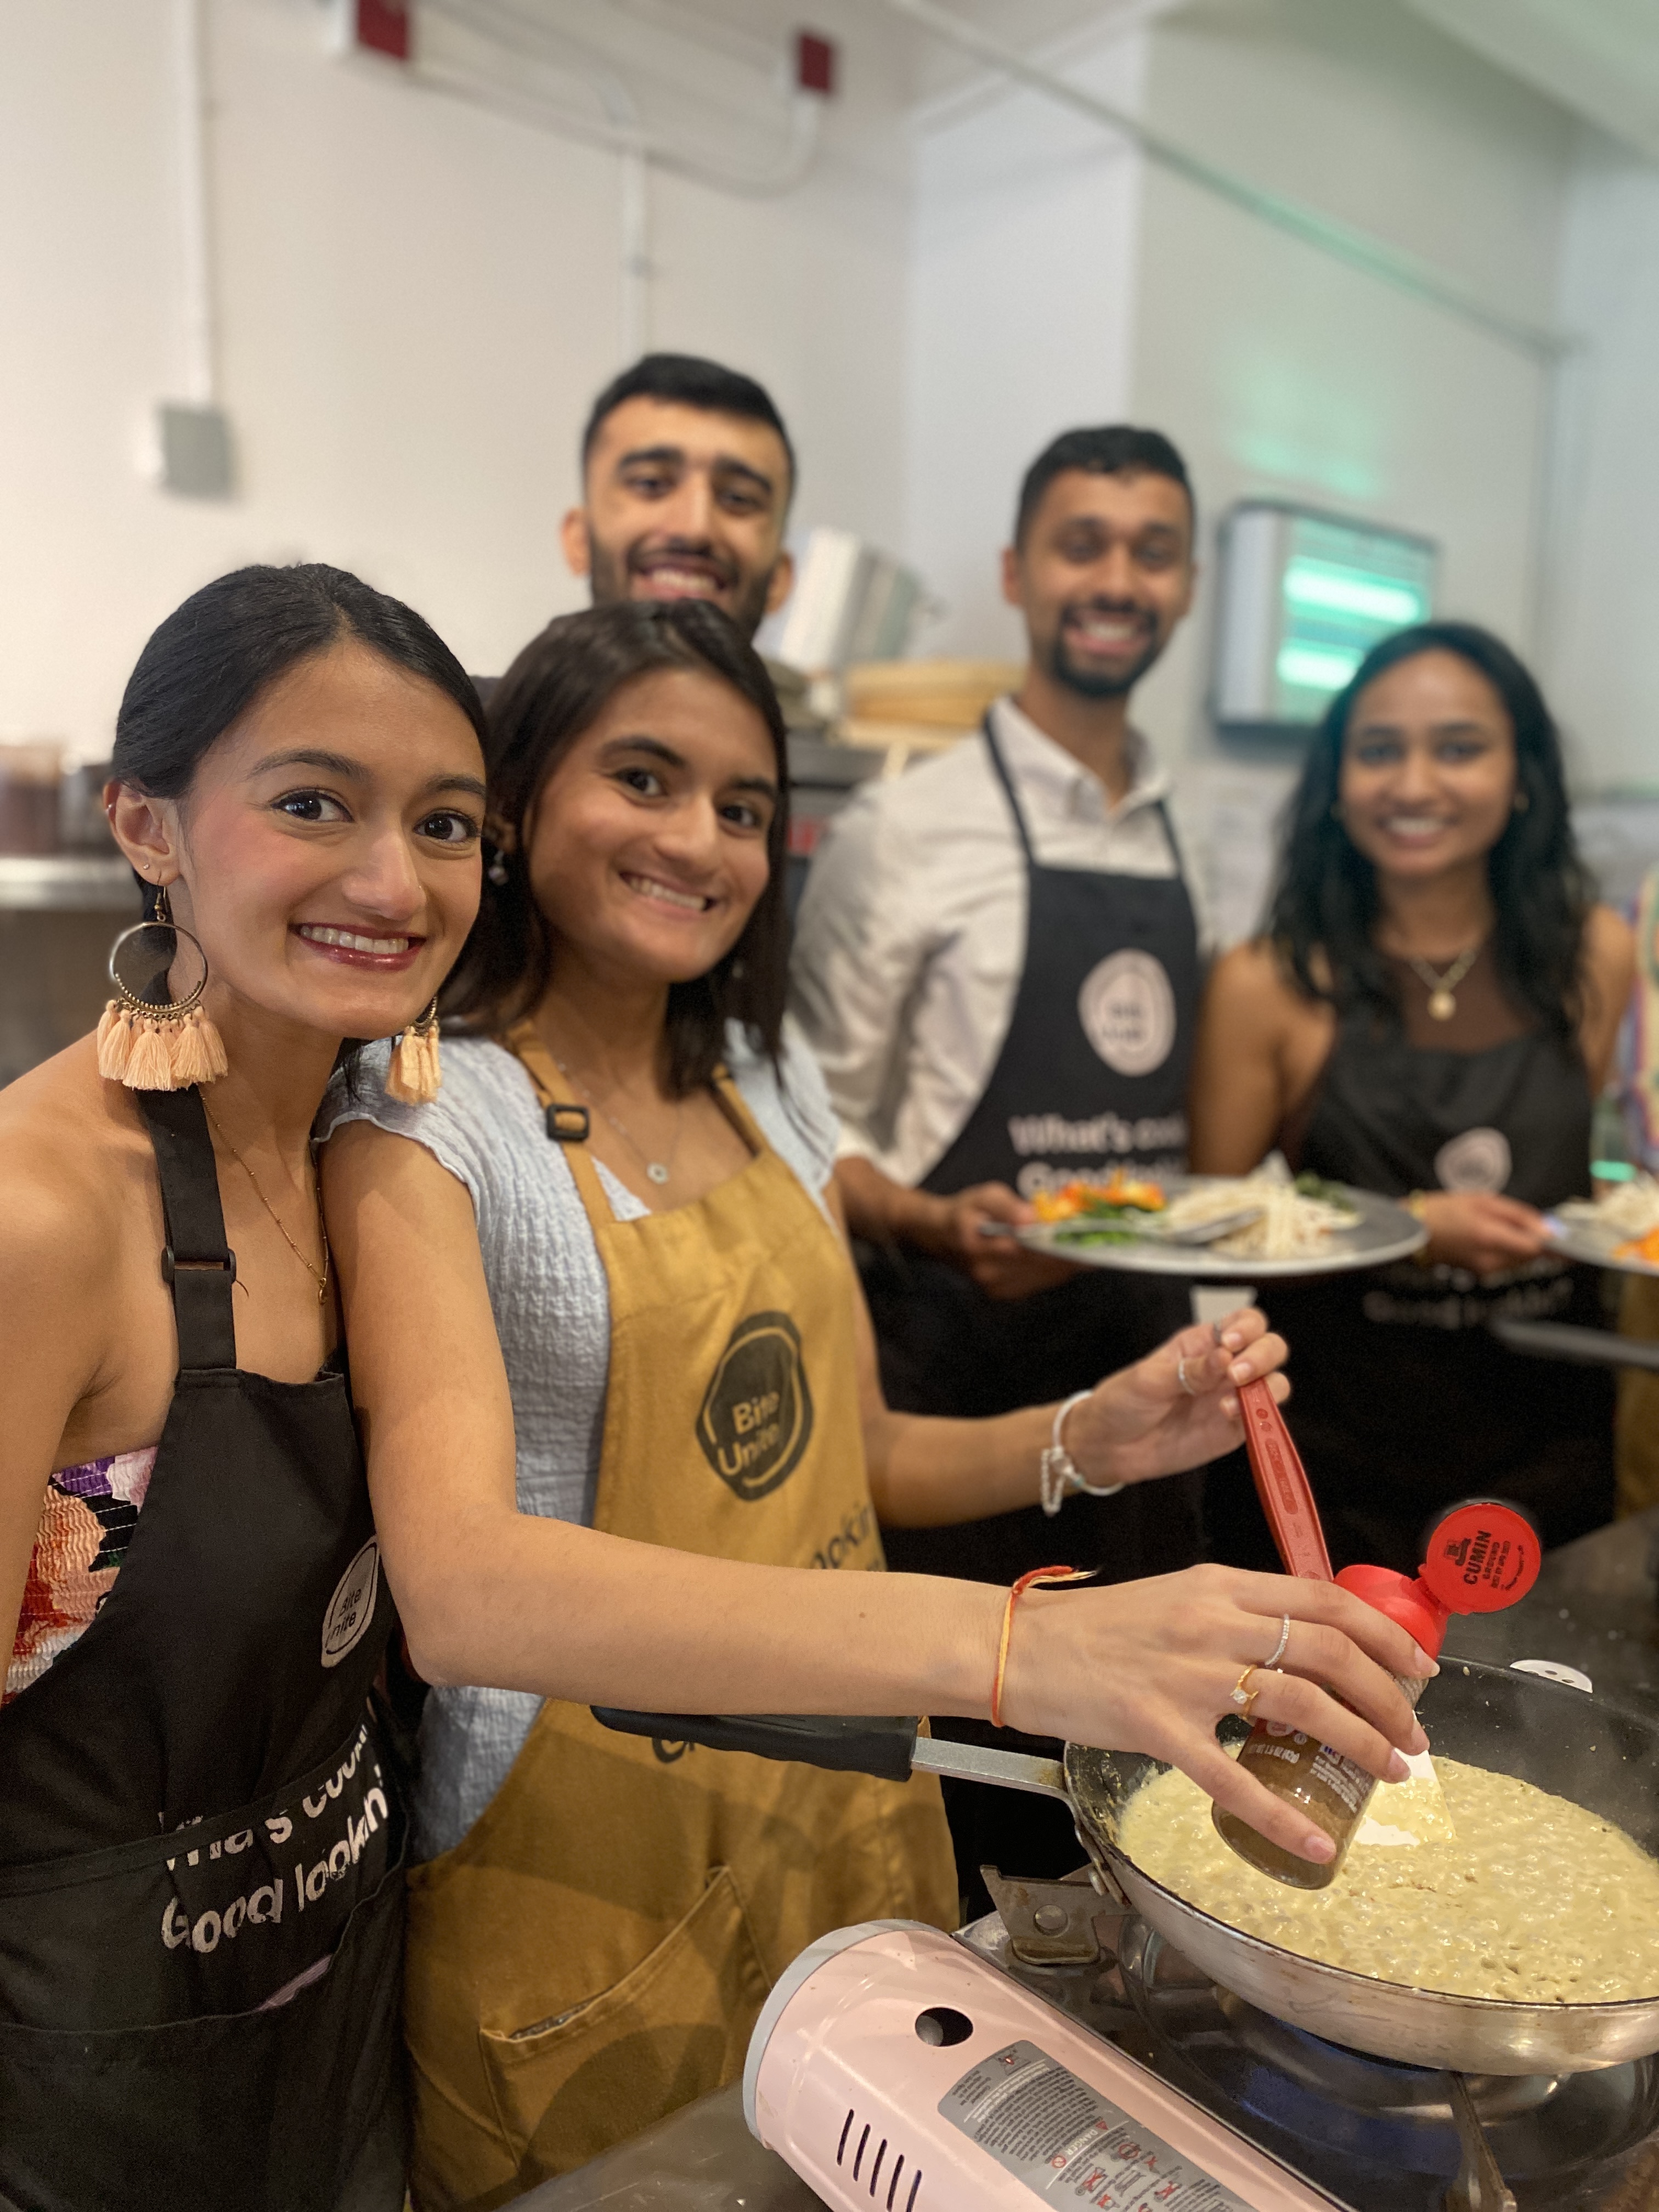
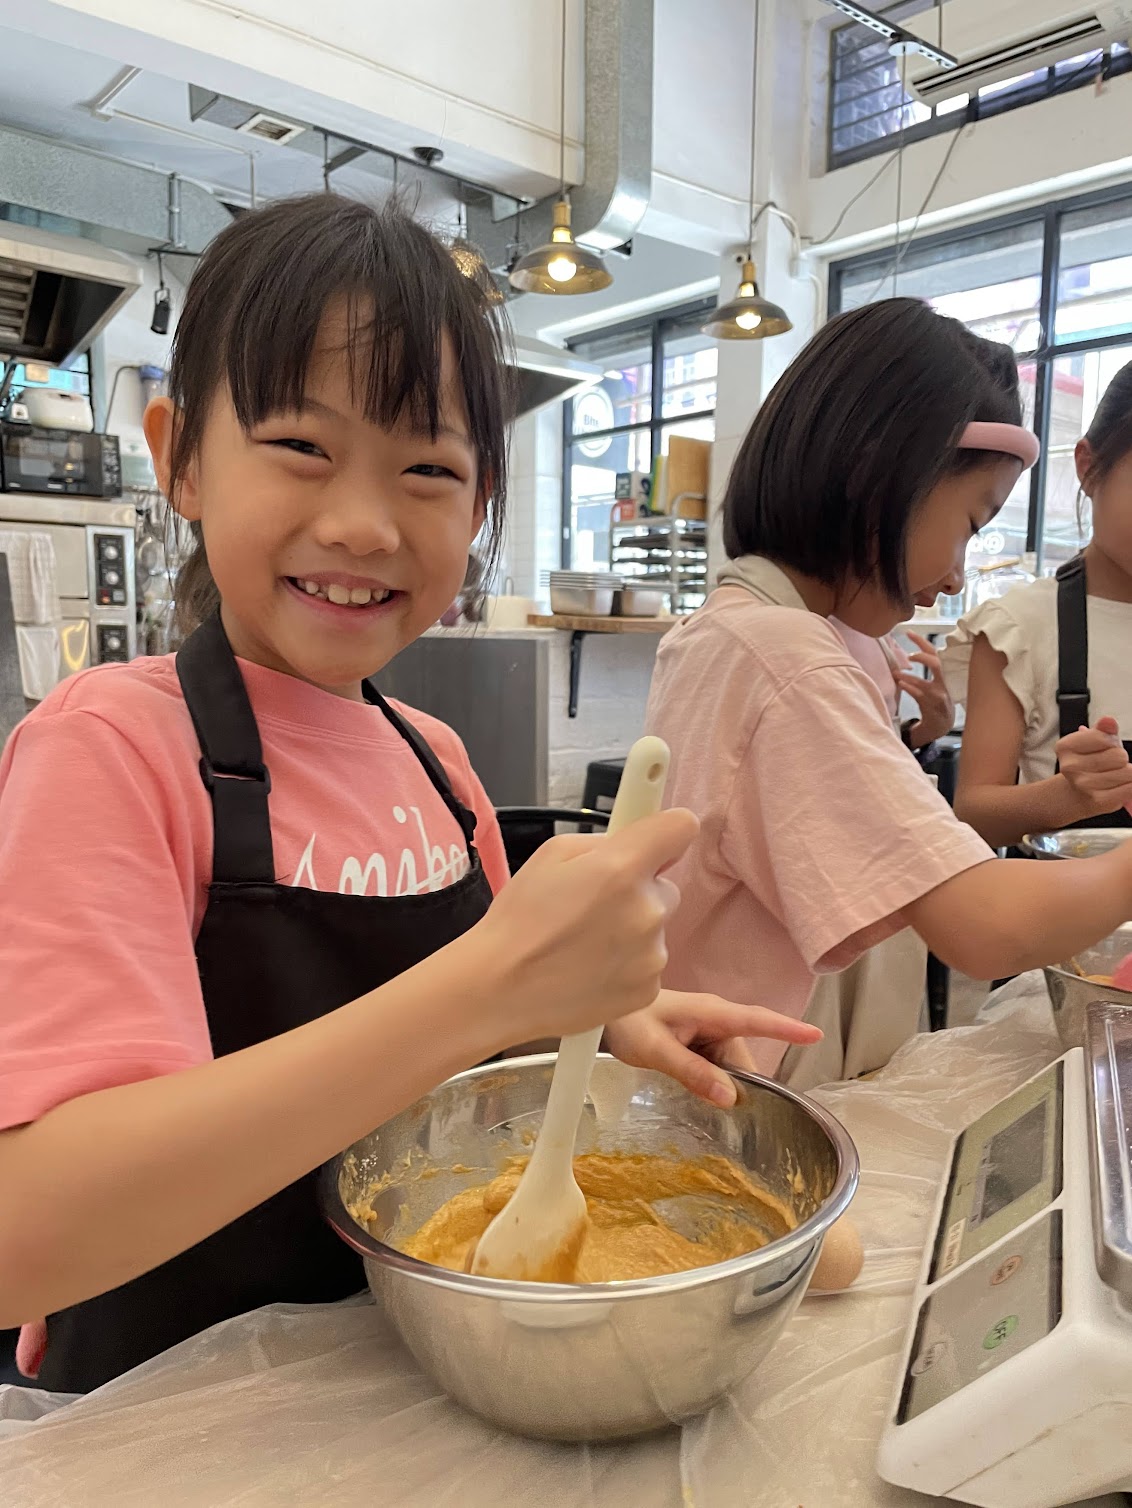
Step 4: Develop Your Curriculum and Class Structure
Your curriculum is the backbone of your business. It should feel educational, interactive, and repeatable.
Outline a basic class flow:
- Welcome & intro (10 min)
- Chef-led demo or explanation (10–15 min)
- Hands-on cooking time (45–60 min)
- Plating & tasting together (15–30 min)
- Photos, Q&A, and wrap-up (10 min)
Start with just 1–2 signature classes before building a full menu. Keep it simple and fun for your audience — no one wants to be stressed out on a date night.
Offer take-home recipe cards or digital PDFs to keep students engaged after class.
Step 5: Price It Right
Here’s where a lot of entrepreneurs get stuck — they want to be affordable but also profitable. Remember, you’re selling more than food — you’re offering a unique experience.
Consider:
- Ingredient costs (don’t forget extras for mistakes)
- Equipment and rental fees
- Your prep and cleanup time
- Marketing and administrative work
- Value of your expertise
Sample pricing strategy:
- Group class (10–12 guests): $75–$120 per person
- Private class (2–4 guests): $250–$500 flat fee
- Corporate event (15–20 people): $1,000–$2,000 depending on scope
Add premium options like wine pairings, custom aprons, or gift boxes for extra revenue.
Step 6: Build Your Brand Identity
This is the fun part. Your brand should reflect your style, your values, and your vibe.
Essentials:
- Business name (check domain and social availability)
- Logo and color palette
- Professional photos of your kitchen, food, and happy guests
- Social media handles (Instagram is huge for culinary businesses)
- One-page website with class descriptions, pricing, FAQs, and booking info
Pro tip: Include a short bio or video about why you teach — it builds trust and human connection.
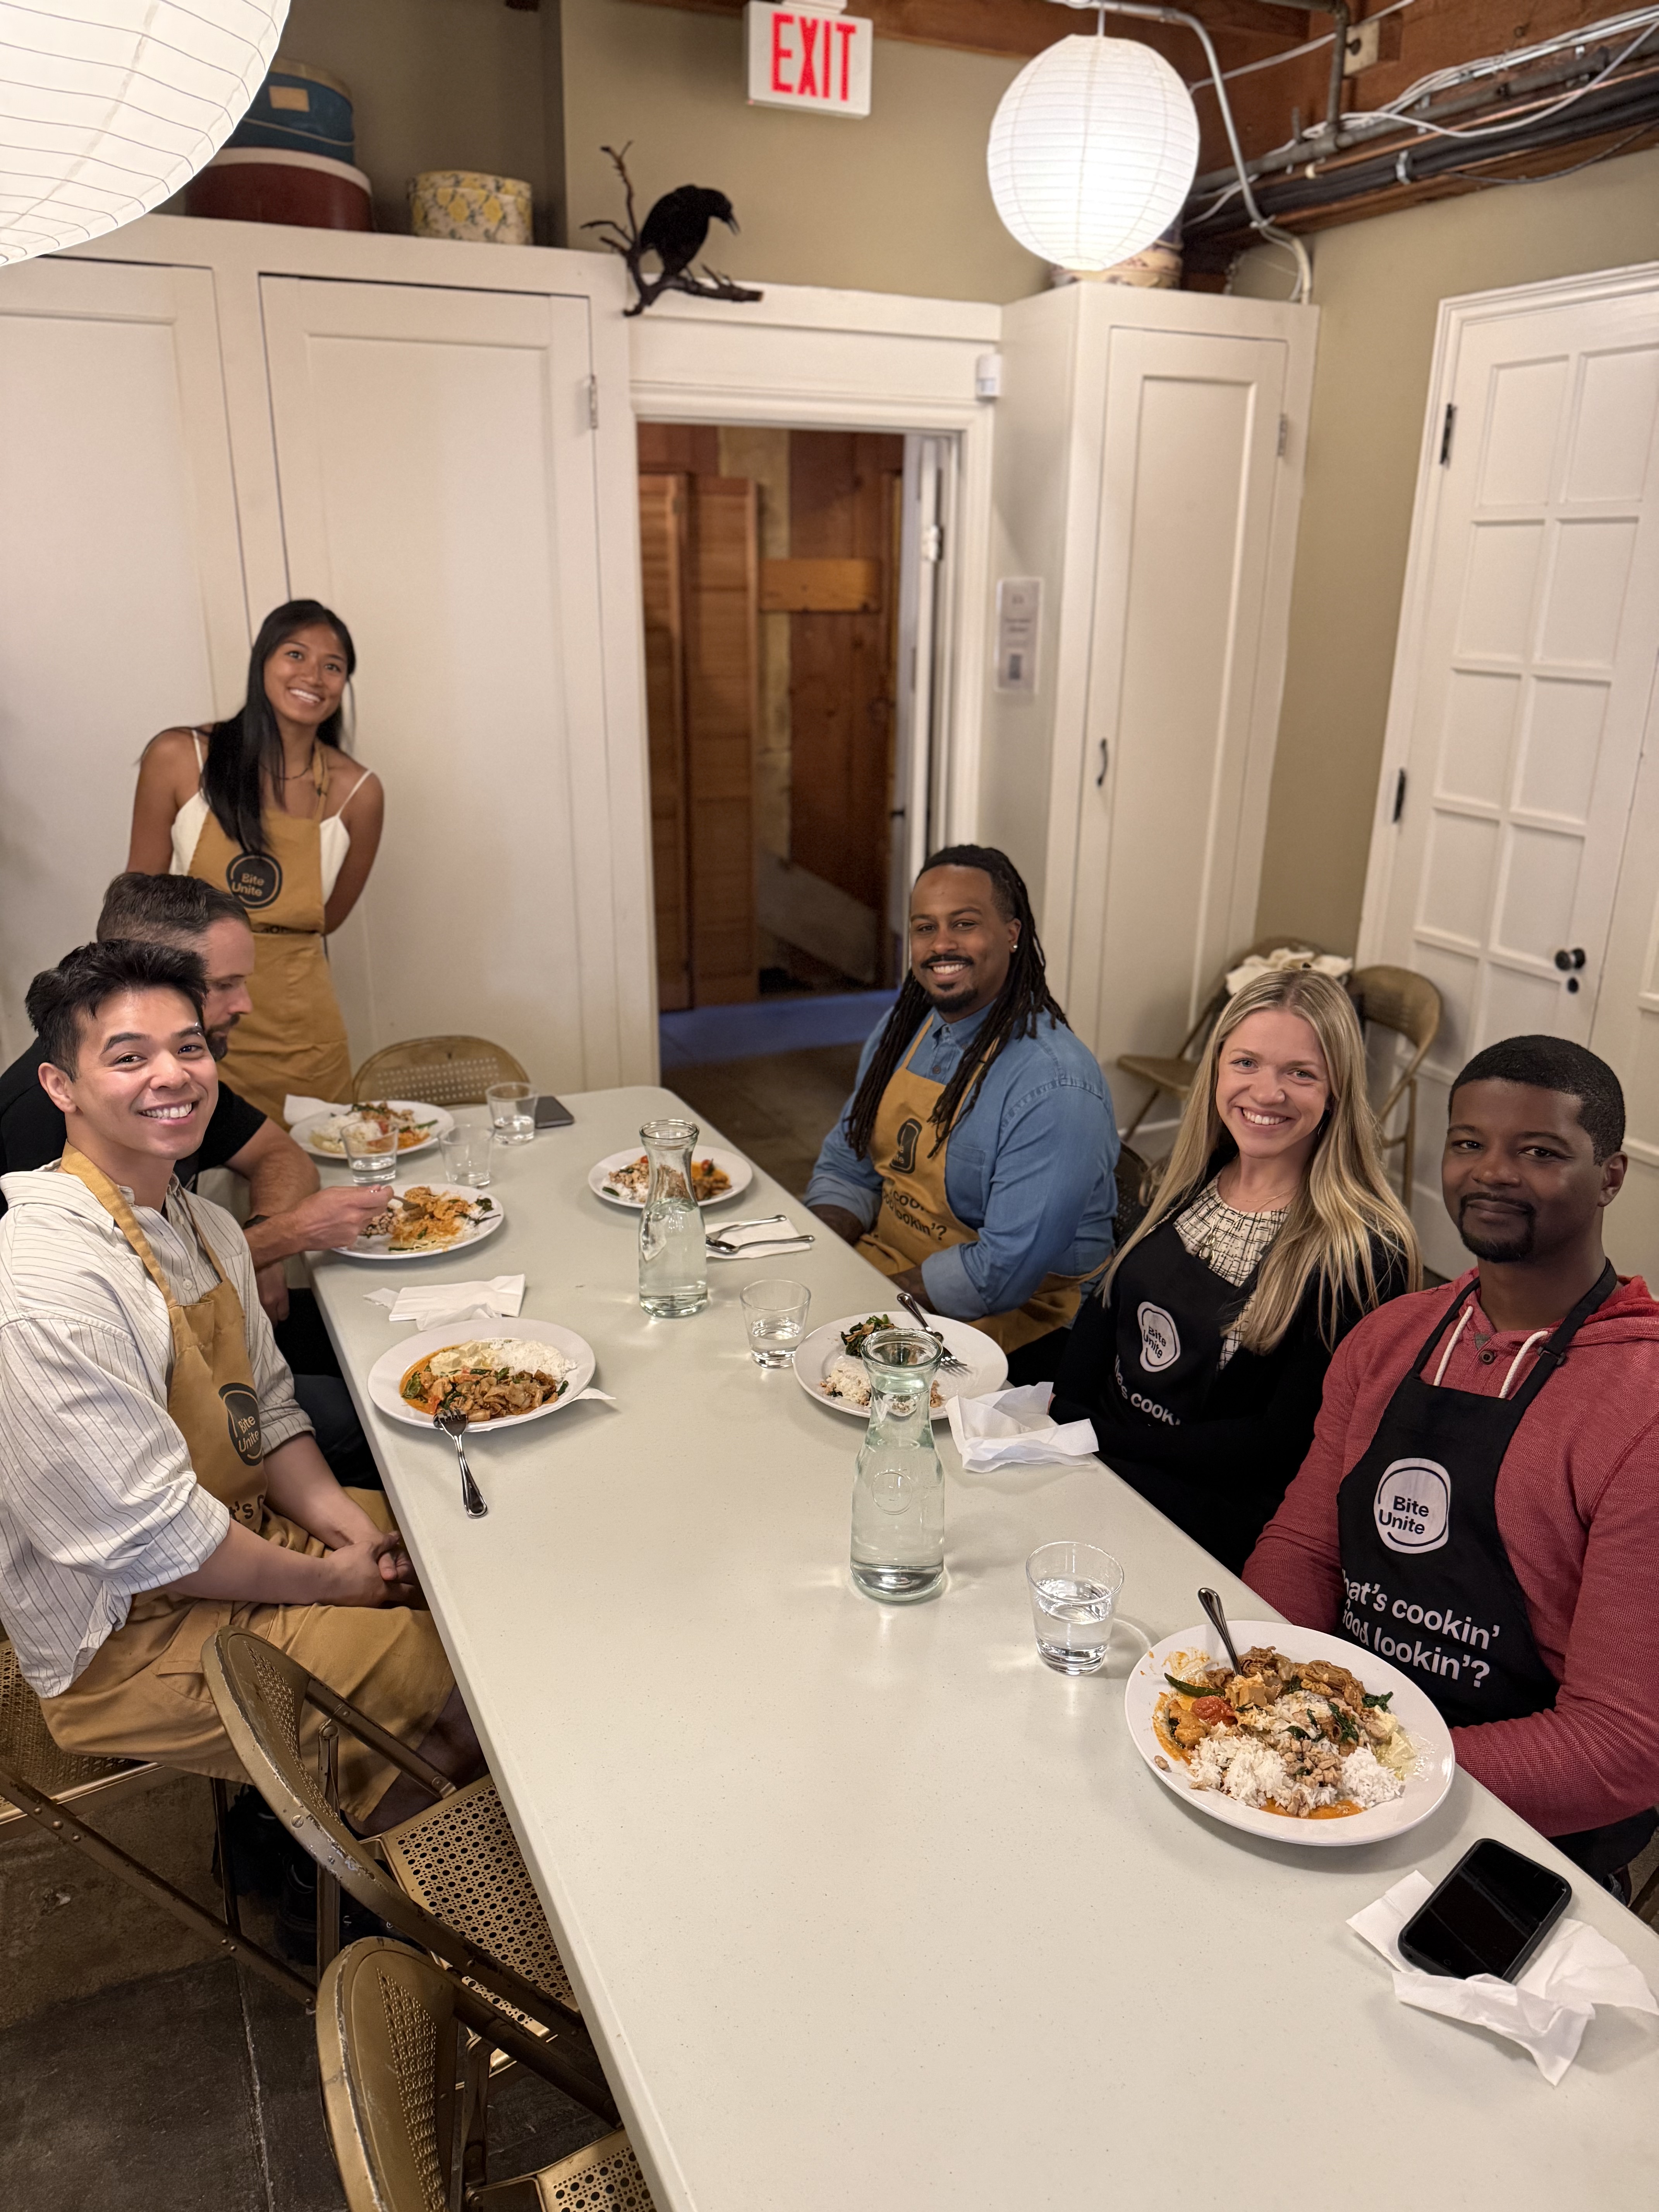
Step 7: Launch and Promote
Start small and make it special. Your first few classes are your chance to refine the experience and collect testimonials.
Promotion checklist:
- Offer a soft launch class for friends and family
- Collect video testimonials and tag students on social
- Use Instagram Reels or TikToks to show the class in action
- List on Airbnb Experiences, Eventbrite, and ClassBento
- Use email signups to build a waitlist
If you use a space like BiteUnite’s White Label Kitchen, you also get exposure through their platform and access to customers already searching for culinary events.
Step 8: Get Feedback and Optimize
After each class, ask:
- What did you love most?
- What could be improved?
- Would you recommend this to a friend?
Use this insight to refine timing, improve instructions, or add helpful touches like printed recipes or photo ops.
Encourage satisfied students to leave Google and Yelp reviews, tag you on social media, and refer friends — word-of-mouth is gold.
Final Thoughts: Don’t Wait for “Perfect”
Your first class doesn’t need to be perfect. It needs to happen.
Start with what you have, where you are. You can scale up over time, but you can’t build momentum without your first few reps.
A branded cooking class business is more than a hustle — it’s a chance to build a community, share your passion, and turn a love for food into a profitable, joyful career.
Want a Turnkey Kitchen to Launch Faster?
Check out BiteUnite’s White Label Kitchen — where culinary entrepreneurs can teach, host, and serve clients under their own brand — without the massive upfront investment.
You bring the flavor. They bring the space.


.jpeg)


.jpeg)
.jpeg)
.jpeg)


.webp)


.jpeg)